This halloween my wife wanted to dress as Harley Quinn. She worked out the costume side and i said that i would make the hammer for her.
This post will go into how i made the hammer out of what we had around the house.
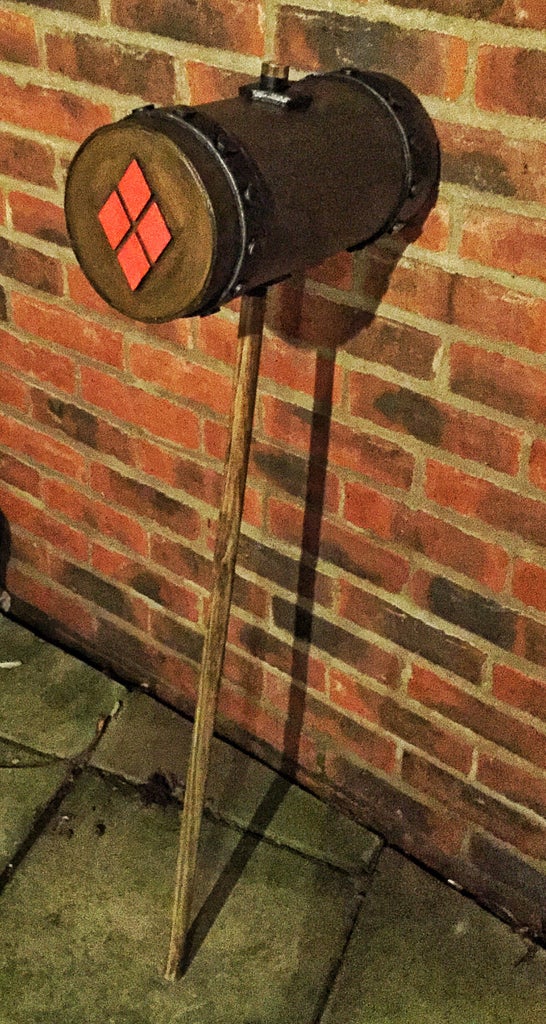
The hammer we wanted to make was the wooden style. There are many types found all over the internet and this was they style my wife wanted so i set about making it for her.
Starting the hammer with the head of the hammer.
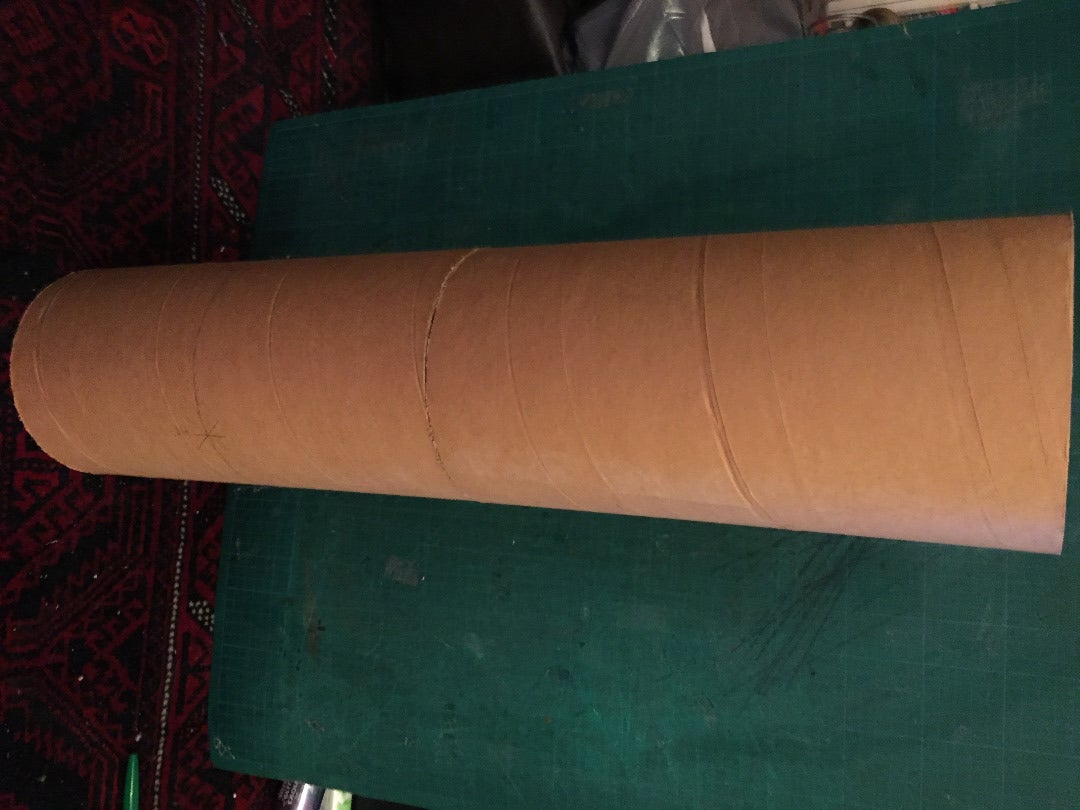
I had a section of large cardboard tube. this tube is 159mm diameter. we had a tube that was over 300mm across but we decided we didn't want it to be too huge.
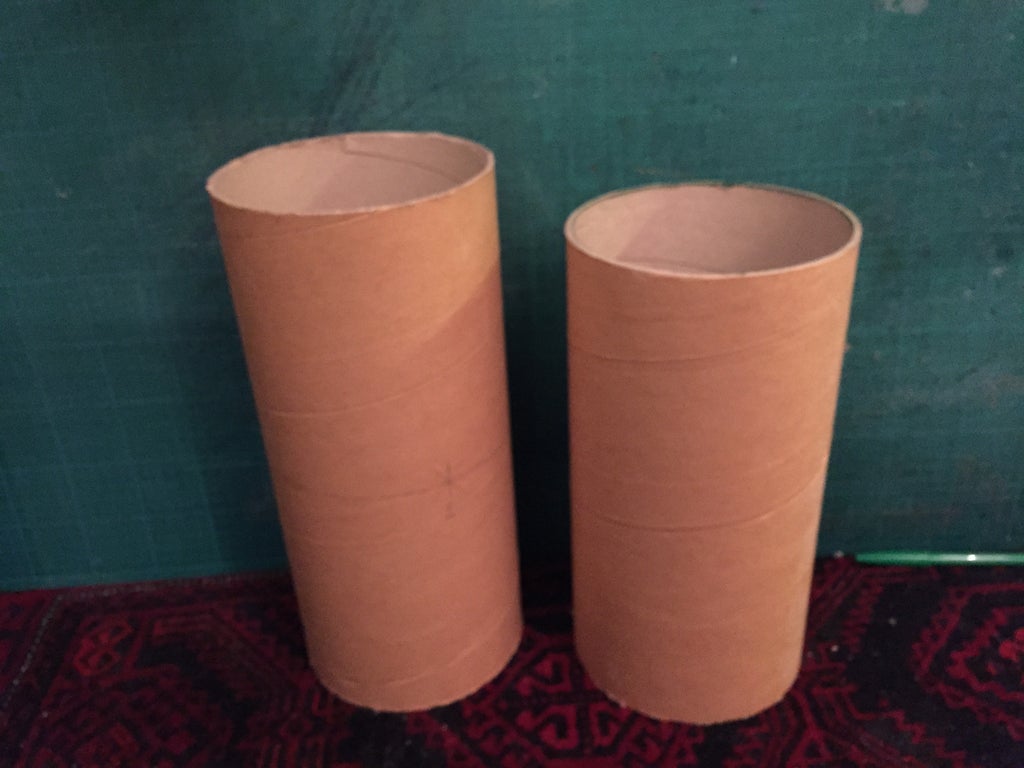
I cut the tube in two and one side was around 300mm and the other section was 400mm. I chose the 400mm part as it looked a better length in scale to the diameter of the tube.
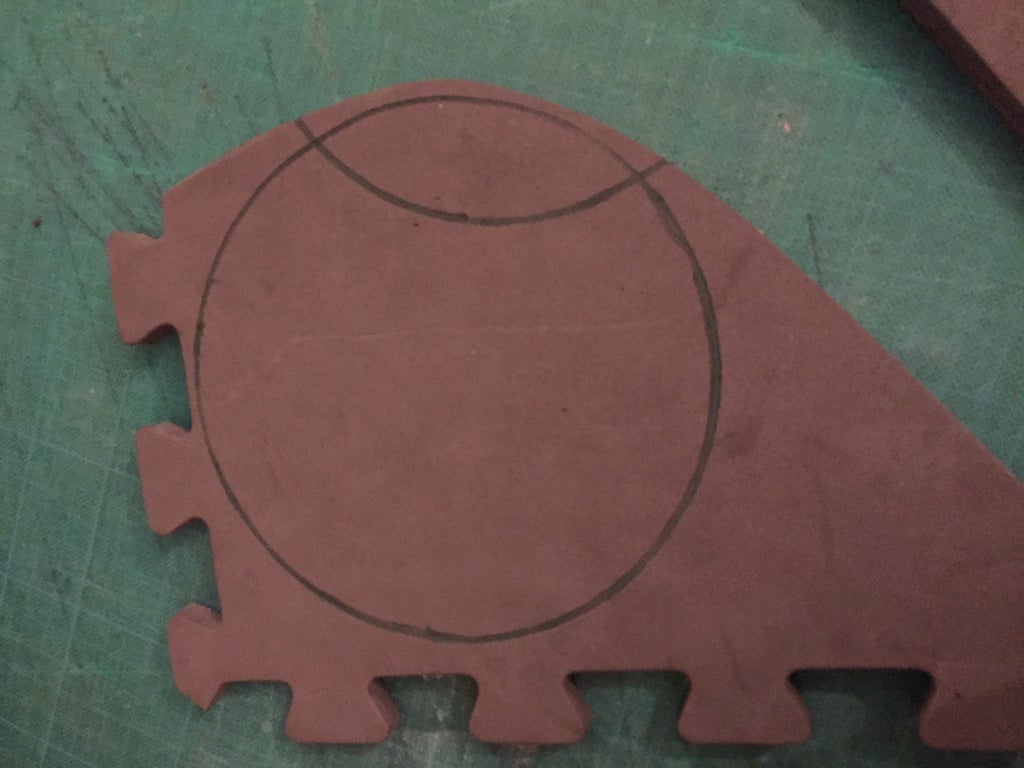
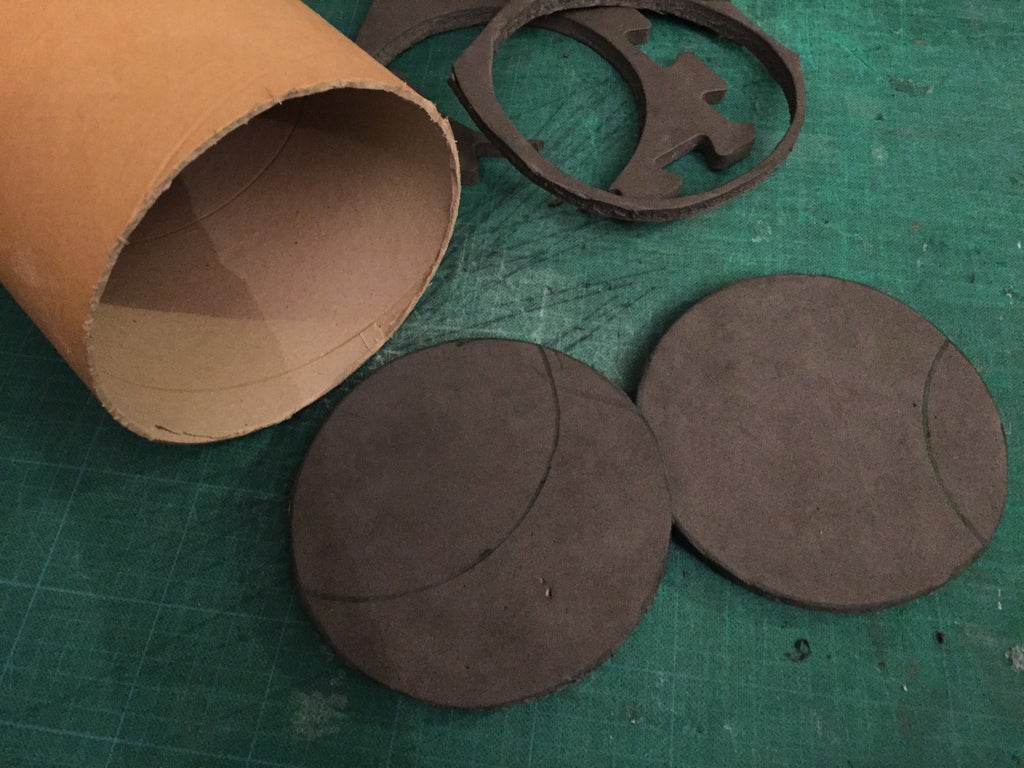
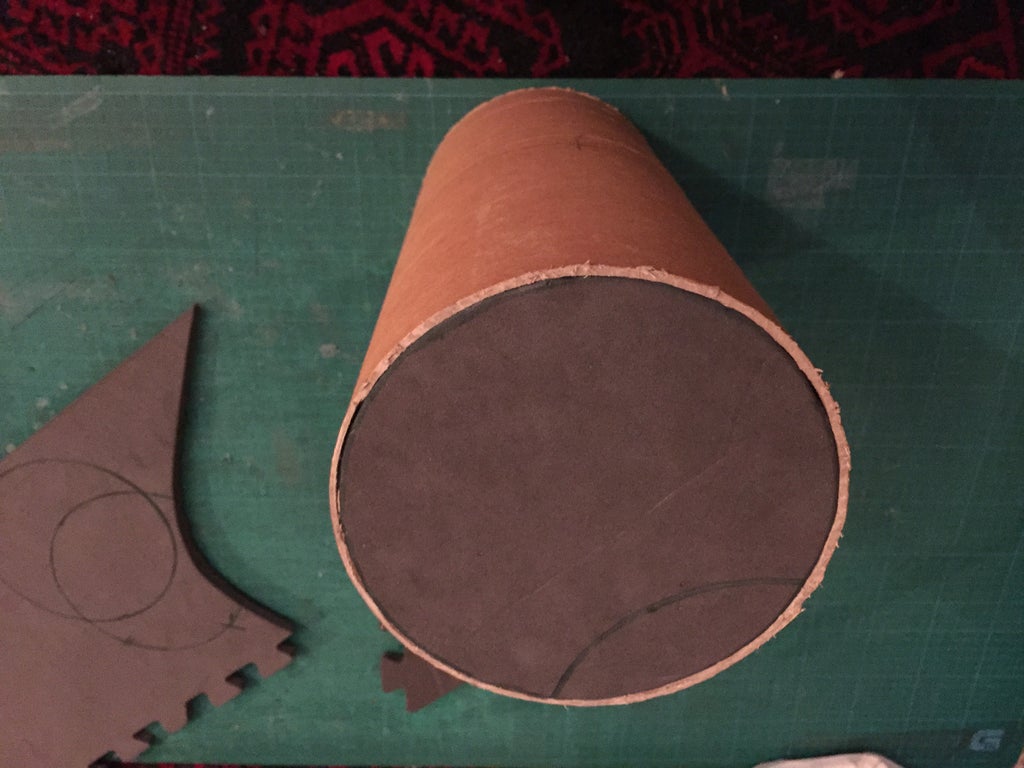
Using Some 10mm EVA foam i cut two circles the size of the ends of the tubes. These will be the ends of the hammer.
I didn't glue these parts in just yet as i would still need access to the inside of the tube.
Cutting the hole for the handle.
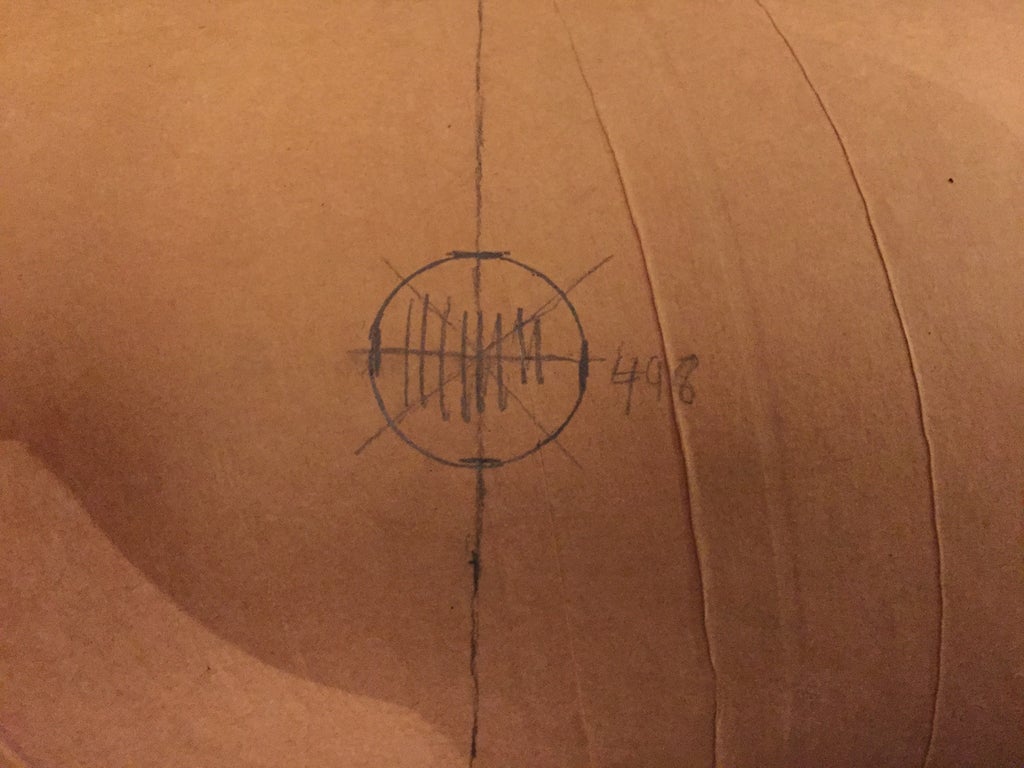

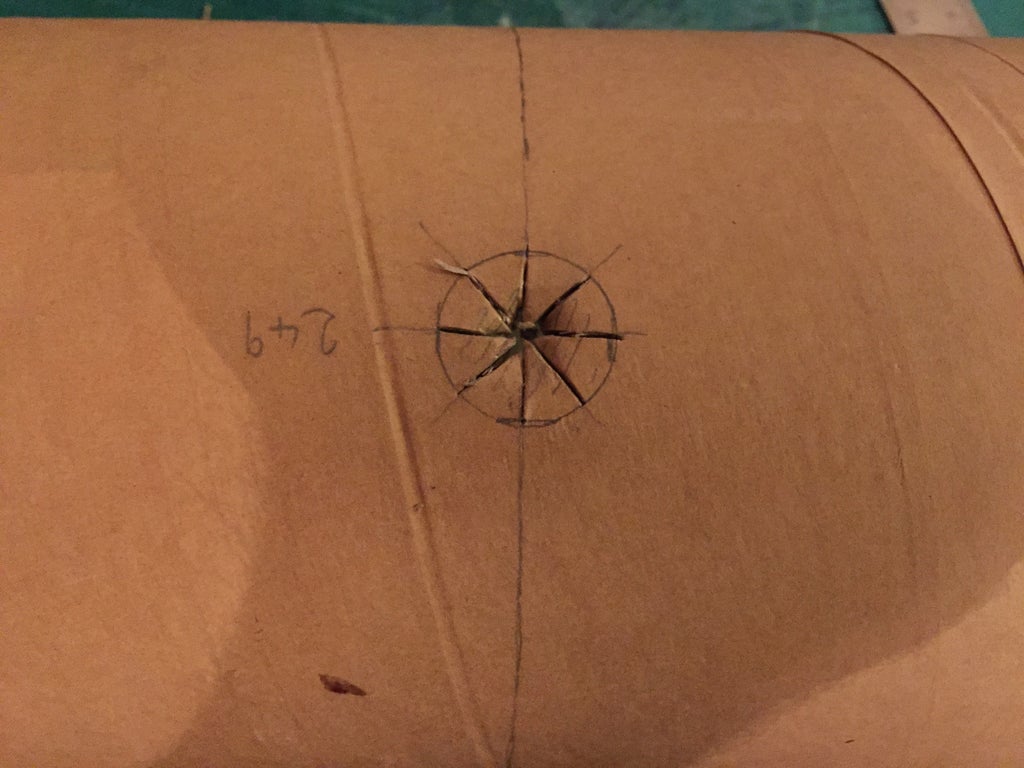
I measured 200mm to find the middle of the large tube. at this point i marked out a circle slightly smaller than the diameter of the Broom handle that i am using as a handle, it is smaller so it is a tight fit.
I divided the circumference of the tube in two and then measured that around the center line and then i drew another circle for the handle.
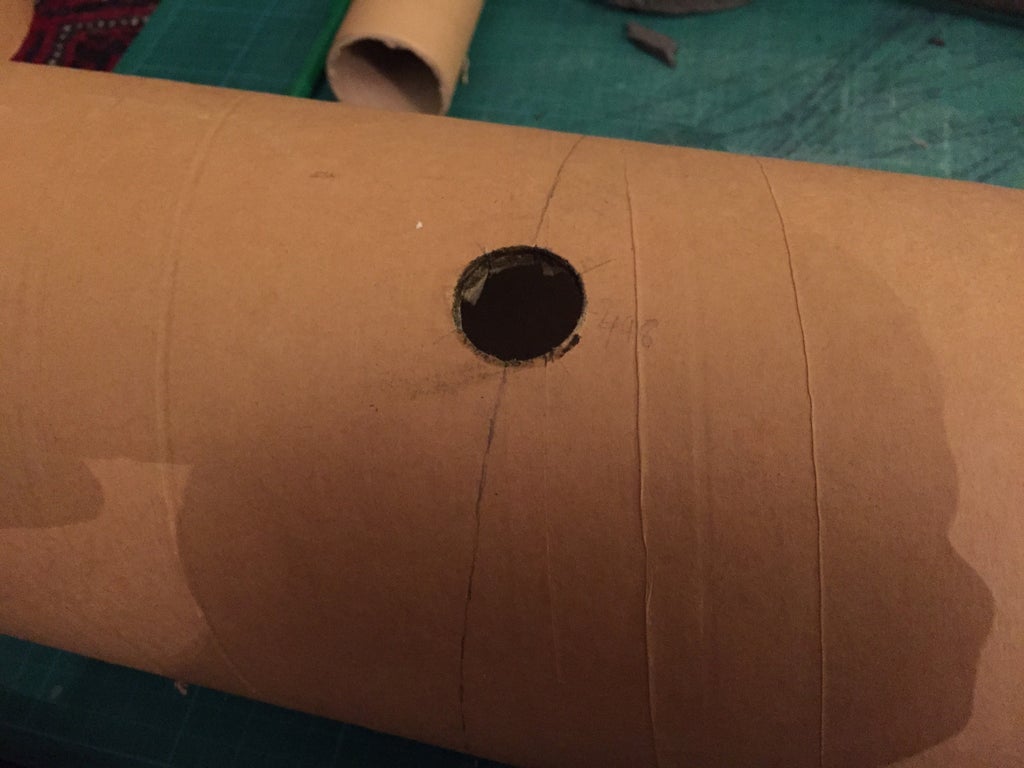
To cut the holes for the handle i drew 4 lines through the circle and cut these spokes and then carefully cut around the circle and pushed the slices into the tube.
Attaching the handle to the head.
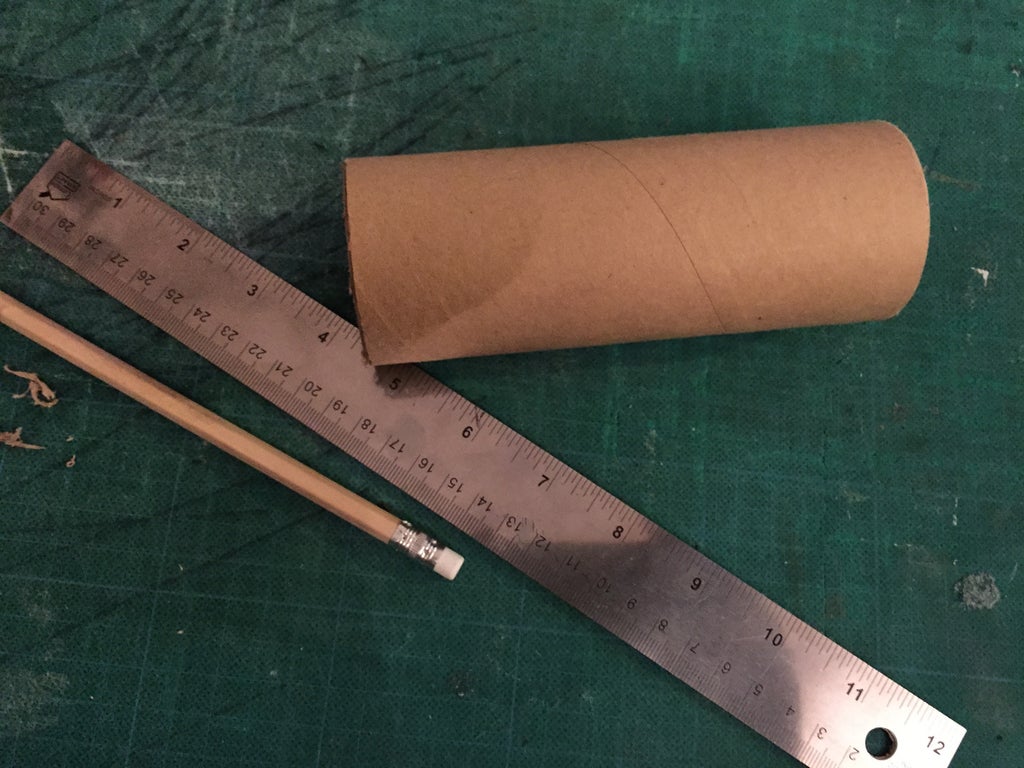
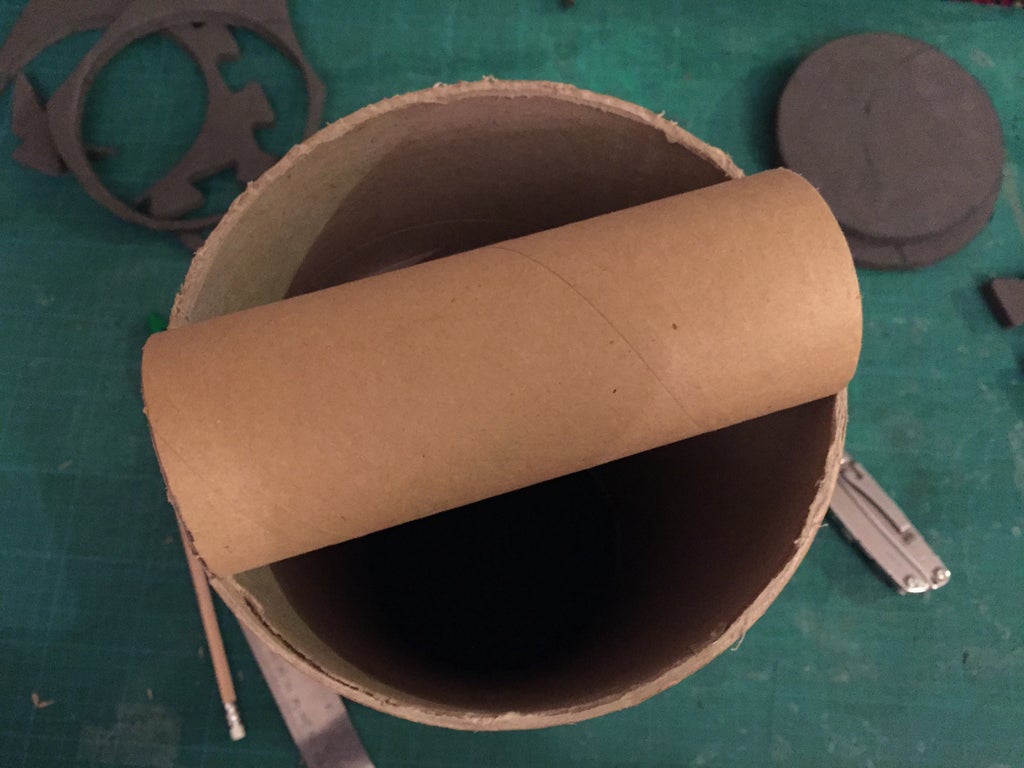
Using a smaller diameter tube, i cut the smaller tube to the diameter of the larger tube. This tube will go into the large one where the handle goes through the large tube.
I cut some 5mm dowel to slightly longer than diameter of the small tube.
Marked four spots along the side of the tube and drilled a 6mm hole through the tube and the broom handle the wooden dowel will go through the tube and the handle to secure it inside the main tube.
I test fitted the handle into the small tube and when everything lined up it was time to put it in the main tube.
I put the small tube in the large one over the holes, then inserted the handle into the main tube and lined up the four holes and pushed the pegs through all the holes. Adding a little glue to the pegs before to get glue through the holes to secure the pegs to the tube.
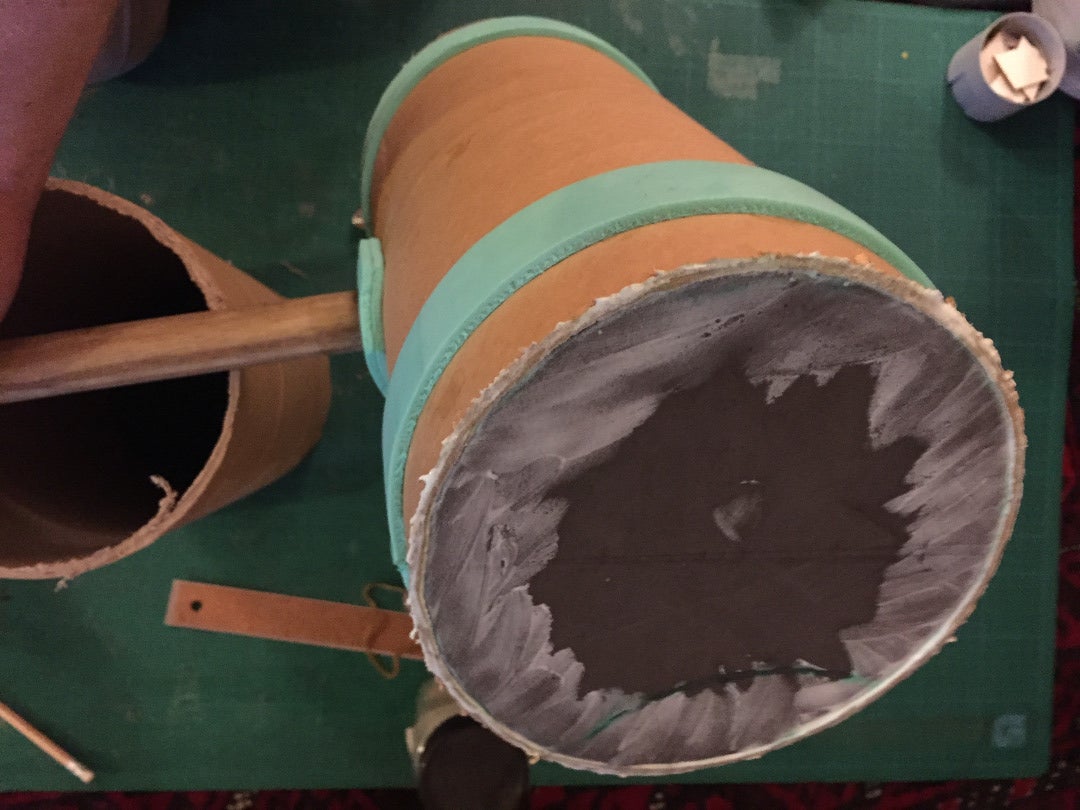
This Setup stopped the tube moving up or down the handle and also stops it from tipping forward or backwards. It doesn't stop the head spinning on the handle, to stop this i poured glue into the gap at the bottom of the small tube and let it set. when it had set it secured all the hammer insides in place and stopped all movement of the hammer head.
When i had done this i glued the thick EVA foam ends into the tubes.
Adding the detail to the hammer head.
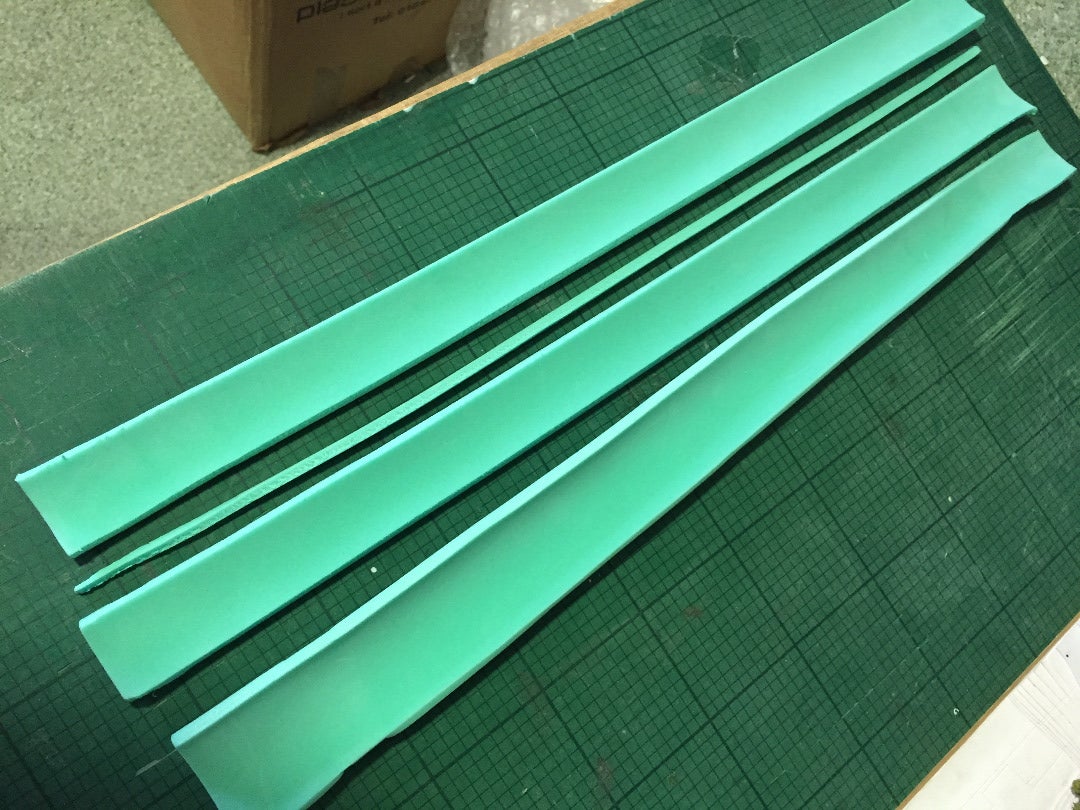
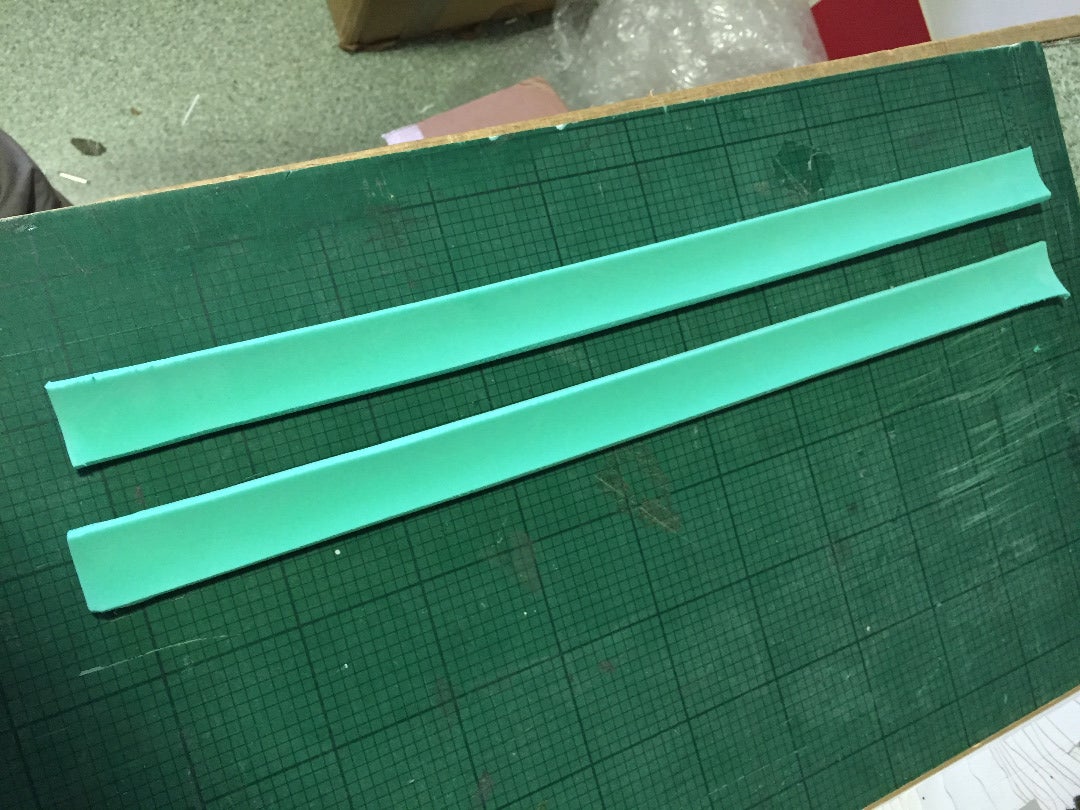
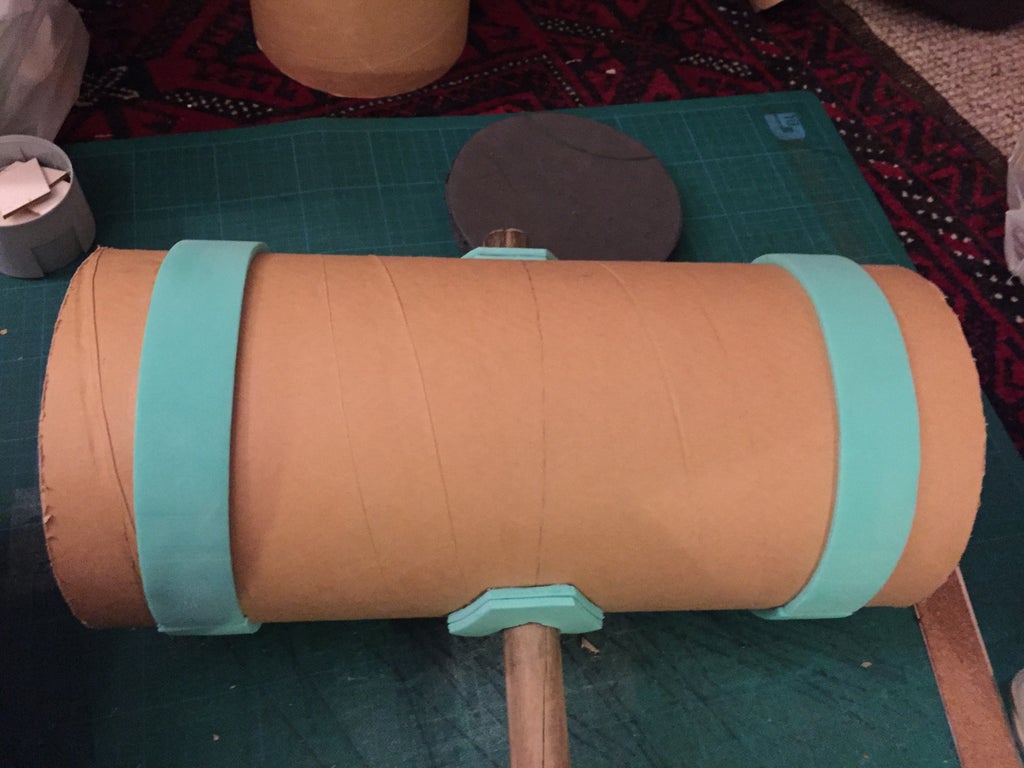
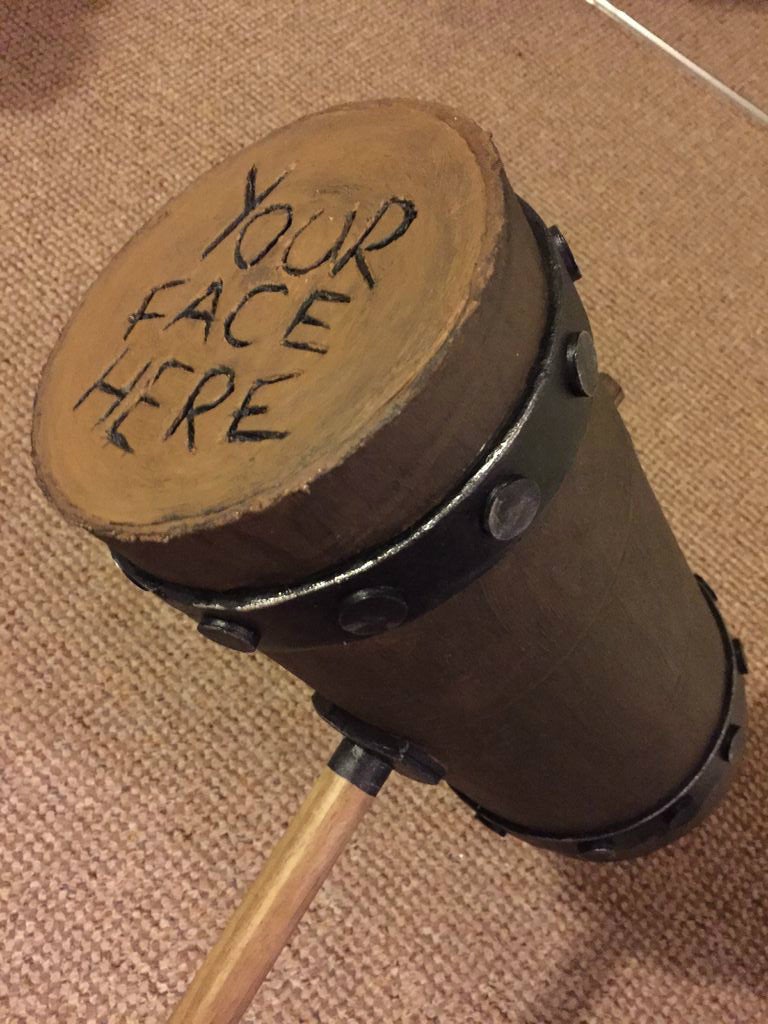
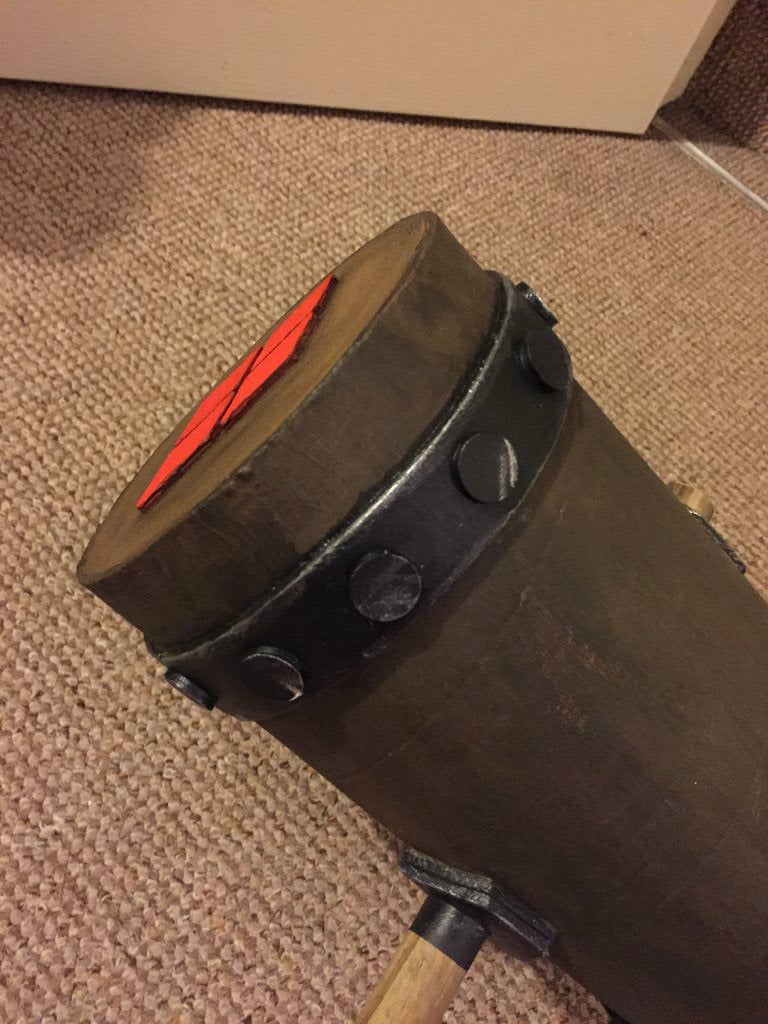
I glued these 30mm strips around each end, around 40mm from the edge.
This strip will be painted to look like its a metal band around the wooden hammer.
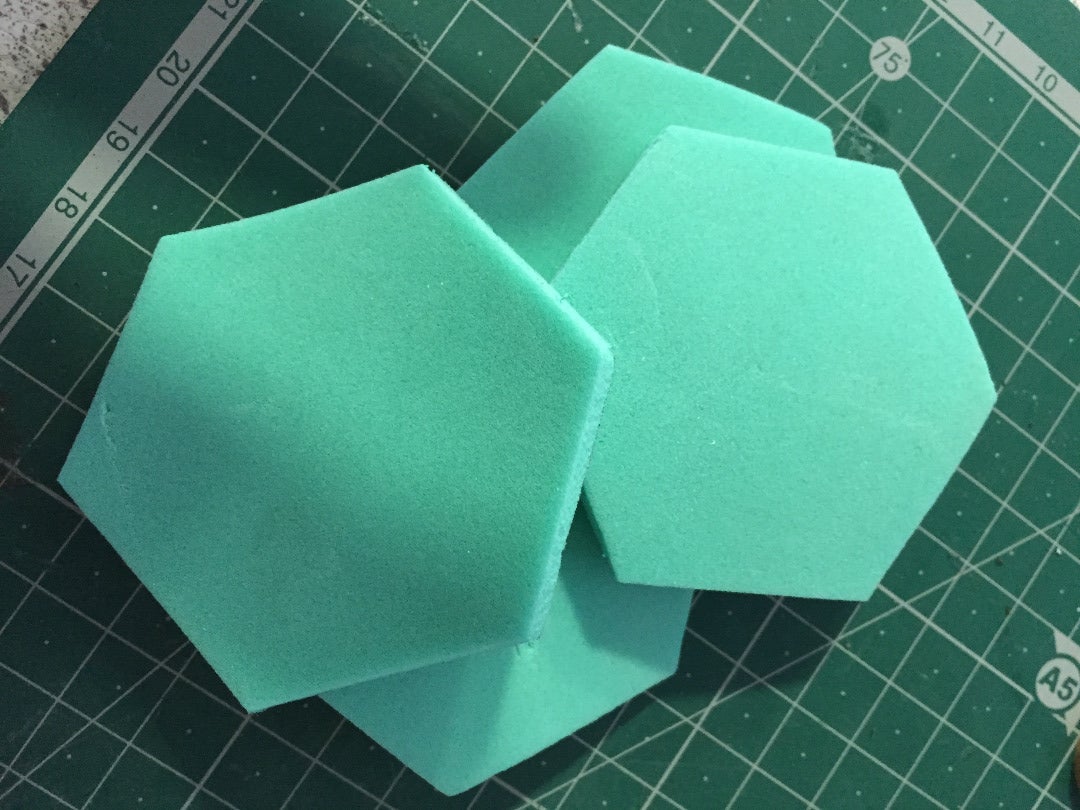
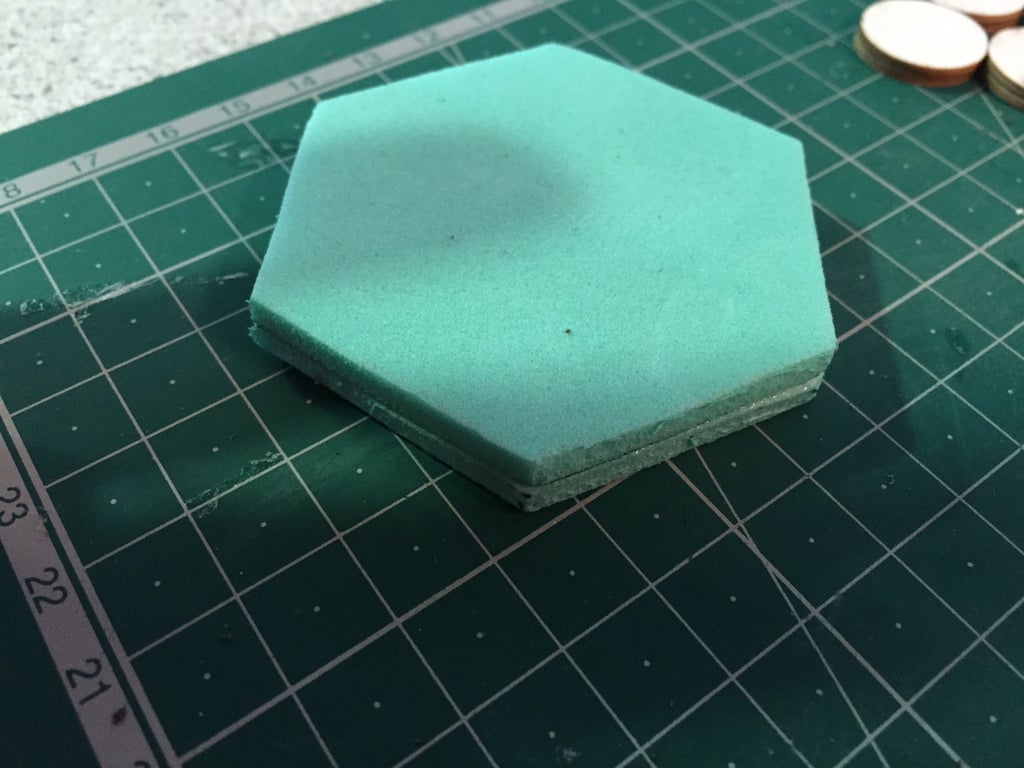
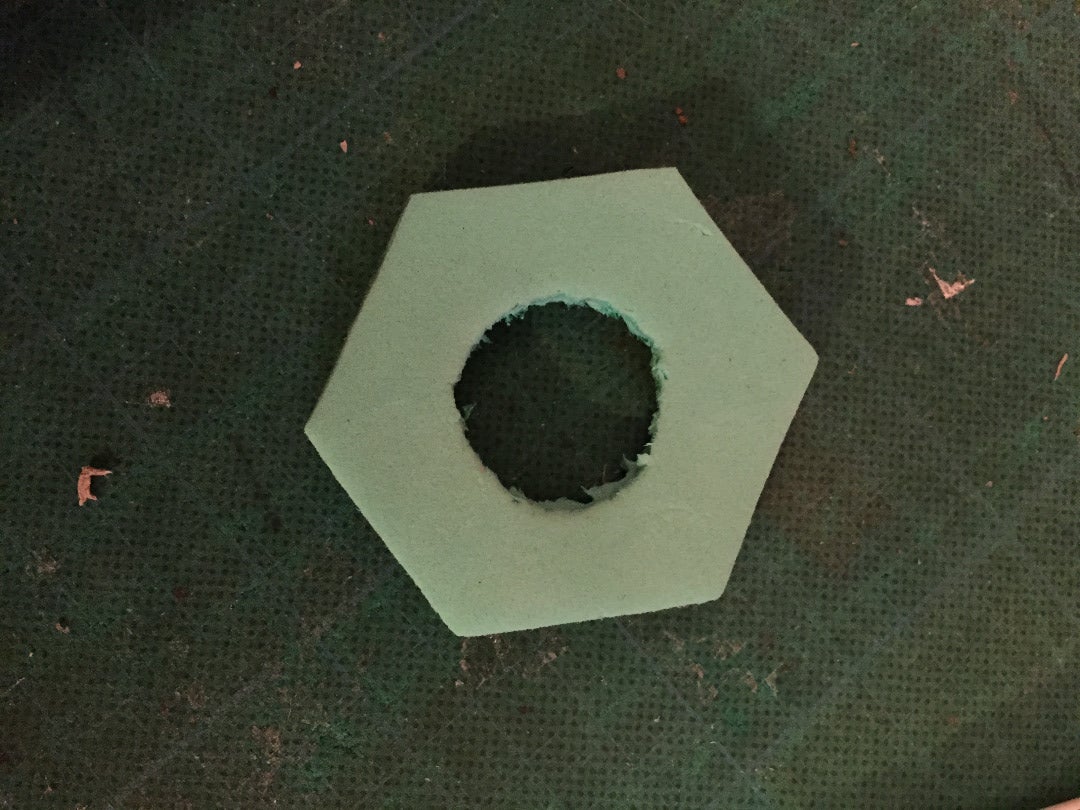
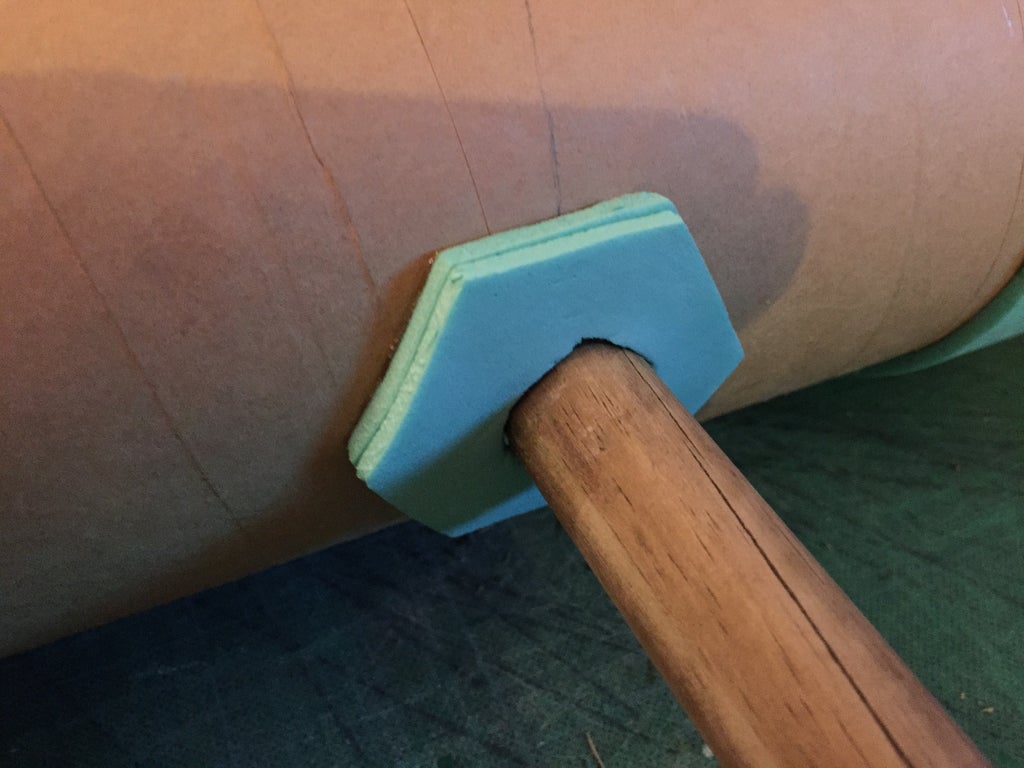
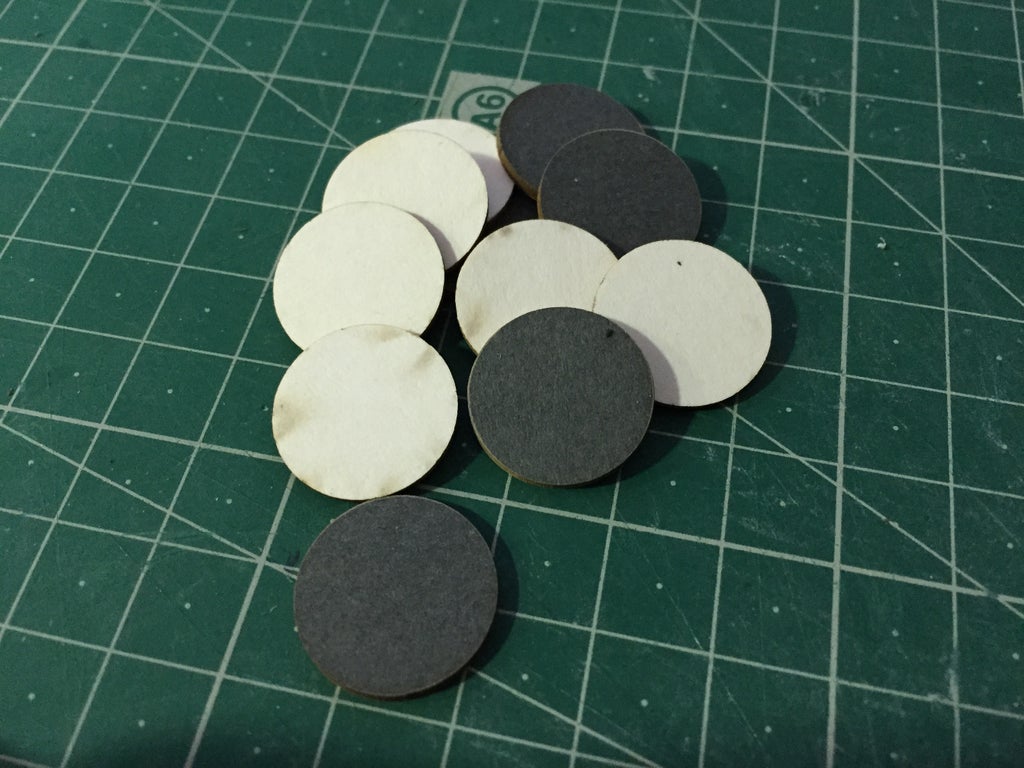
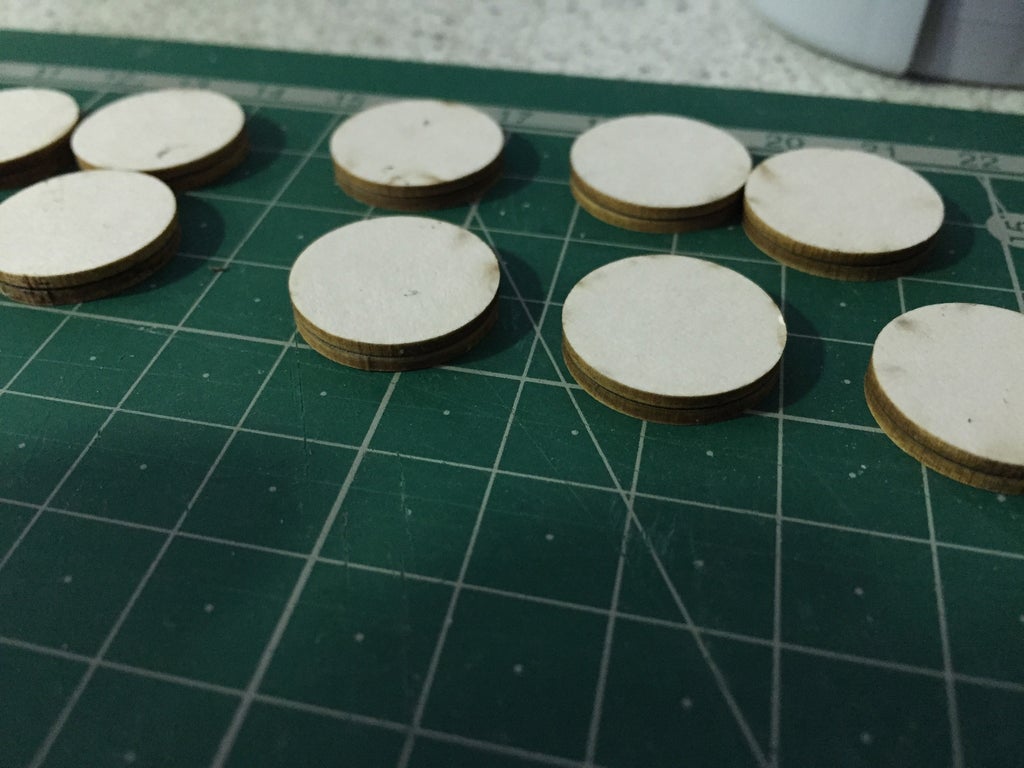
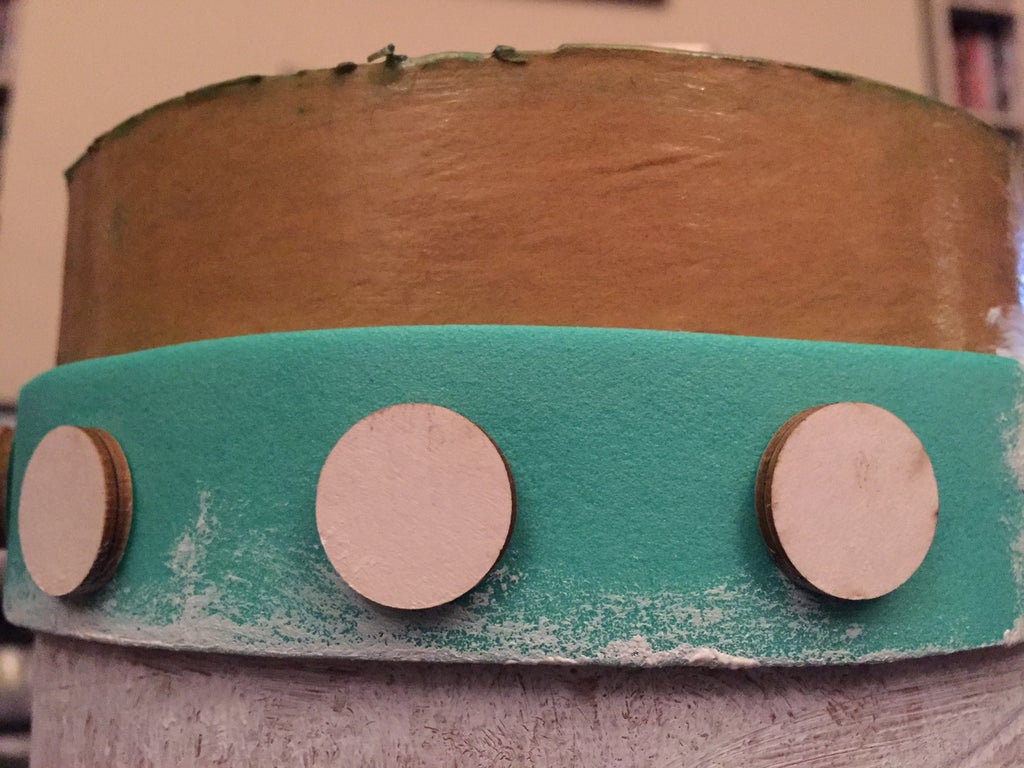
Using the same thin EVA foam I cut 4 Hexagons, I glued two of them together to make it thicker, (i didn't use the 10mm EVA as it is textured on one side and this wouldn't have made for a good surface to glue to the curve tube) when the glue had dried i cut a hole in the middle to go over the handle and the hole to make it look like it had been bolted on.
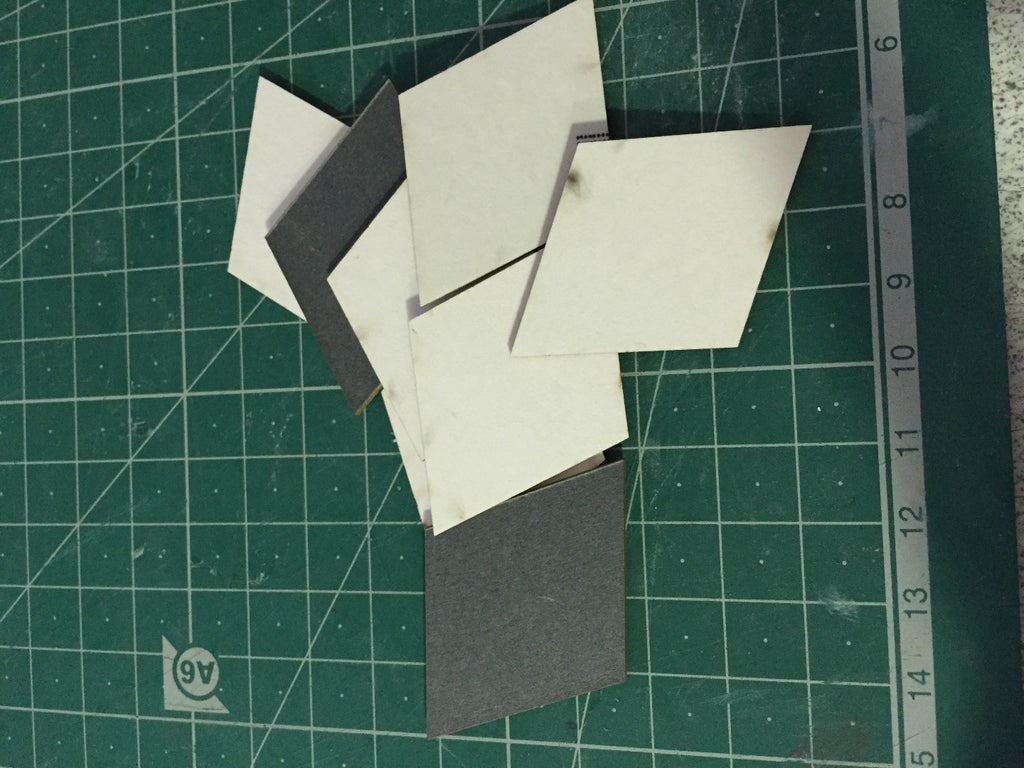
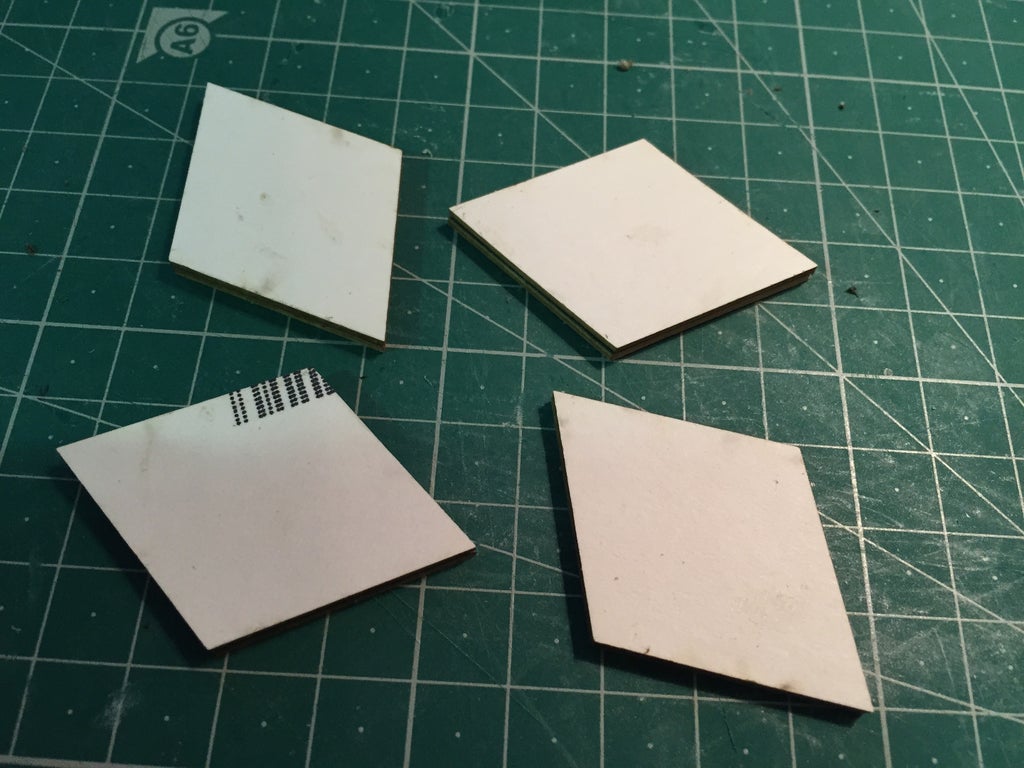
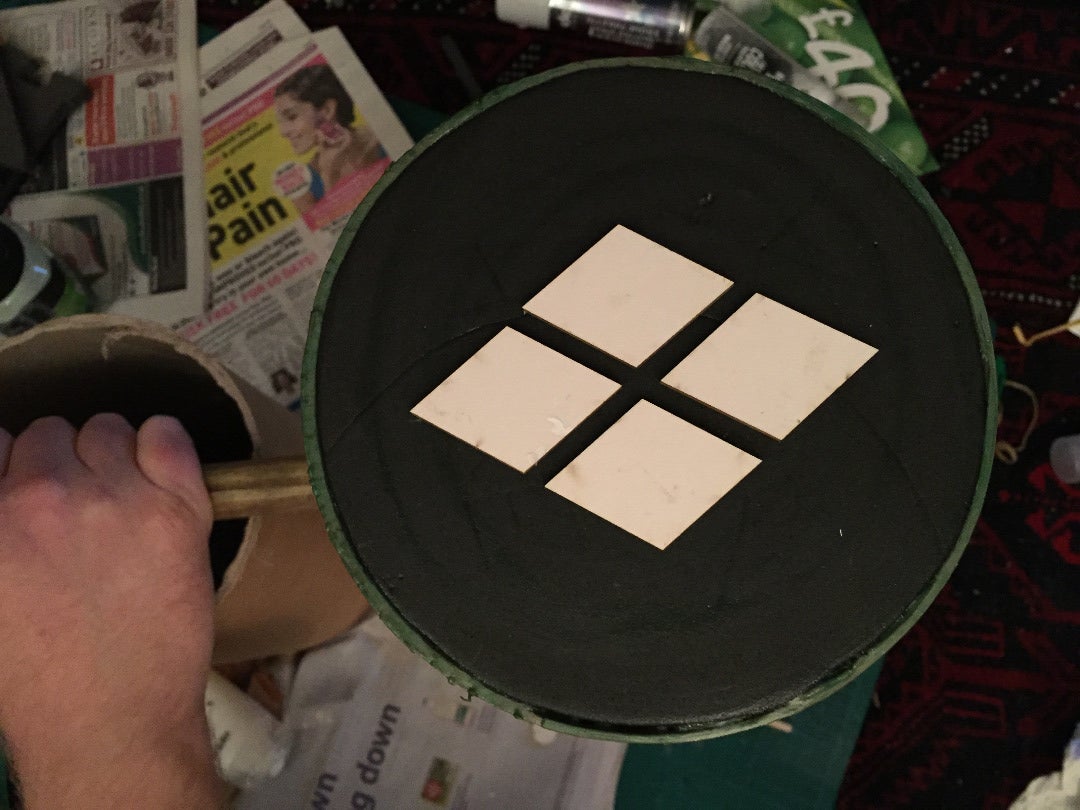
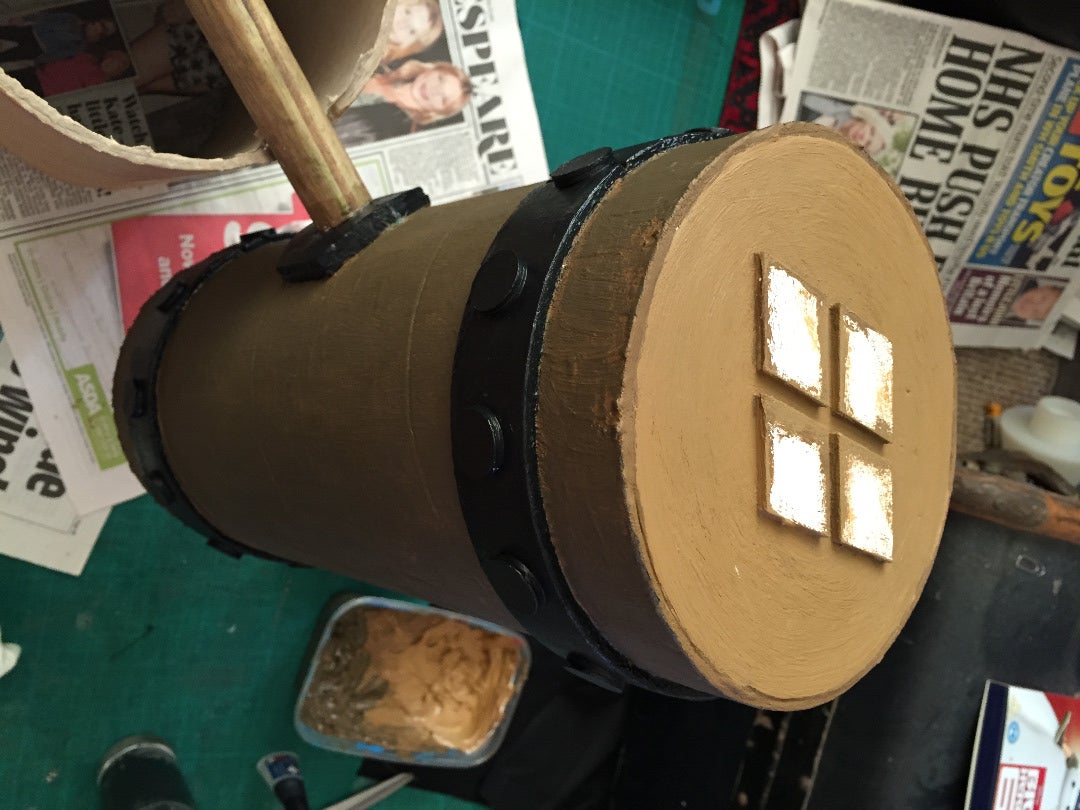
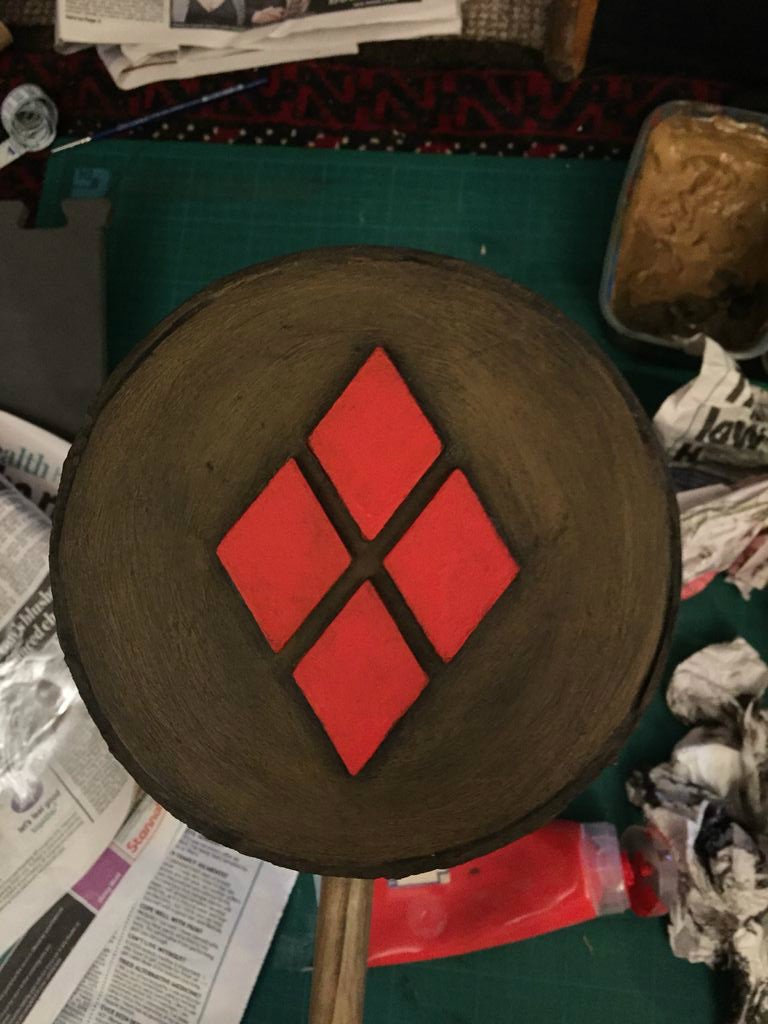
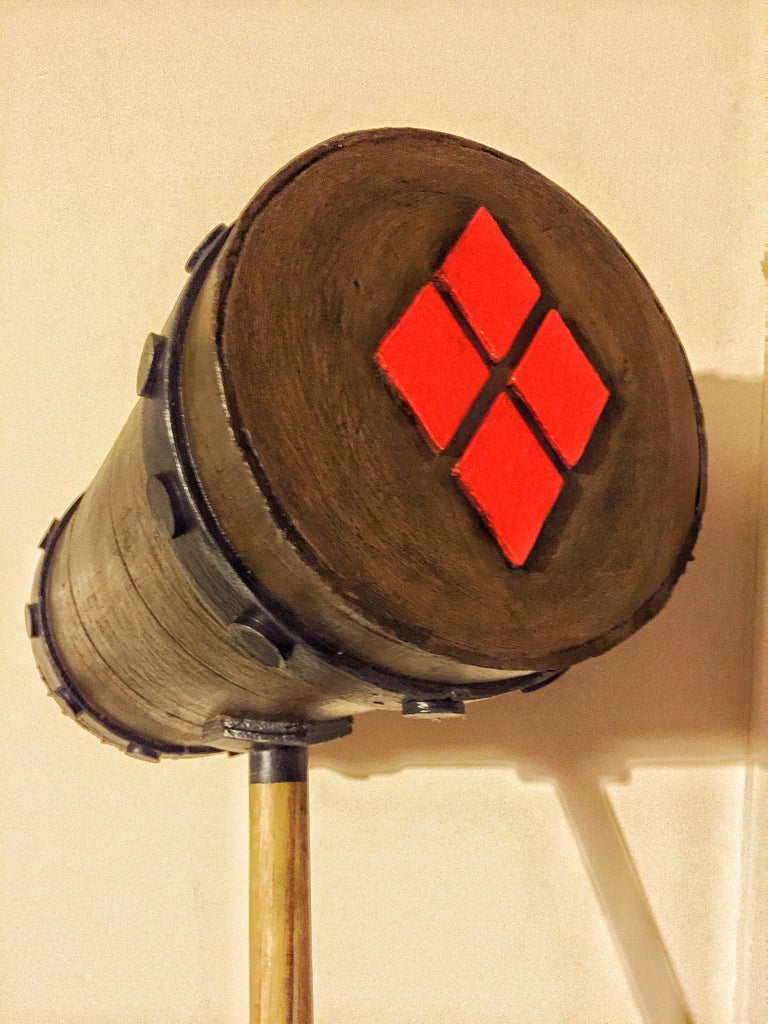
To make the Harley Quinn logo i did a similar thing to the discs, i cut out 8 diamonds and glued two together and then glued them onto one of the hammer ends.
Painting the hammer head.
Before painting the hammer head i gave the whole thing a few coats of a PVA and water mix to seal all the foam sections and give the card a nice sealed surface to paint on it.
When the glue had dried i painted the whole thing with a couple of coats of a white primer.
To make the hammer look more like wood i started the paint technique at the base coat level.( the earlier you start the paint technique the better)
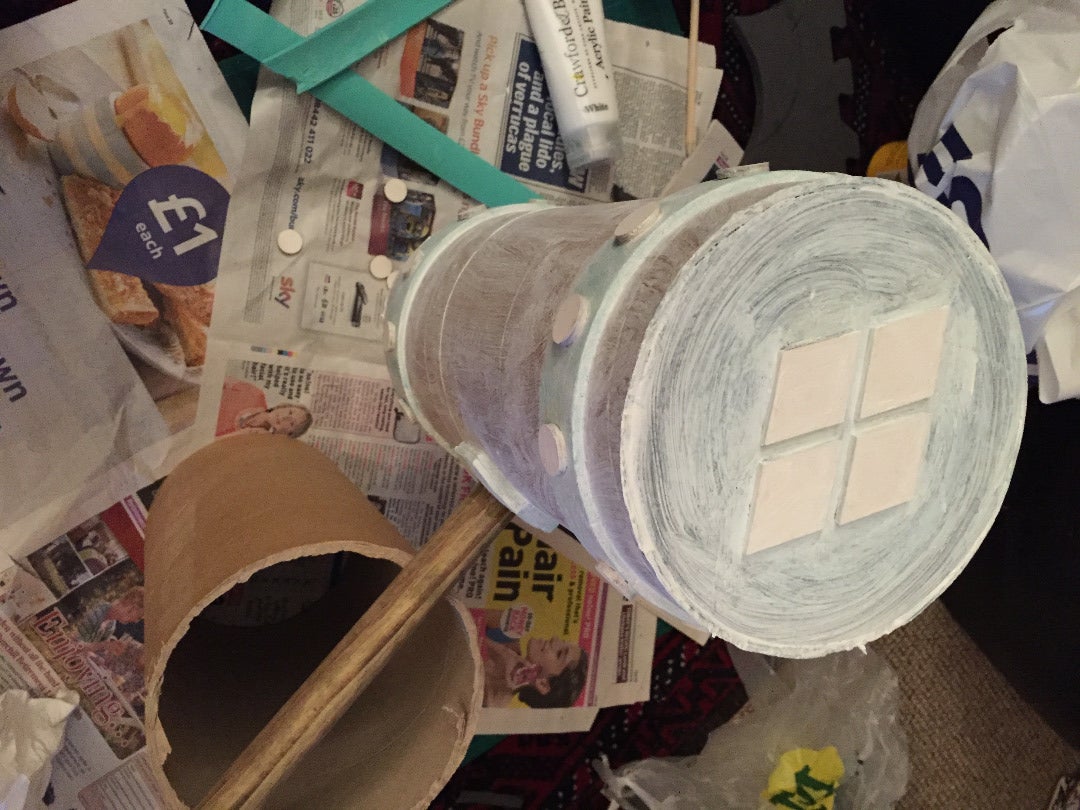
I Painted the sides of the sides of the hammer front to back along the length of the hammer head and the two ends were painted in a circular pattern to mimic the grain of a log.
I painted the whole thing white to give it a good blank canvas to start with.
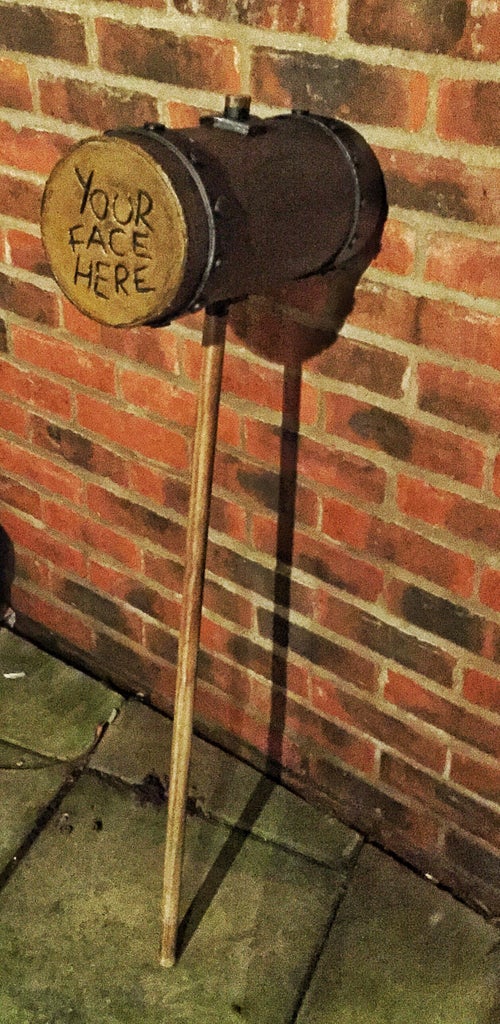
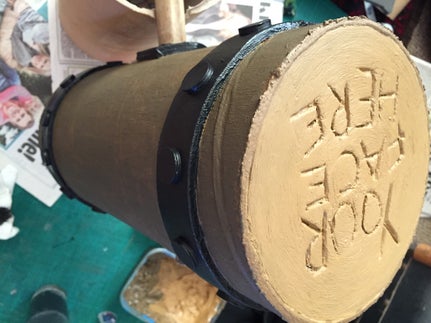
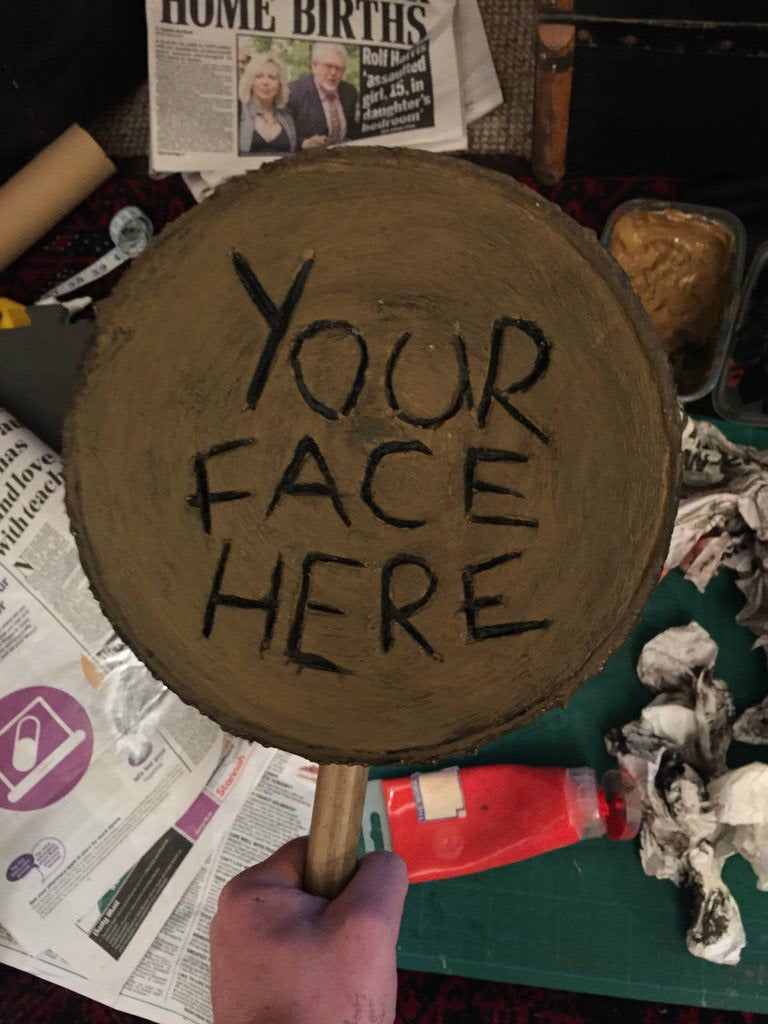
At this point i remembered that i hadn't decorated the other end of the hammer.
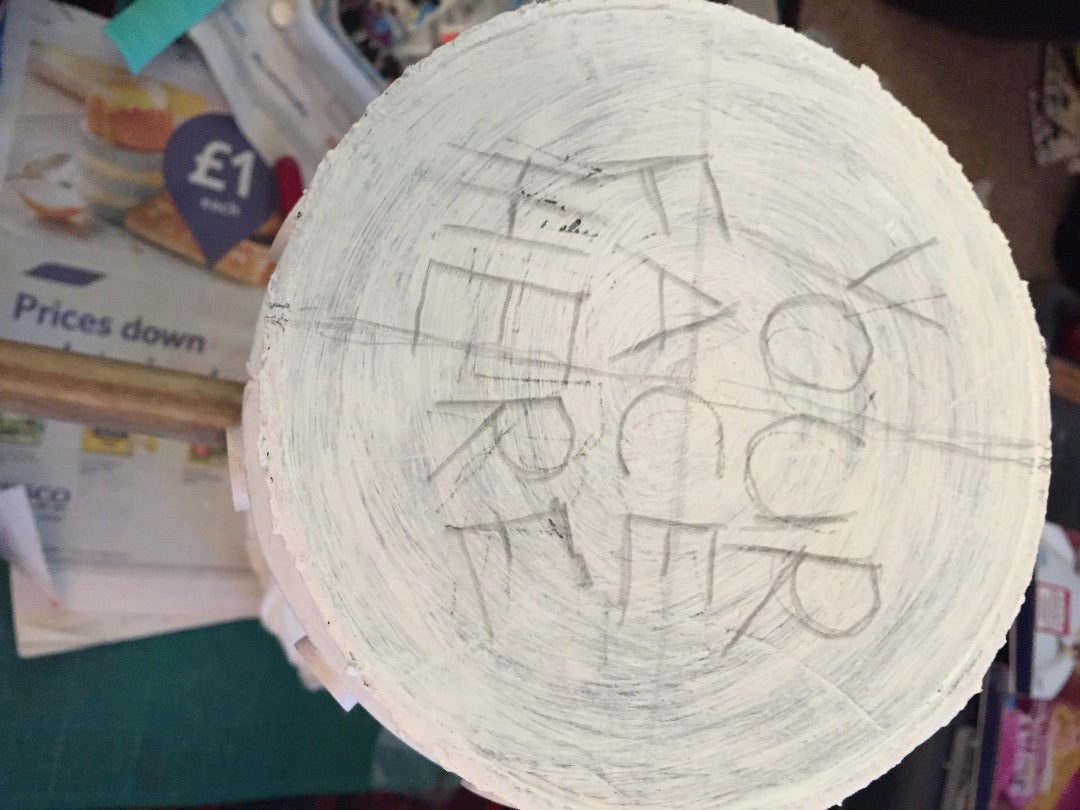
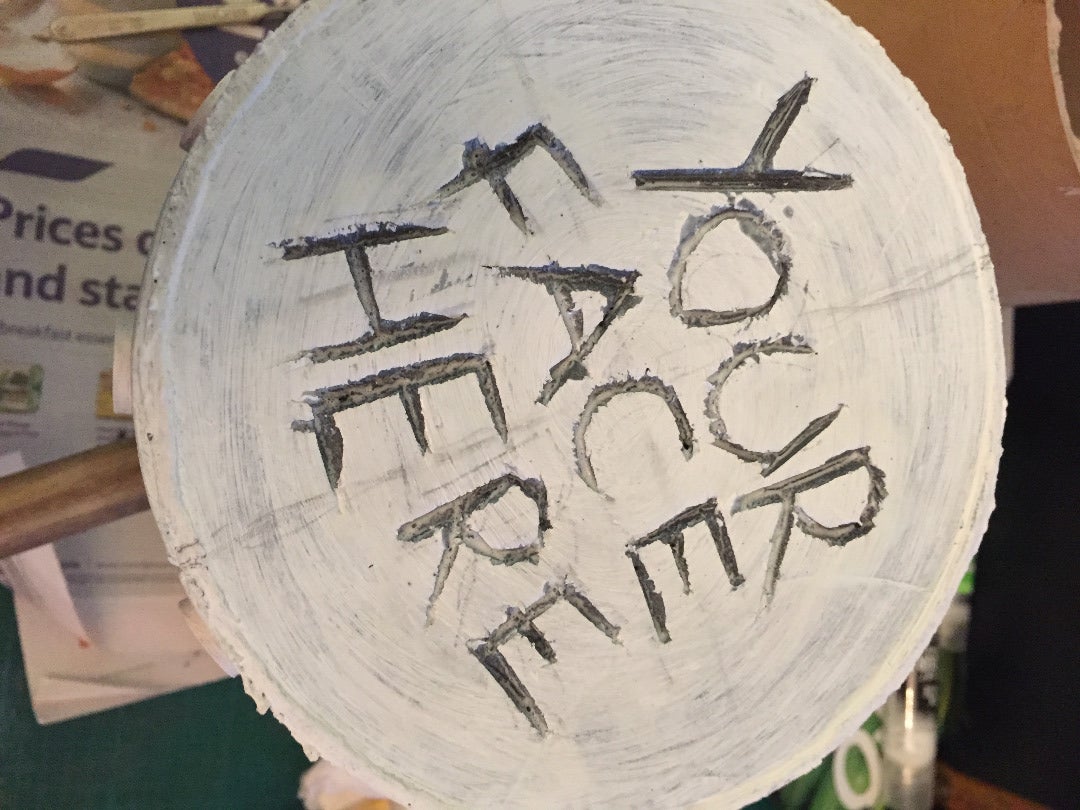
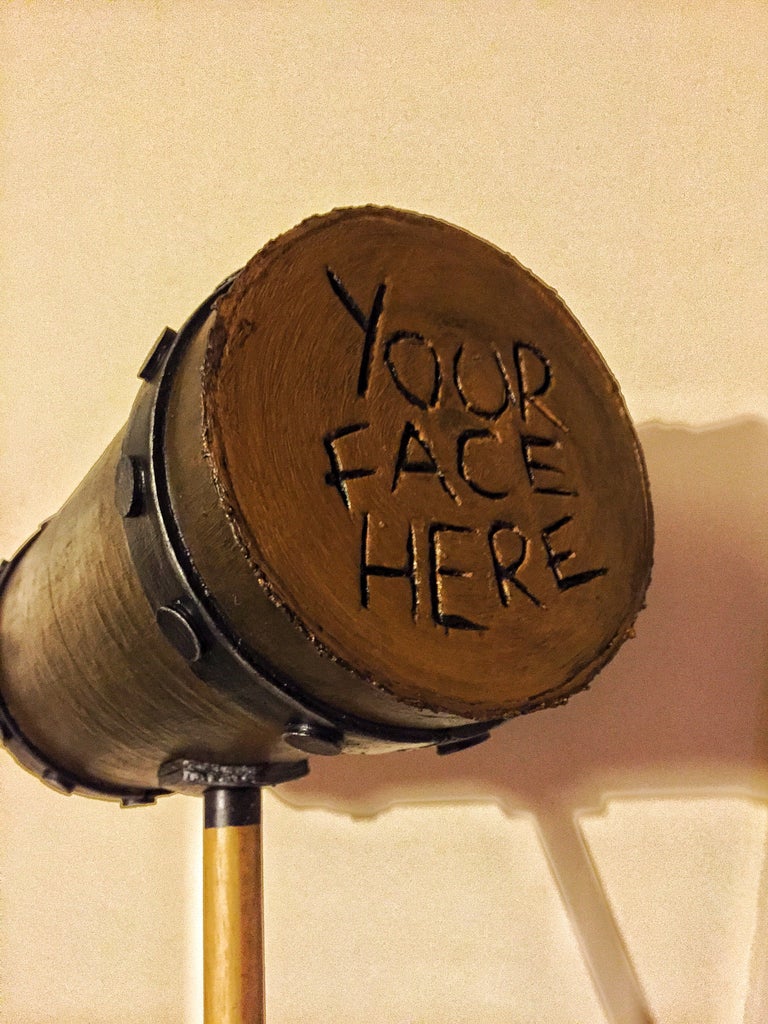
So i marked out the words 'your face here' on the blank end of the hammer and carved it out with a sharp scalpel.
I then had to paint layers of PVA and then a layer of paint over the carved words, as i had exposed the foam again.
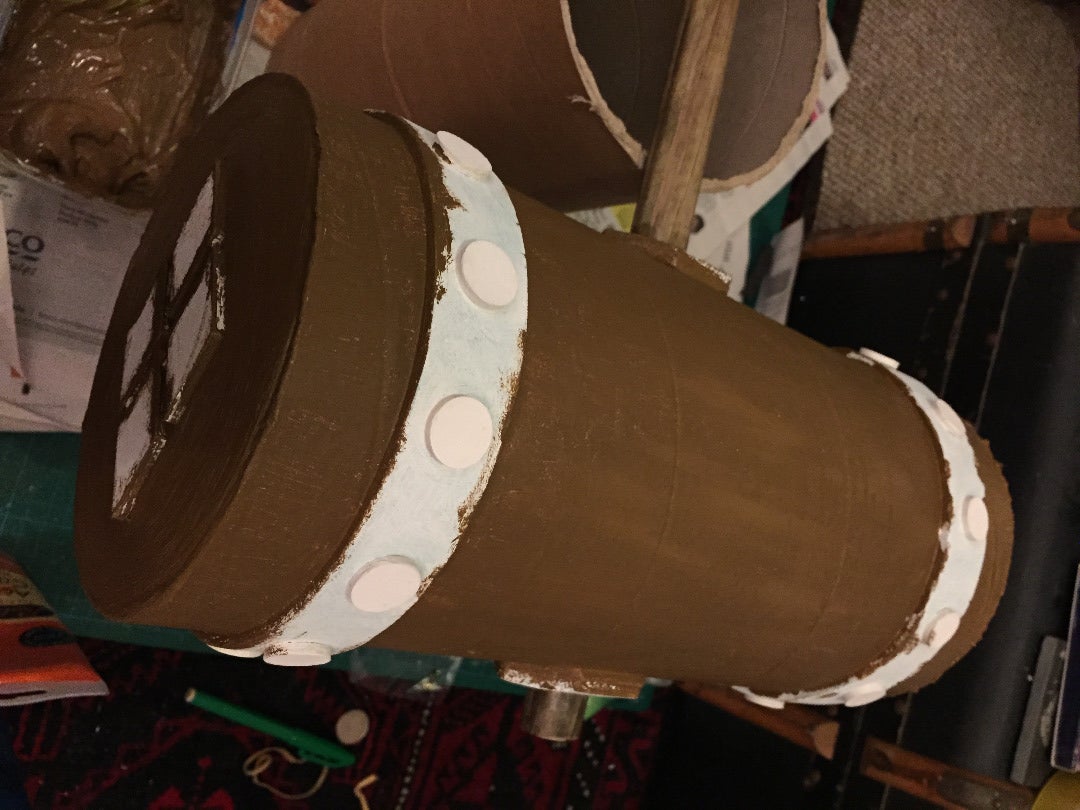
I painted the hammer head in a mid brown. again in the direction of the grain. I painted it quite thick to leave the brush stroke indentations in the paint.
I lightened half the paint and darkened the other half of the mid brown.
I painted the ends of the hammer head with the light brown ( i didn't paint it too well i left some of the mid brown showing through to give depth to the paint work)
I painted the dark brown on the sides of the hammer (again leaving a little of the dark showing through)
Again all of this in the directions of the grains.
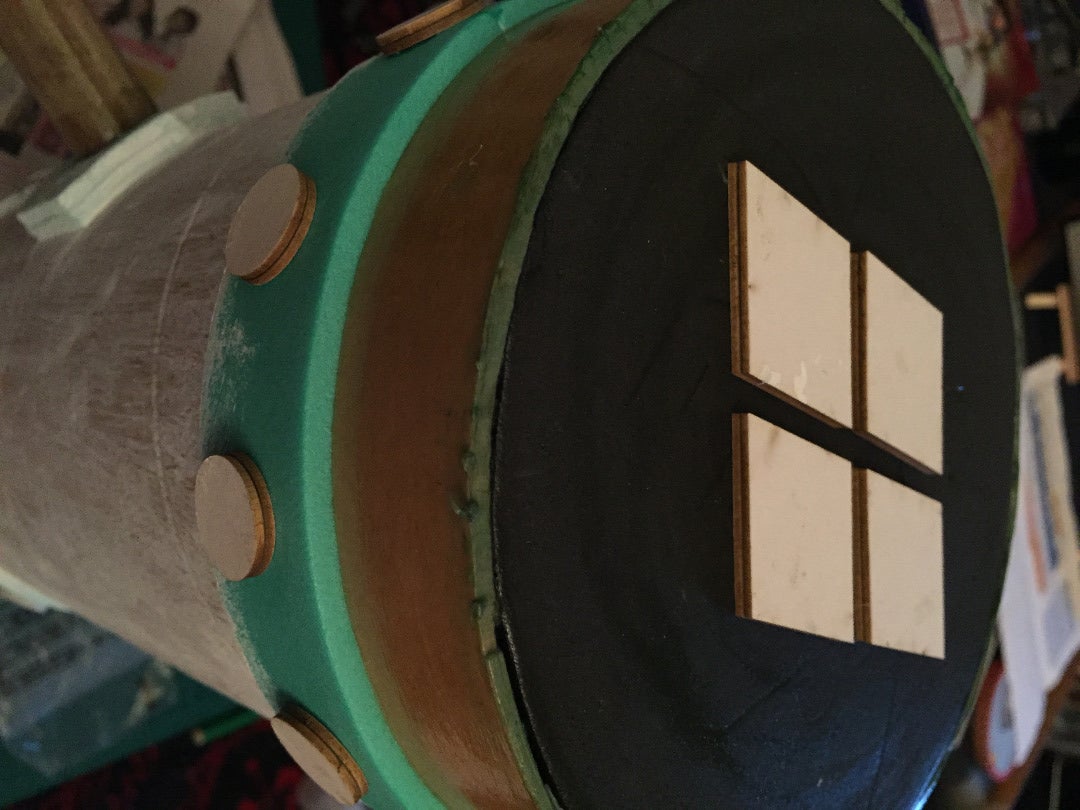
After all the brown paints had dried i painted the bands a dark grey.
Details on the hammer.
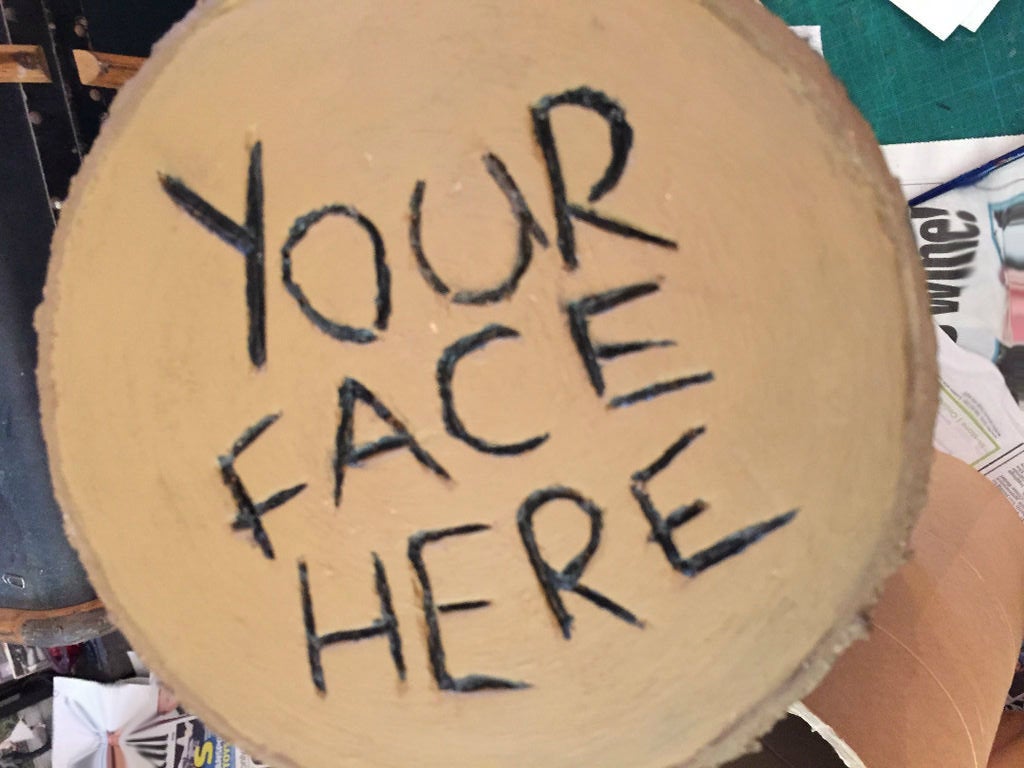
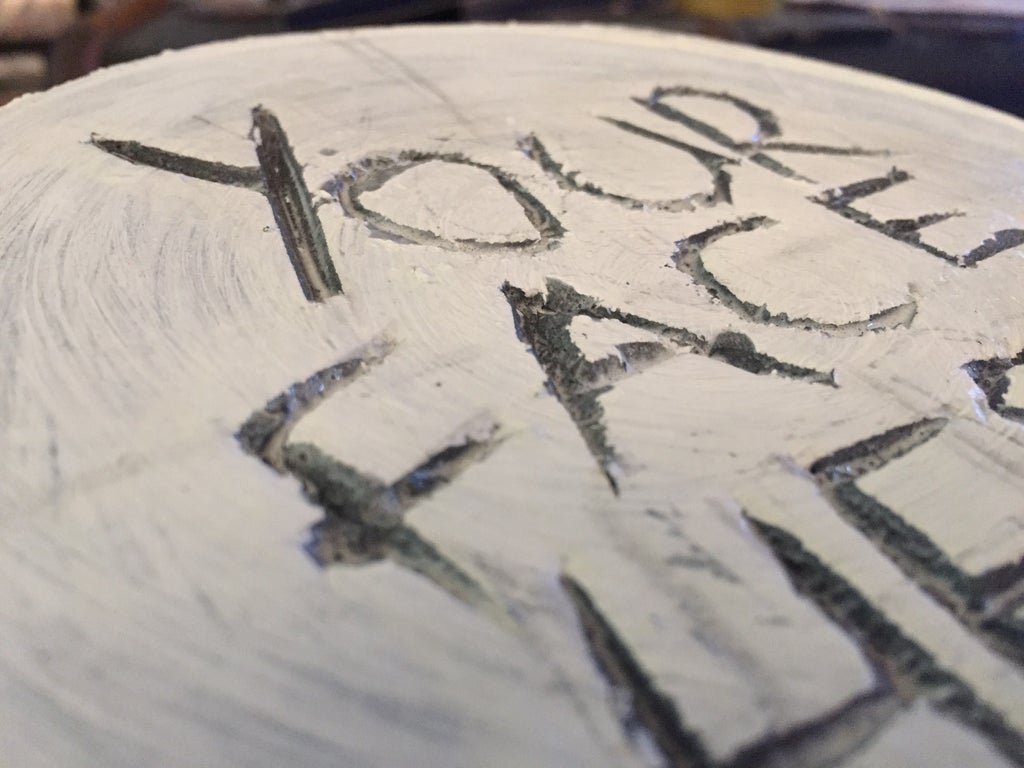
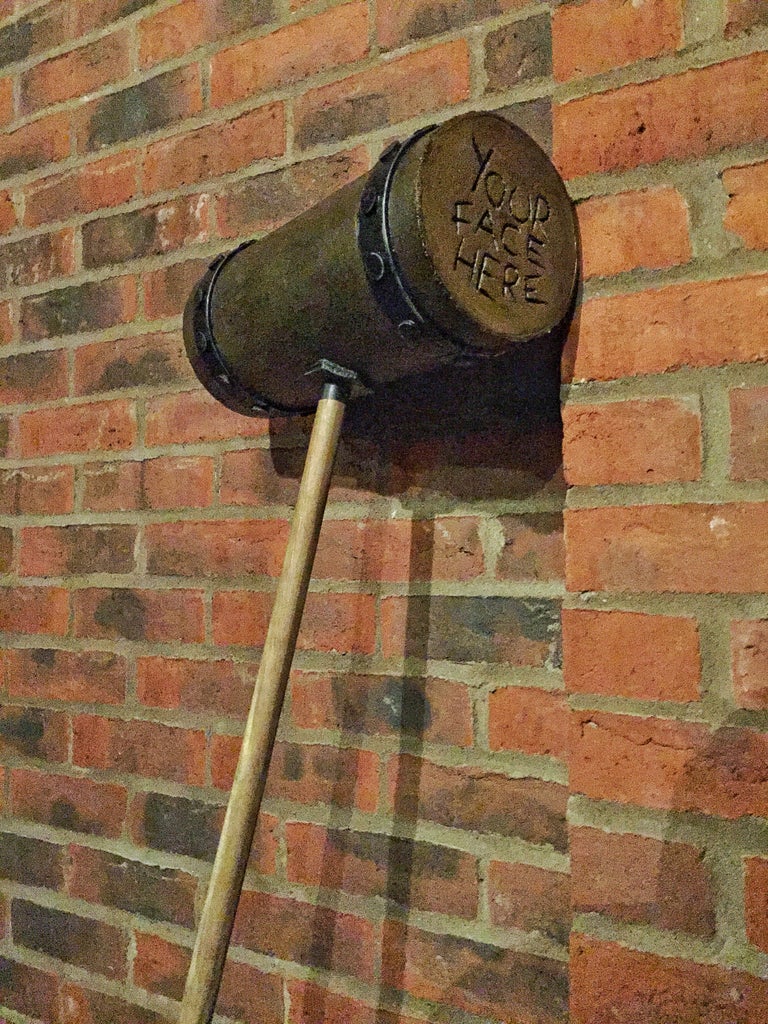
I thinned down some black acrylic paint and painted it into the valleys of the words i carved out of one end.
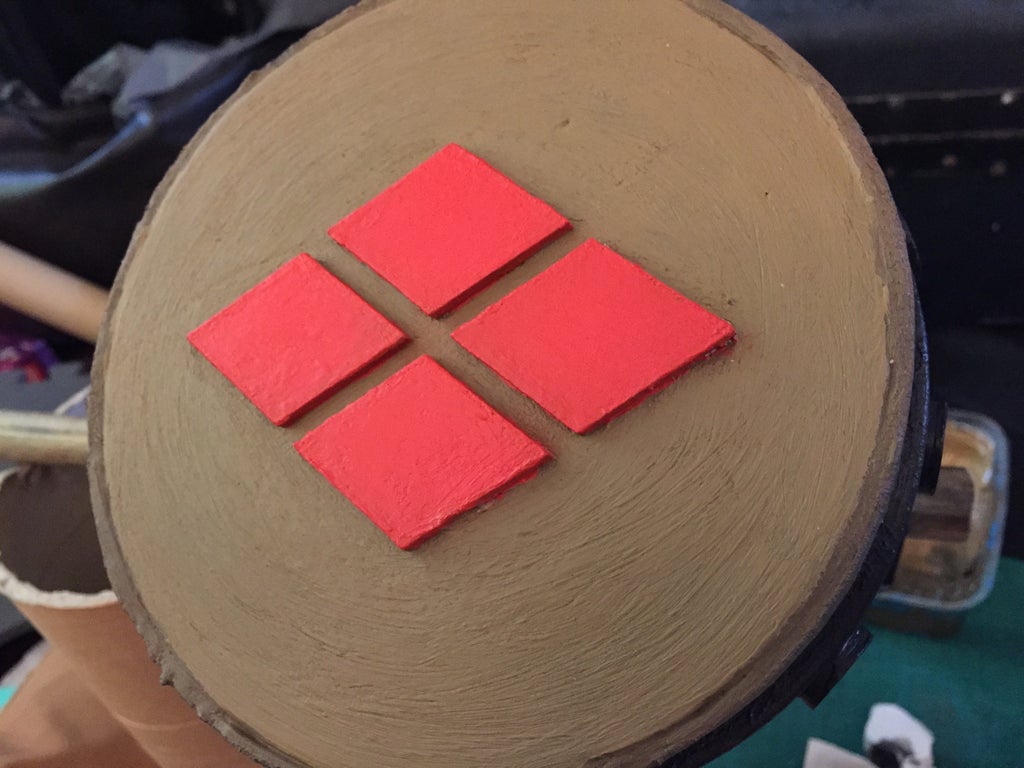
I then painted the diamonds a bright red to make it stand out.
Weathering the hammer head.
This was then painted onto the hammer and then rubbed/wiped off to leave just the dark wash in the grain marks from the paint.
I also used some silver paint and dry brushed it onto the edges of the parts painted dark grey to make them look like metal.
I also used some silver paint and dry brushed it onto the edges of the parts painted dark grey to make them look like metal.
After the weathering i gave the whole hammer a coat of clear coat spray to seal it all in and give the paint a layer of protection.
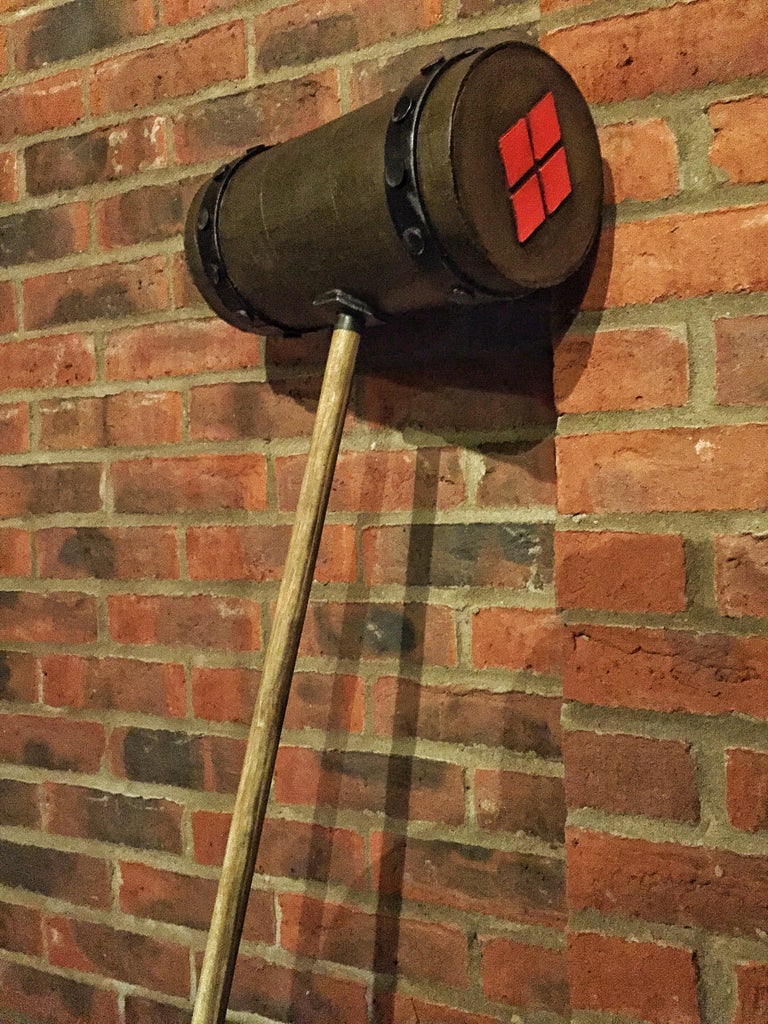
Now you can go out and clobber the batman.