A while back i got hold of a nice little C3PO helmet kit, its not perfect but its still pretty damn good, and i love it.
The kit came with all the parts you need to make the head of your very own protocol droid.
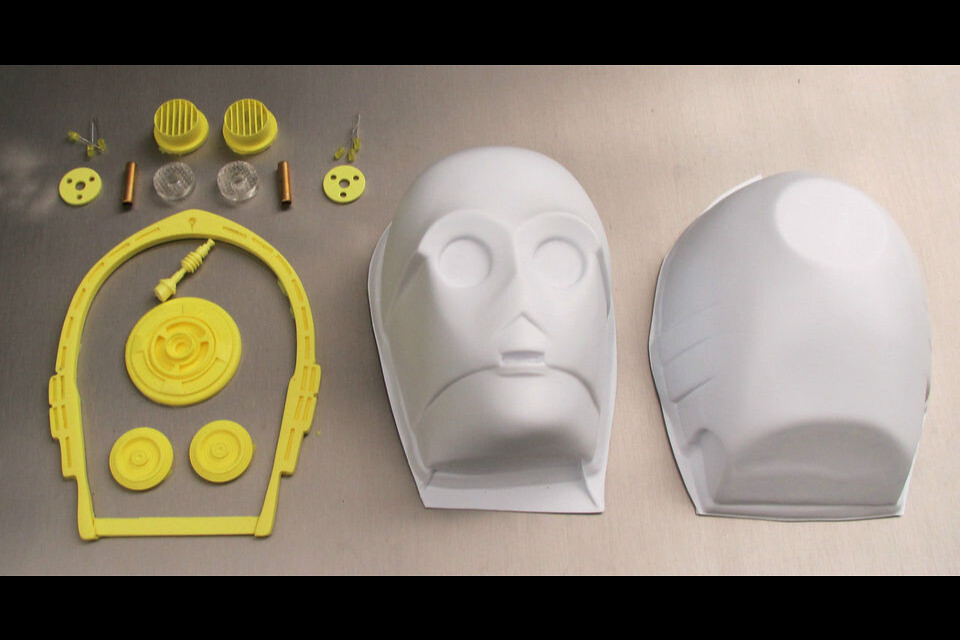
You get the front and back shells of the head (vac formed)
Resin neck bolts.
Resin halo, to go inside the rear shell of the head.
Resin rear detail for the back of the head.
Resin antenna
multiple parts for the eyes.
It even came with some nice colour accurate LED's for the eyes.
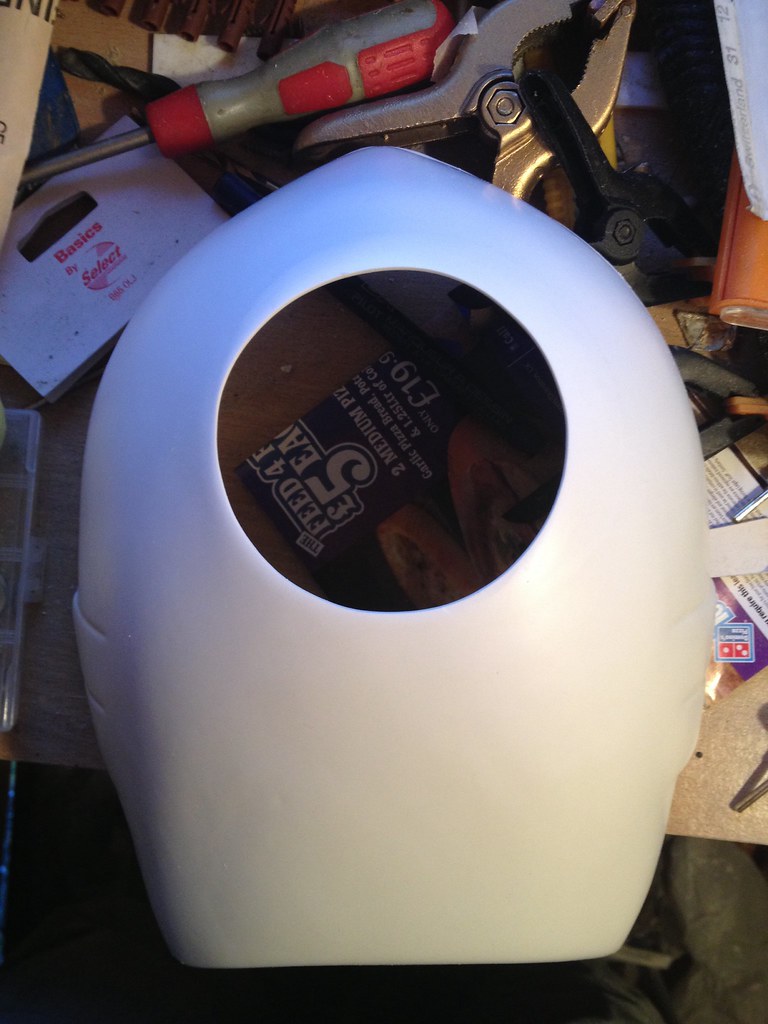
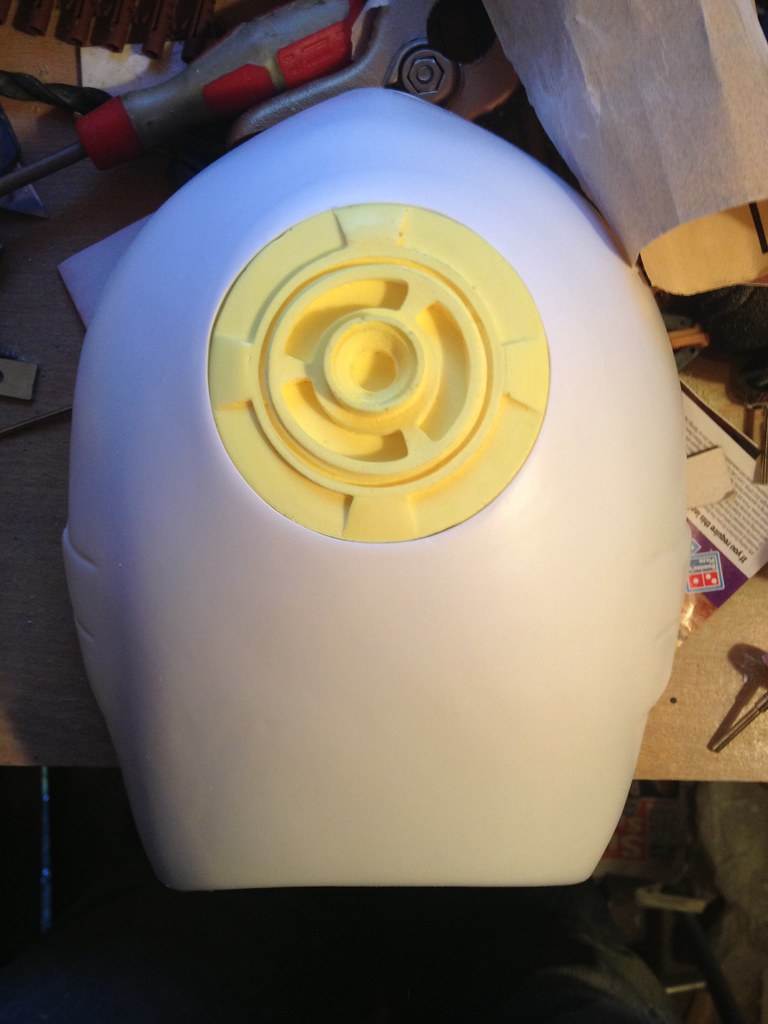
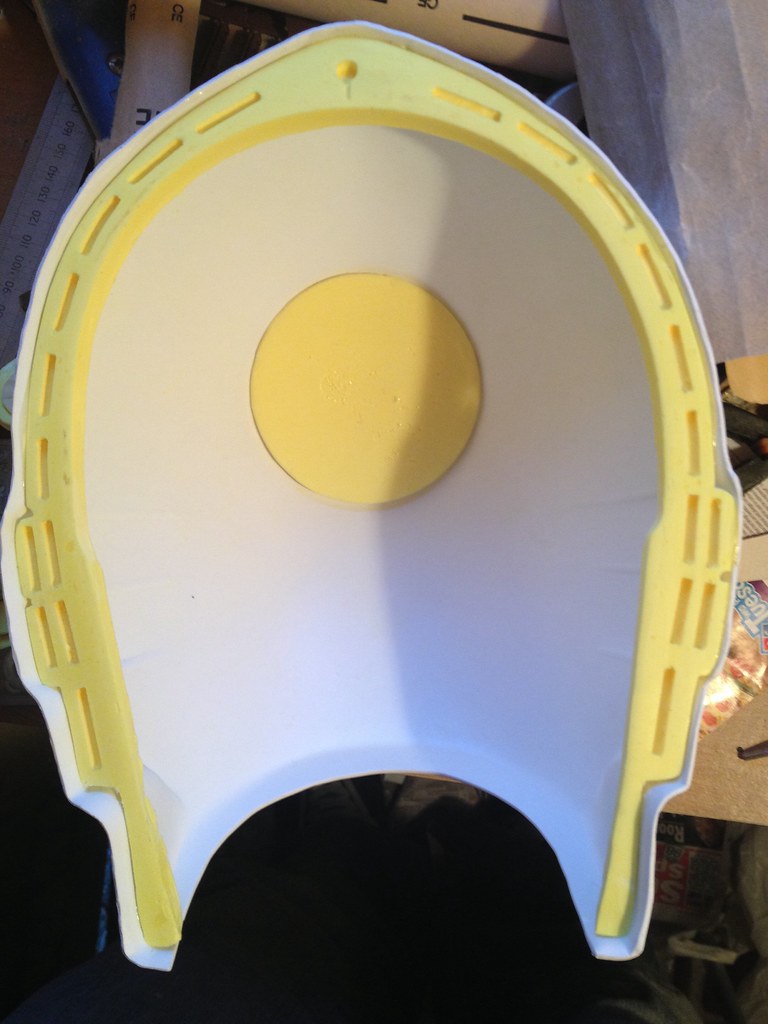
The first step i took was to cut the flat section out of the rear shell to the same size as the raised detail section of the rear 'plug' i then glued the detailed plug in to the hole and made sure it was the correct rotation.
I then glued the halo into the rear shell at the right depth, there was some extra plastic around the halo as the vac form was pulled with extra which was perfect to get it in the right place and flush against the halo.

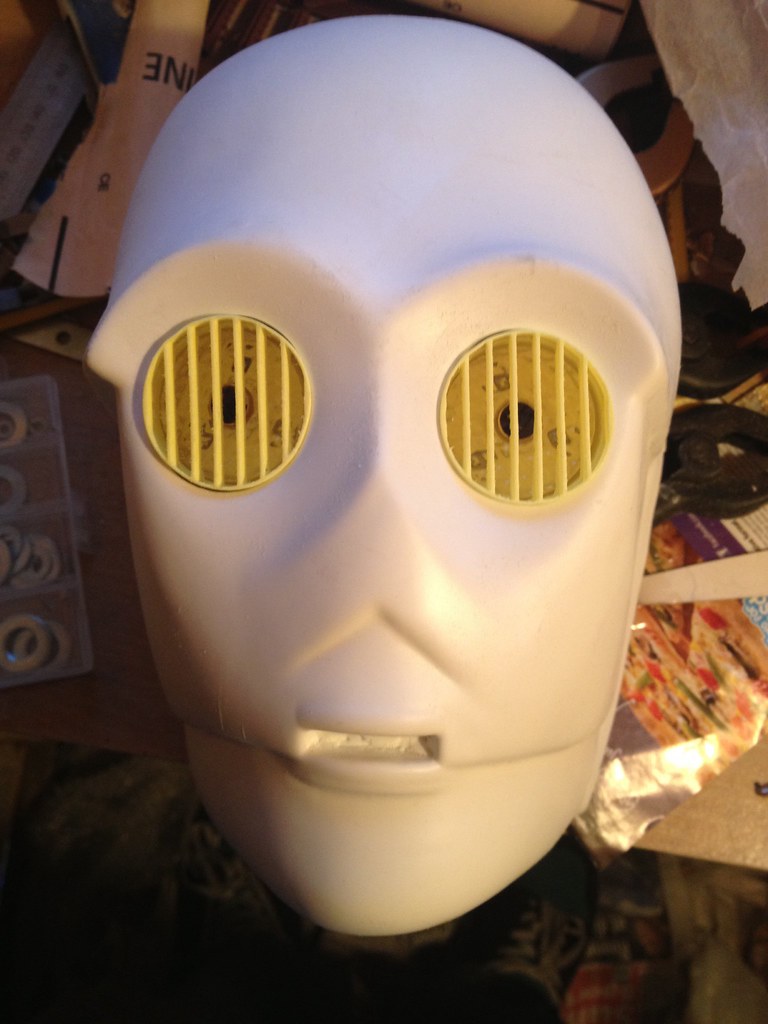
The eye holes were the next thing to be cut out.
I started by trimming them out to the line in the shell and test fitting the eyes the holes were slightly too small so i then began slowly sanding the edge of the hole until the eyes fit inside the shell.
I didn't glue them in place as this was just a test fit.
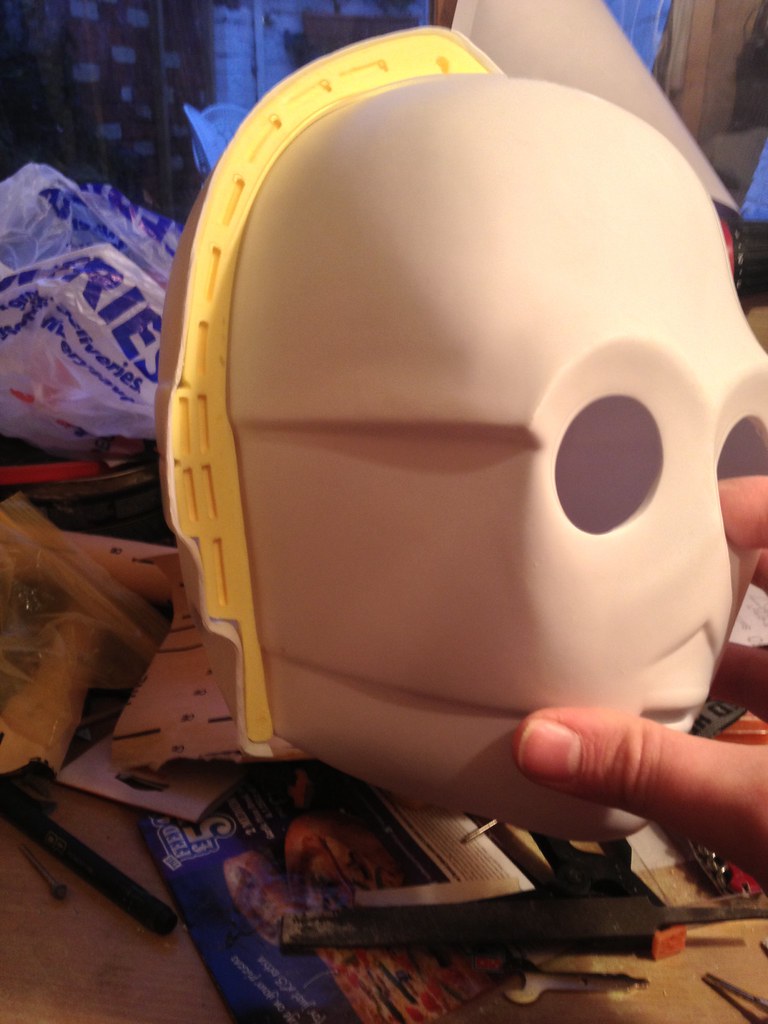
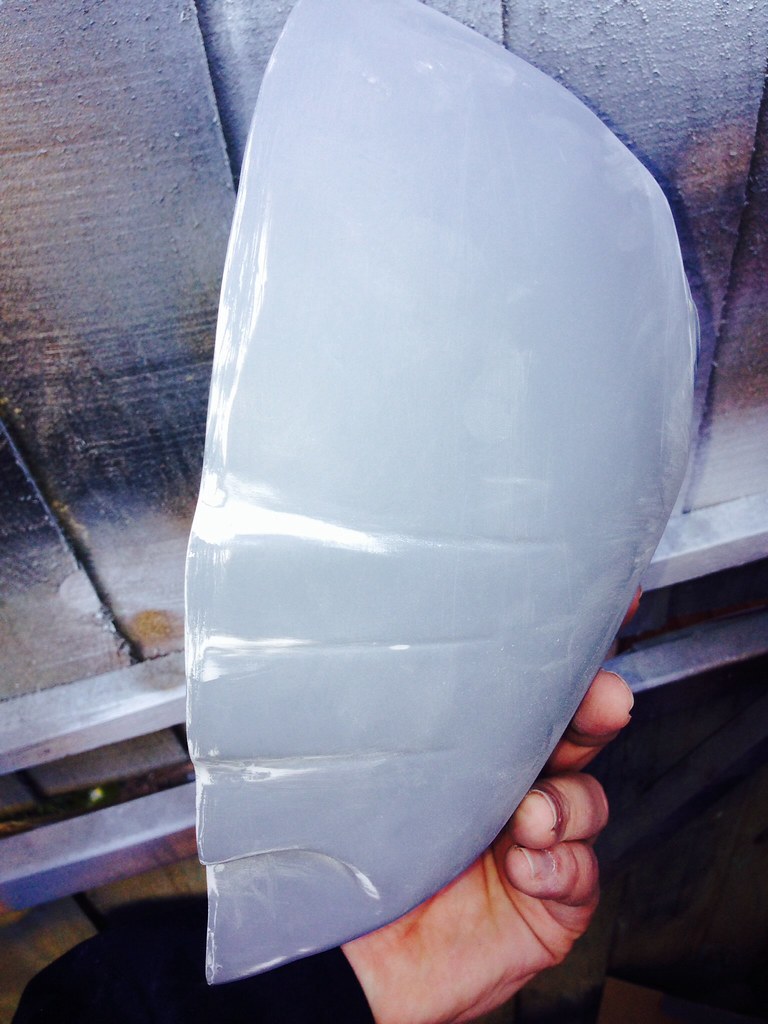
The front plastic shell has to fit inside the halo so the halo will have to be sanded and shaped to fit the shape of the front of the head.
This process is a slow one as i needed to do it bit by bit to make it flush.
In one place i went to far so i had to fill it and re-shape and get it to fit.
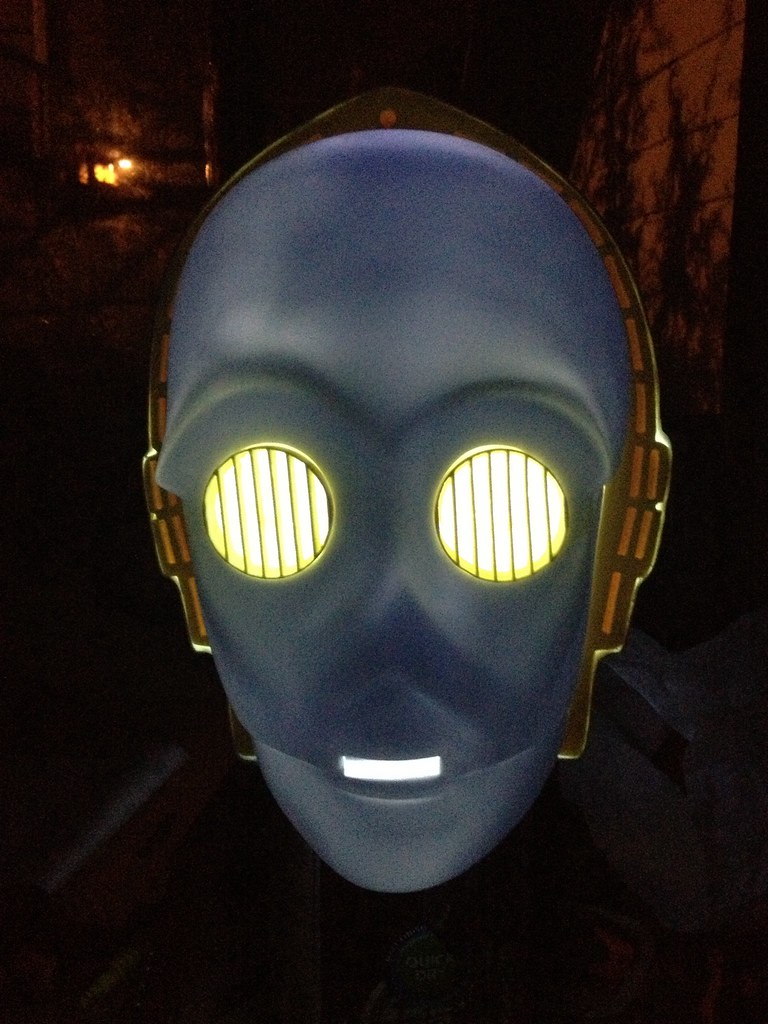
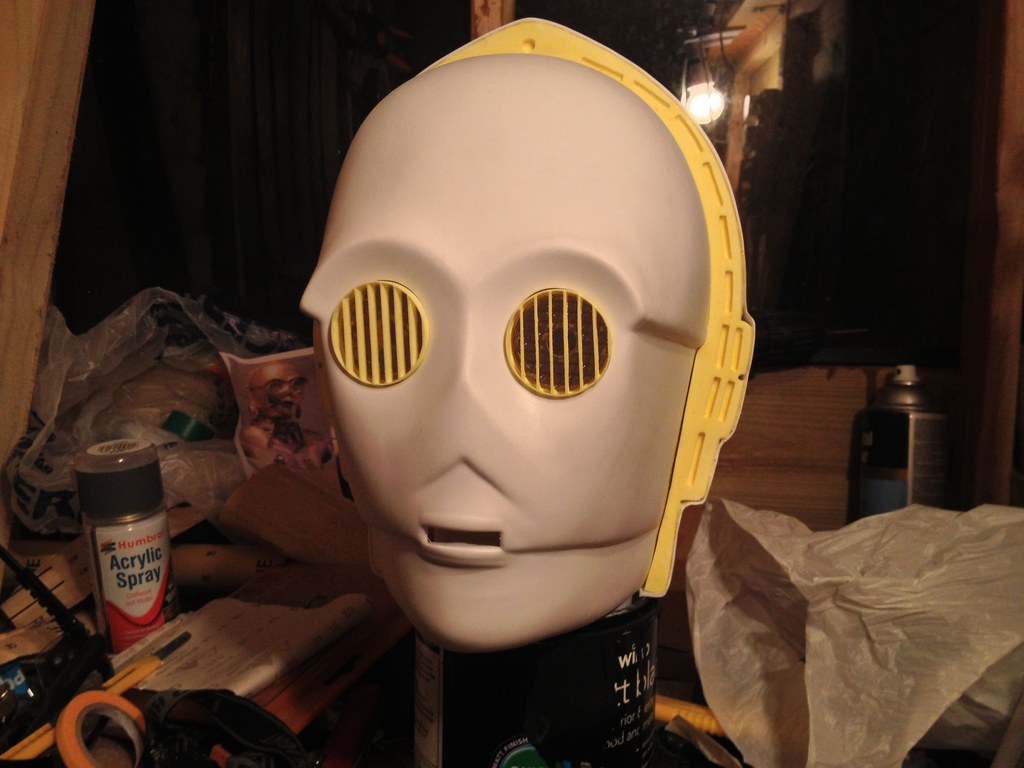
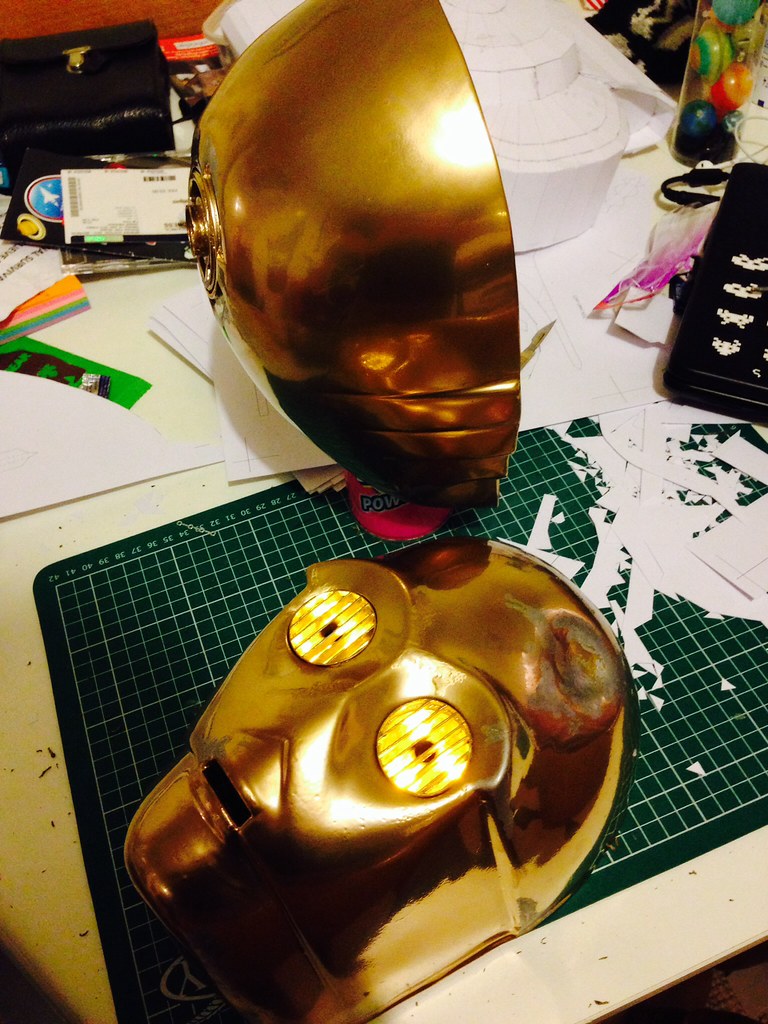
I did a little test of fitting all the parts together and i put a torch inside just for fun to see how his eyes might look lit up.
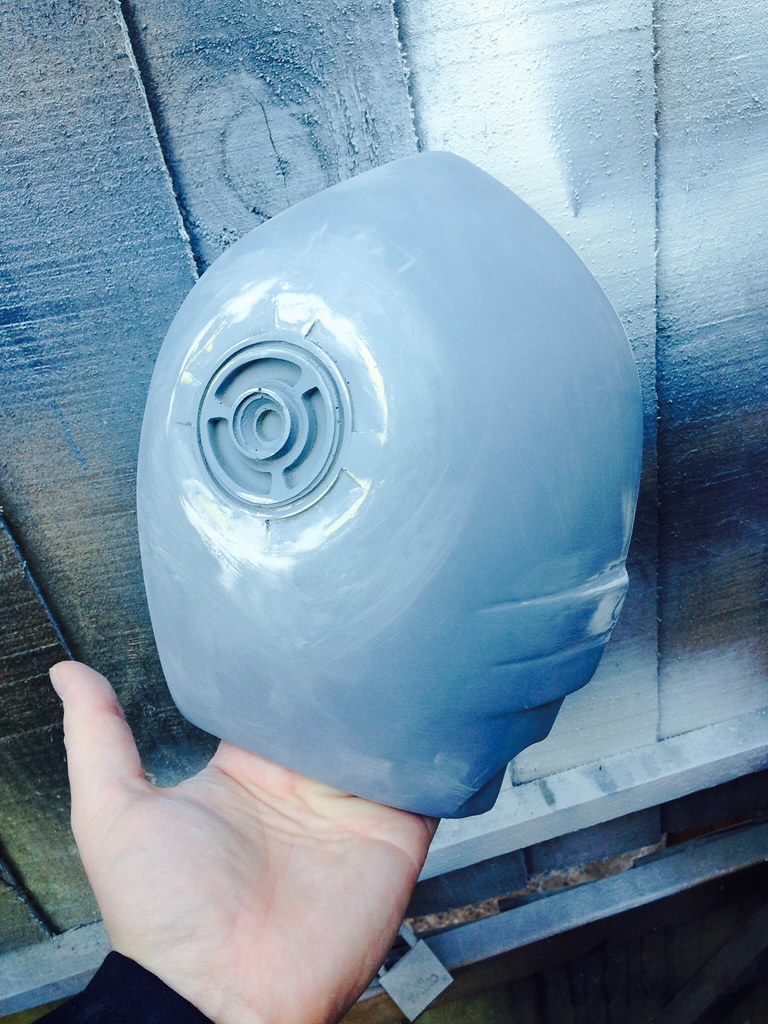
On the rear detailed section i filled the gap between the resin plug and the plastic shell and sanded it flush and gave it a coat of primer and then filled any gaps i missed the first time round.
I did the same for the gaps around the halo and the rear shell.
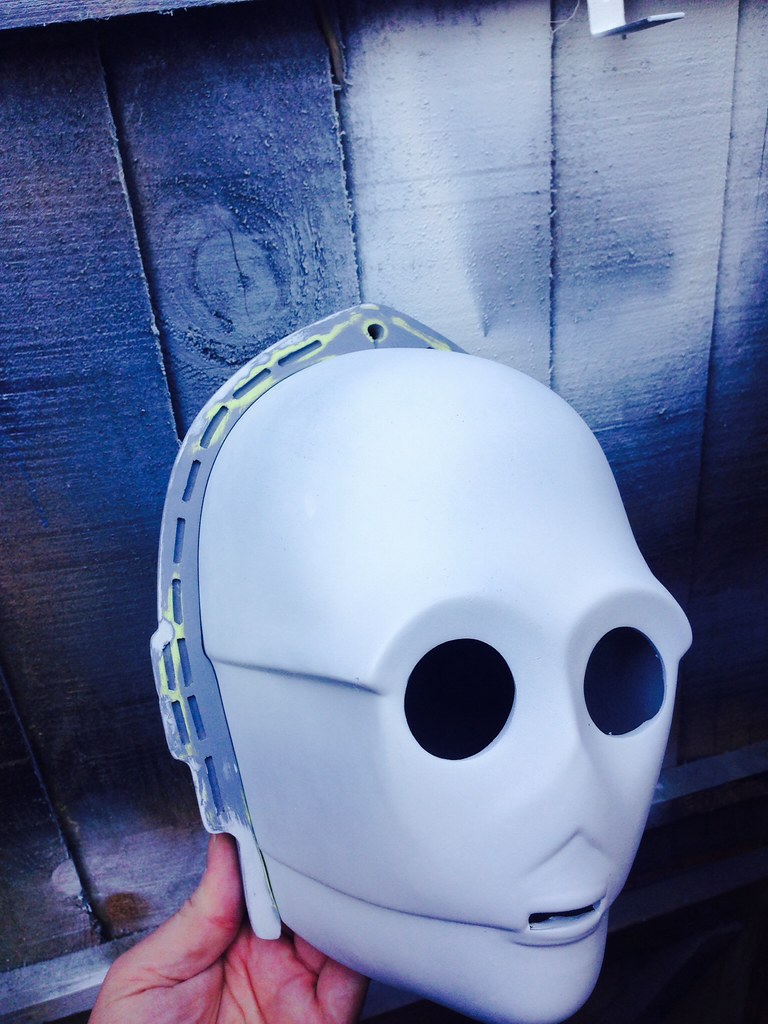
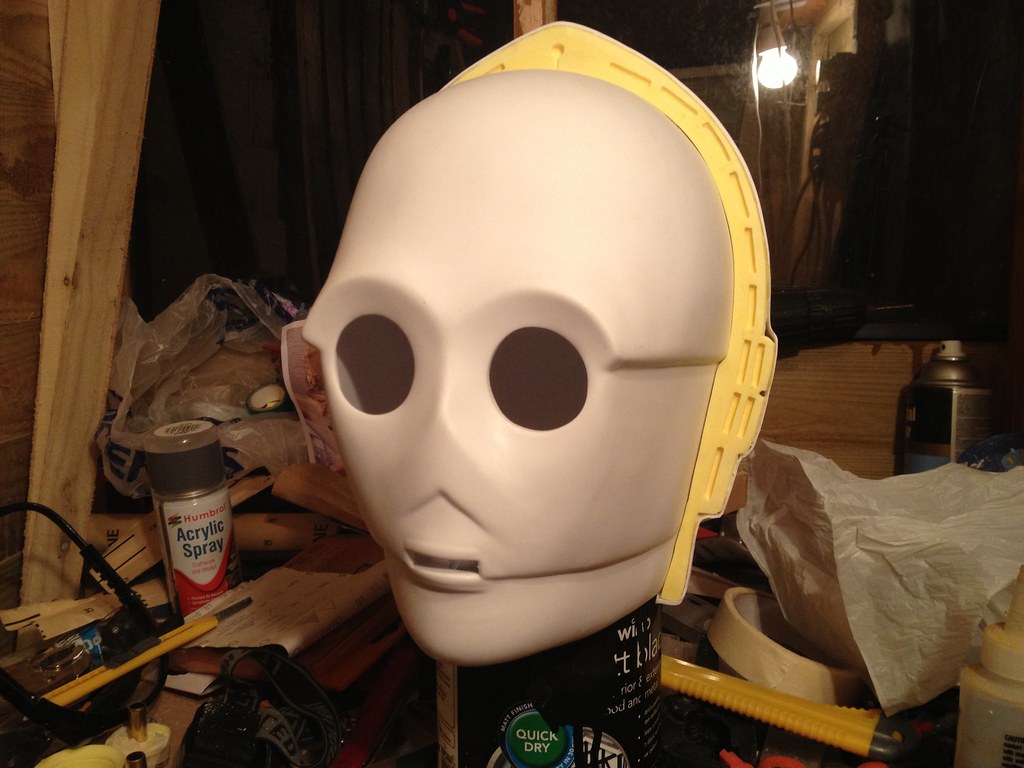
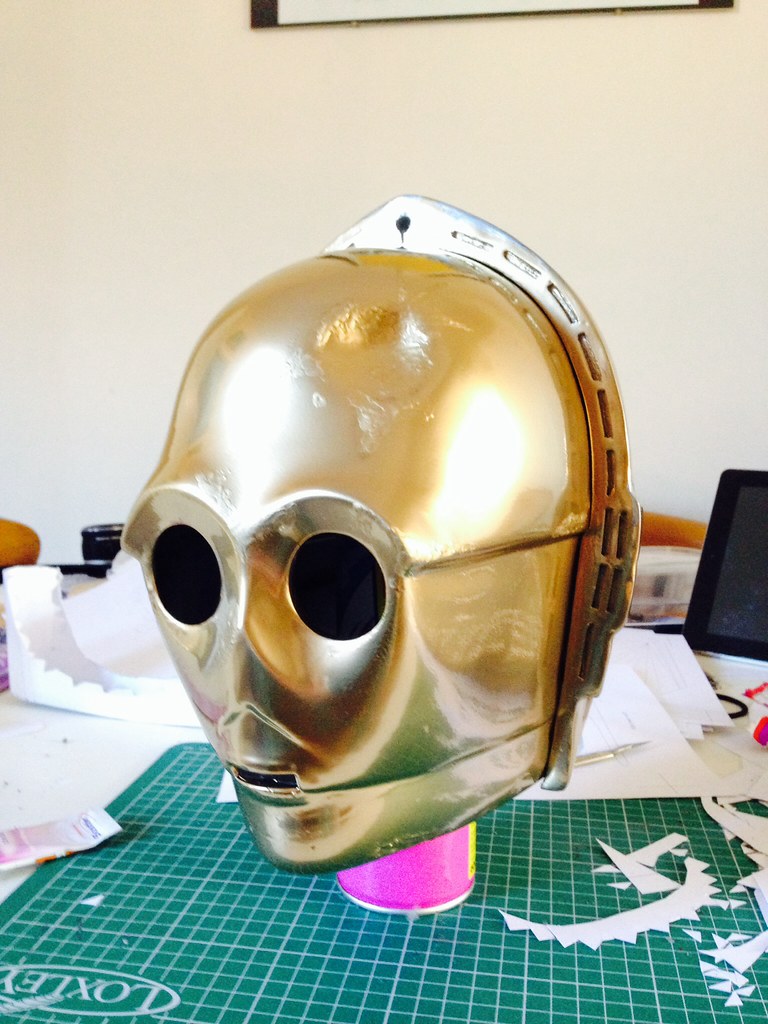
Test fit of the face after priming and sanding.
At this point i made the dent on his forehead. i did this by heating a small section of the front shell with a heat gun and then i pressed it in when it was pliable.
(i forgot to take a photo but you will see the result lower down.)
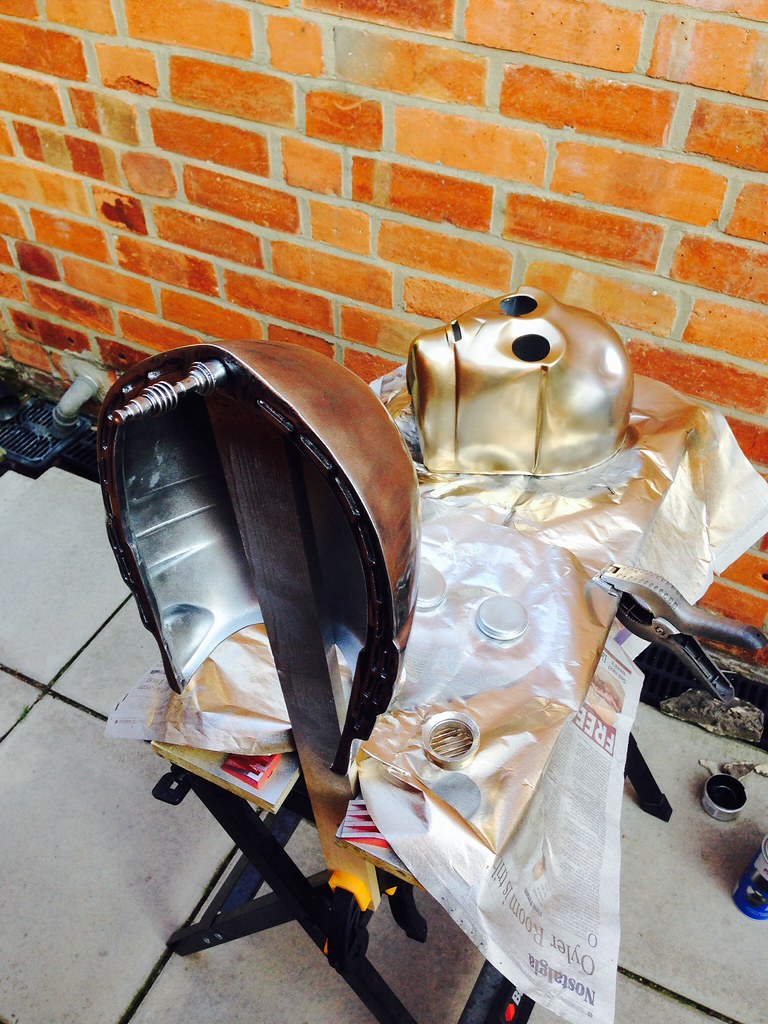
I painted the whole lot (everything that's going to be gold) with a base coat of black and then a layer of chrome silver from plasticoat. i sprayed the sliver on top of the black in phases i did a light coat of silver when the black was still wet, then once all that had dried i gave it a full coat of silver.
I let the all the paint dry full for a good few hours. (the chrome paint takes a long time to dry and it may feel/look dry but if you hold it for to long you will leave fingerprints in it.)
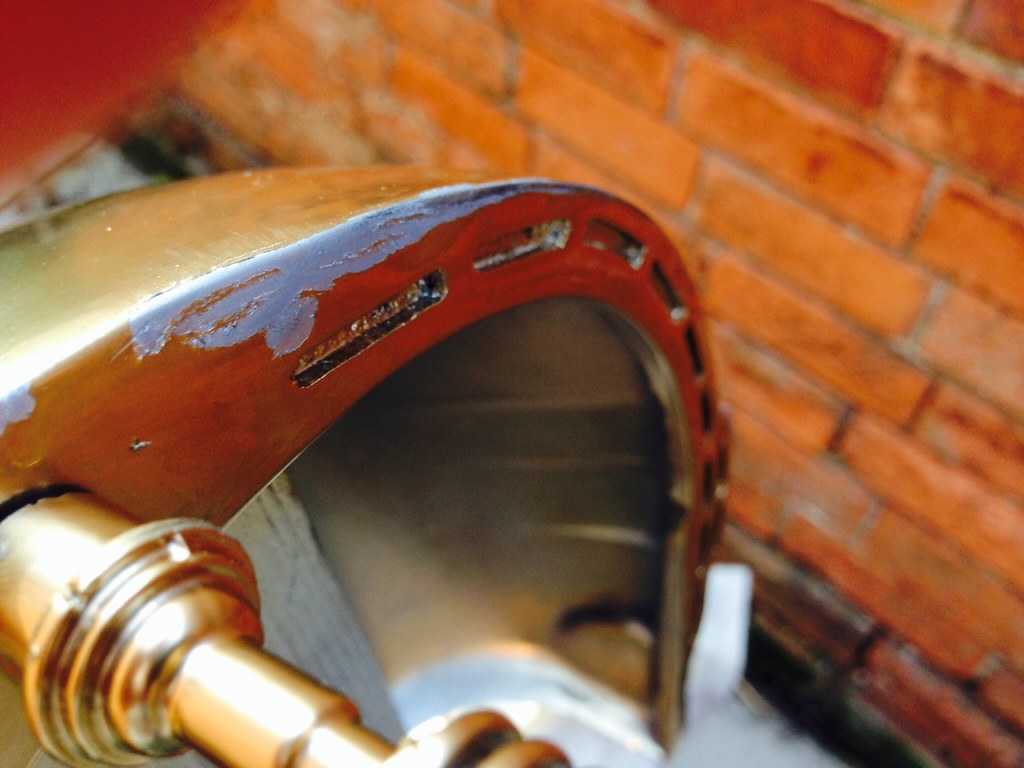
Using silicone i then dabbed it on places that i thought would be where the gold paint would have flaked off, high places, parts of him that would have been hit or scratched.
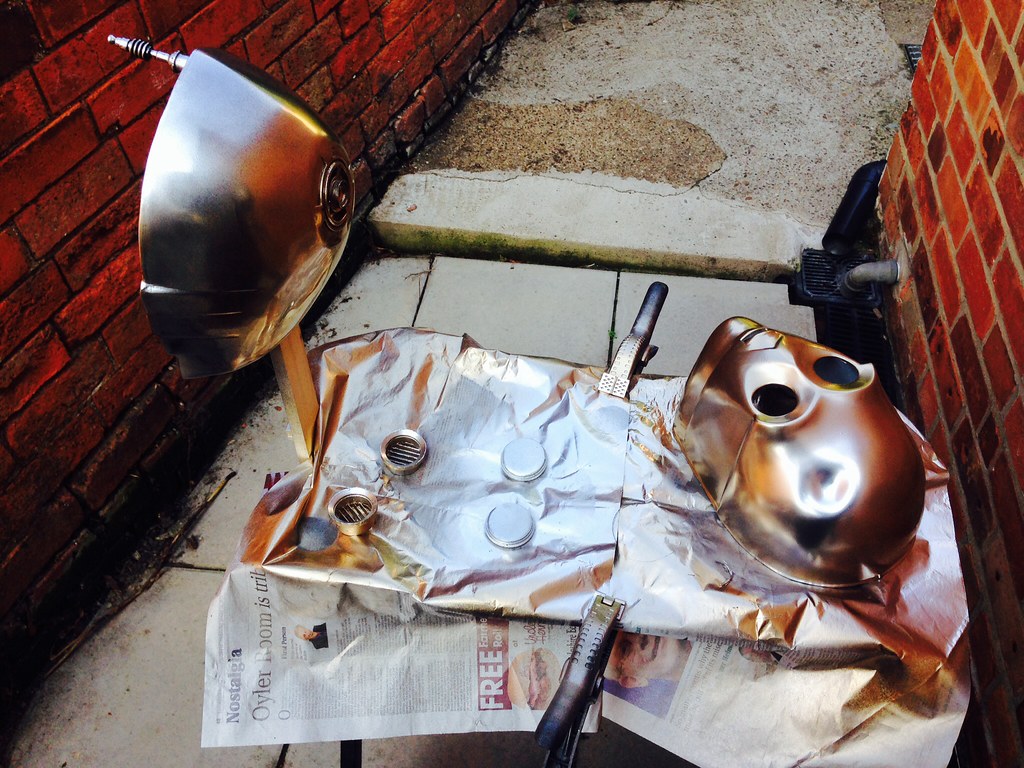
Then i gave everything a coat of gold plasicoat chromed gold. (which is a lot higher gloss than i thought. much much better. )
The bumpy sections on the eye brows and nose etc. are the sections that have the silicone under the gold. The silicone will be rubbed off when dry and reveal the silver underneath.
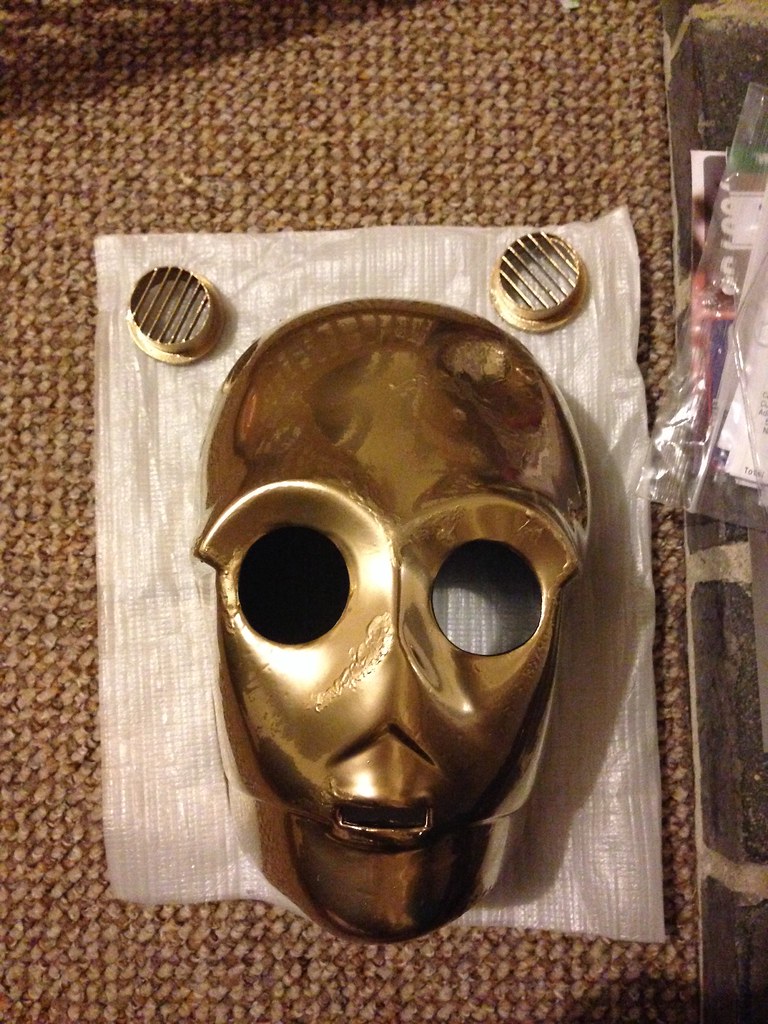
Here's what the paint looks like when the silicone is removed
Test fit, the silicone has not been removed from the front face yet.
The silicone on the front shell has been removed (first pic) eyes glued into place.(second pic)
Test video of the sound chip with all the sounds.
I got a sound chip from ebay. Its designed to be used in a greetings card or something like that.
you can connect it to your computer to load up what ever sound you want.
The version i have has five buttons so you can upload five different sounds.
This video was filmed before i did the final weathering of the head.

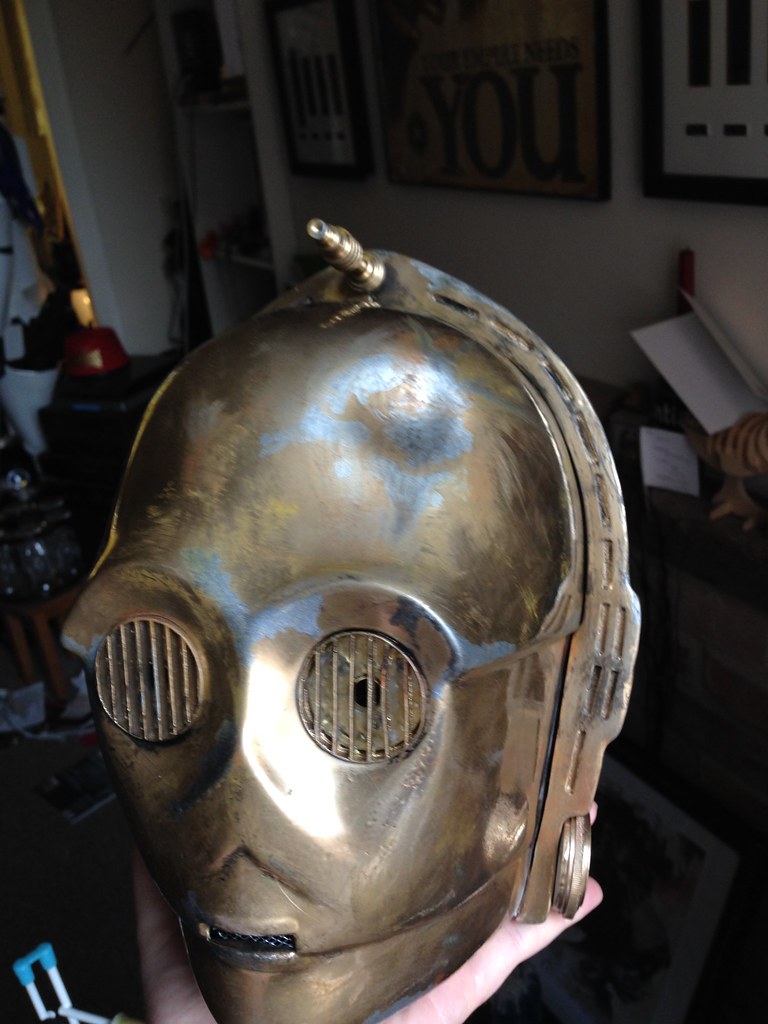

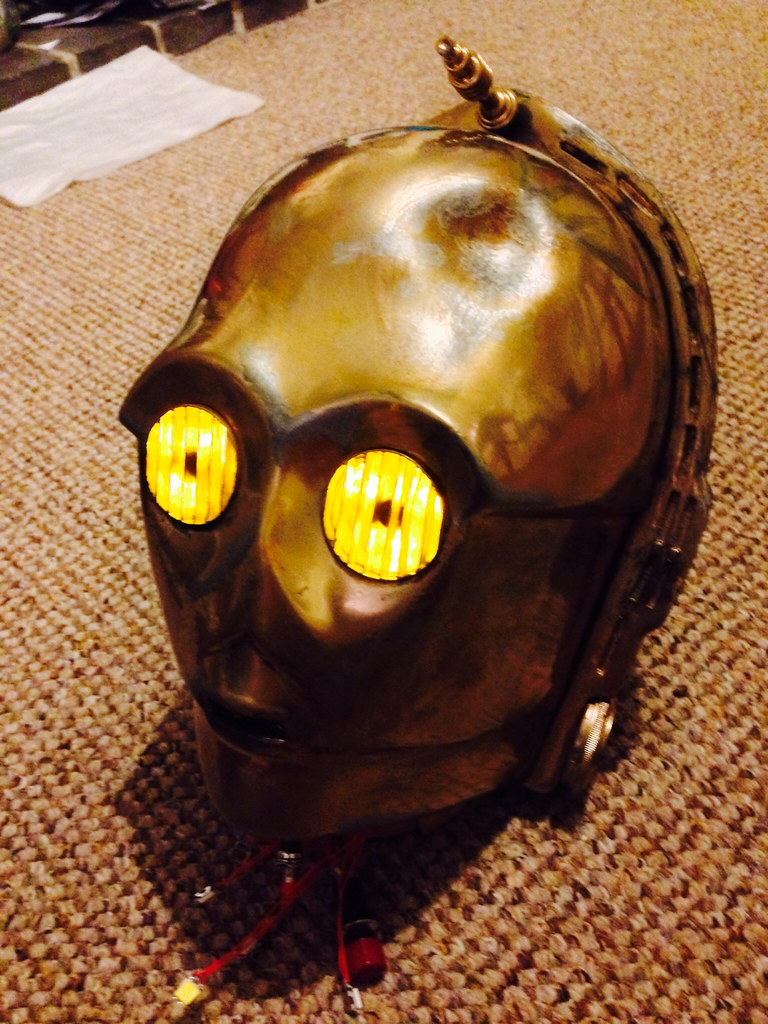
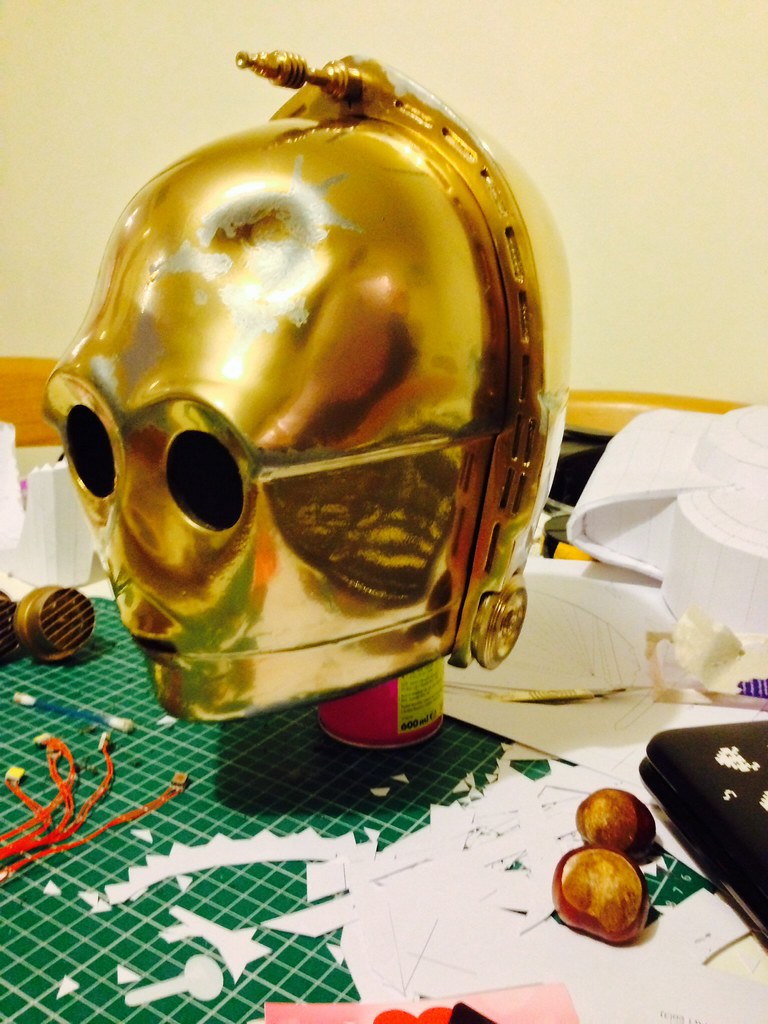
I weathered the whole head, the idea was the make it look like he has been through the wars, scarred up and like hes been blasted in the desert
i did the weathering with different techniques, i started with a very fine sand paper to dull down sections of the gold, mainly round the silver flaked sections and high points.
I also used plain printer paper to rub down sections as this dulls the paint down with out scratching or removing the paint like the sand paper does.
once i was happy with the paint dulling i started with colour washes, doing lots of light dry-brushes of different coloured yellows light browns and dark browns for dust rust and dirt.
once i dry-brushed and wiped off the excess paint over and over to build up loads of layers i did some a bit of black wash, i blacked the joins between the two halves and around the eyes and mouth and in the recesses in the halo to give it some depth and dimension.
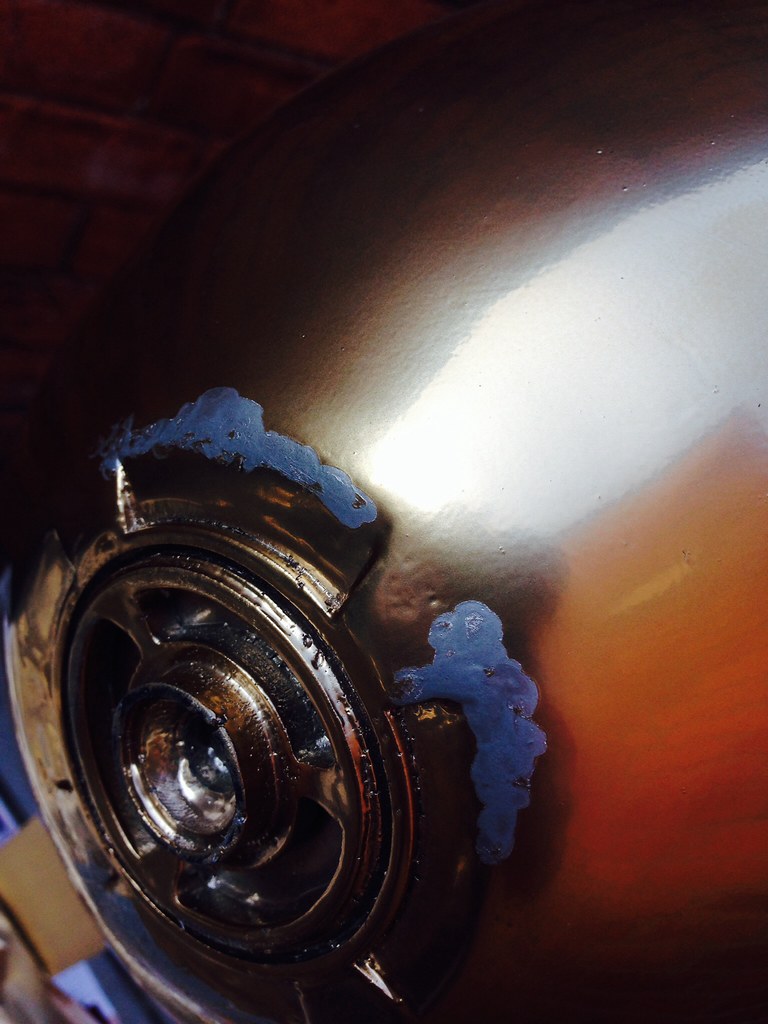
I decided to give C3PO a little bit of oil mess on the rear plug on the back of his head.
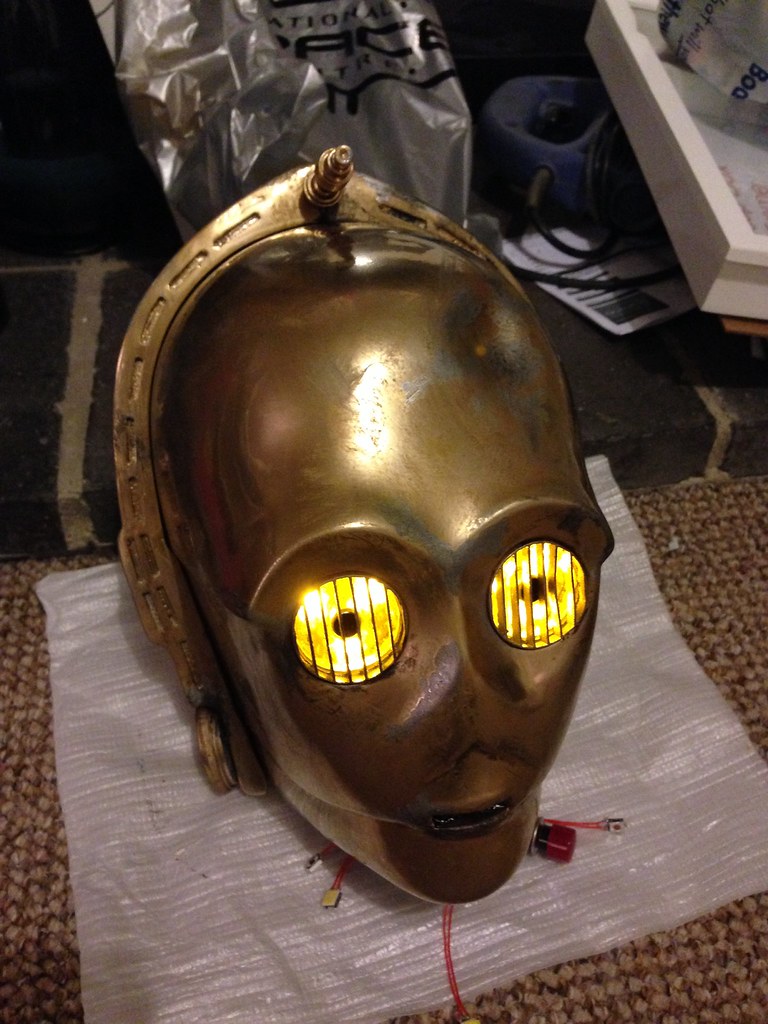
All the cables coming out the back of the neck hole of C3PO are the buttons and switches for the lights and sounds.
I am going to leave them hanging out the neck as this is a decapitated C3PO so he would have cables and wires out of his neck.
I am planning on capping the neck and making a neck joint where all the wires will come out and then it will sit on a stand so you can access the buttons etc.
I hope you enjoyed my write up, or learned something.
If you have any questions or comments please feel free to leave a comment below.
Thanks.
Amazing work. Wish I wasn't cack bloodyhanded
ReplyDeleteHi I am trying to get a hold of you about the c3po . Please email me at georgerice11@gmail.com. I am interested in getting one. Thanks -George
ReplyDeleteHi, I don't sell these kits. As it says in the post, I got hold of this through eBay. I don't know what I can help you with. Just google C3PO head kit or something. I can't remember the seller I got this from. Sorry.
DeleteHi, can you show how you attach your front and back C3PO head with?
ReplyDeleteThanks
hi, sorry i don't have photos of that happening as i made this a few years ago.
Deleteif you look at the first photo of the kit laid out showing everything that comes in the kit. the front of the head (the face plate) has a lip all along the edge that fits inside the yellow rear halo that then in turn fits inside the rear half of the head shell. I have them just tolerance fit so its easy to take the two parts apart for fixing and working inside the head.
How they actually did it was different (i only found this out after i had made this head)
The original was bolted onto Antony Daniels head. the two neck bolts (that i just glued on) were actually bolts and the secured the bottom of the front and back and they used the little antenna at the top of the halo was also a little bolt. this screwed into the halo after going through a small loop of metal that is connected to the front half of the head. This guy has a great little drawing on the subject here. https://lotinlife.wordpress.com/2012/02/16/c-3po-abs-helmet-assembly-sketch/
Hello! your Treepio looks great,my brother bought the same one and was wondering what kind of glue to use to bond the resin and the vac-form plastic together without damaging the shell.thank you!-Jacques
ReplyDeleteHello there. Thank you glad you like it.
DeleteTo glue them together I used a two part epoxy glue. The type that has a part A and part B that was just used to glue the yellow resin halo to the back half of the shell and the front half of the shel is just held in place with friction.
Hello I'm having trouble getting the back "plug" to fit flush with the back shell. Is there a trick to this? Also what did you use to fill in the gaps?
ReplyDeleteHi, the back of the head was pretty tricky it was a case of cutting the hole and test fitting and once I had it almost perfect I sanded the puck (the section of the head plug that is inside the head that doesn't get seen but is pressed up against the head shell), until the head plug fit almost perfect. Then I used some epoxy glue to secure it inside. Then filled the gaps, the filler I used was an epoxy filler like car body filler , but Millie putty or any two part filler should work. Once that's dry I sanded the join a lot until it was flush. It takes quite a while to get it correct.
DeleteI hope this made sense and offered some help.
YES that helps a lot! and makes sense. I bought a c3po head as a Jawa costume accessory and boy the head is a lot of work. I have a whole new respect for people who get the whole c3po suit.
ReplyDeleteThat's a cool costume idea. i did think about doing something like that.
Deletei would love to see the final product. :)
have fun.
Is your head wearable or just a table prop?
ReplyDeleteI'm wondering how the front attaches to back shell, at antenna and neck bolts? A screw won't line up to hold both pieces together.
Well mine is not wearable as I've got all the speaker and electronics inside. Also my head is huge so would never fit inside. I think If you look in earlier comments on here I link to a sketch of how it's connected. I think to make this connect with neck bolts and antenna screw you would need to put tabs on the front shell that the neck bolts can screw into.
Deletethat would make sense, thankyou
ReplyDeleteI might try an easier velcro attachment.
also do you remember what sound chip you used?
Sorry I don't. It was a programmable birthday card sound board. I bot it more than three years ago so cannot remember.
Delete