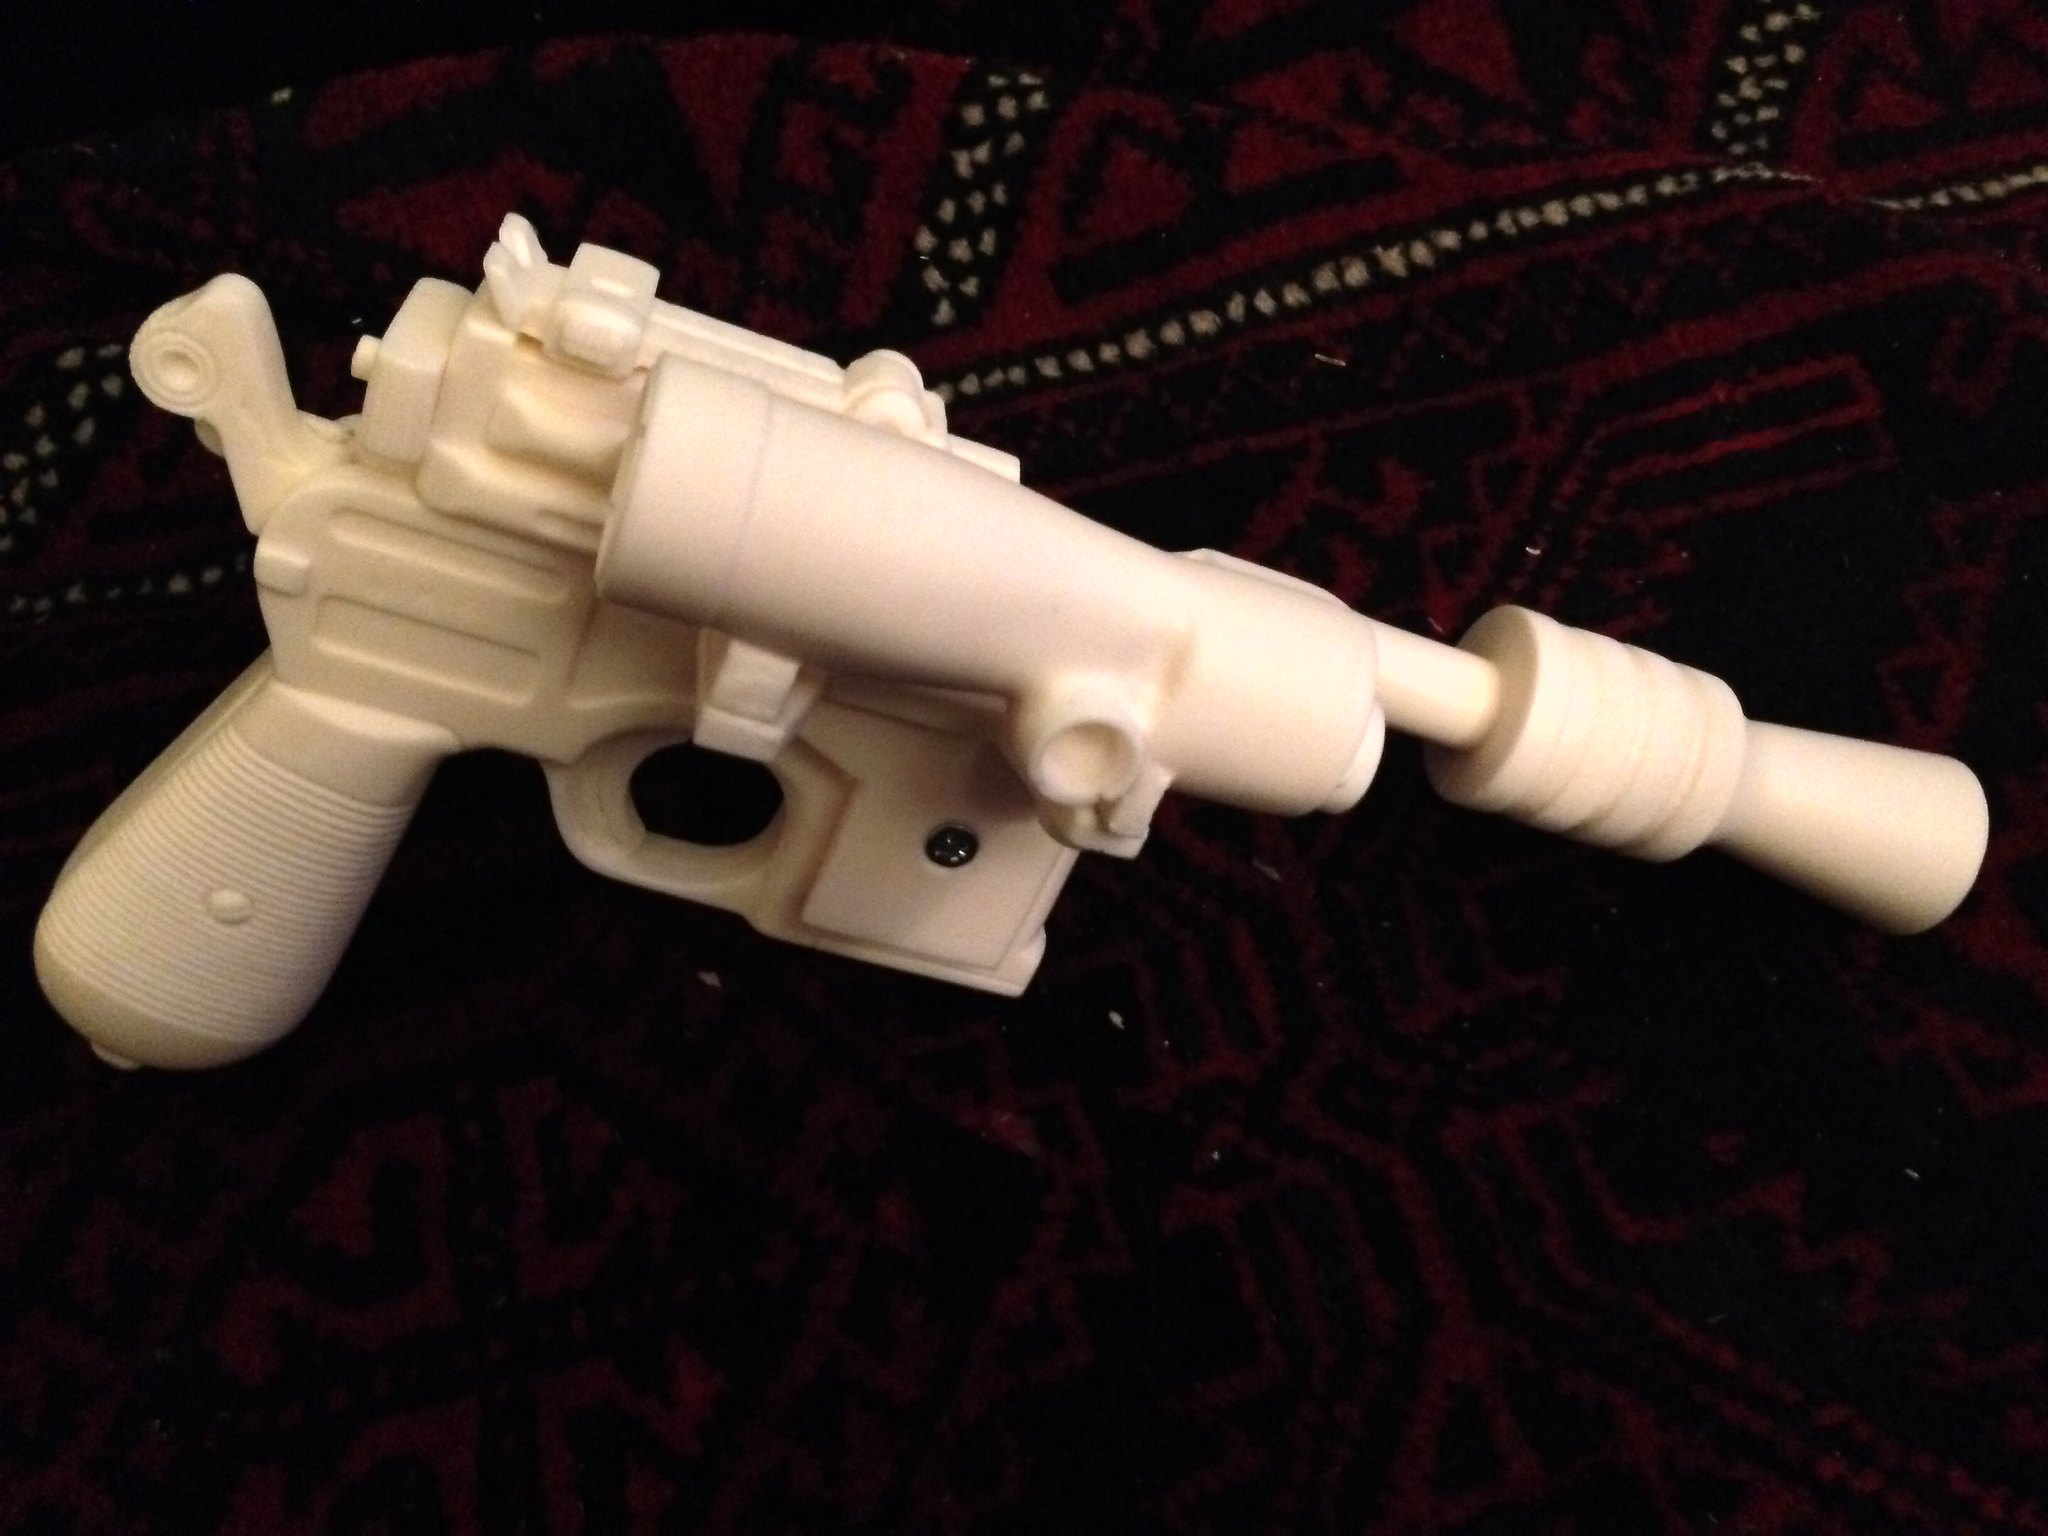
For christmas my brother got me a doopydoos Han Solo blaster, the Empire Strikes Back version.
This is how i built it up and painted to my liking :)
first off i got the kit out and laid it out and worked out how every thing went together, i also did a google search and got some screen used shots and some replica shot as references for the painting.
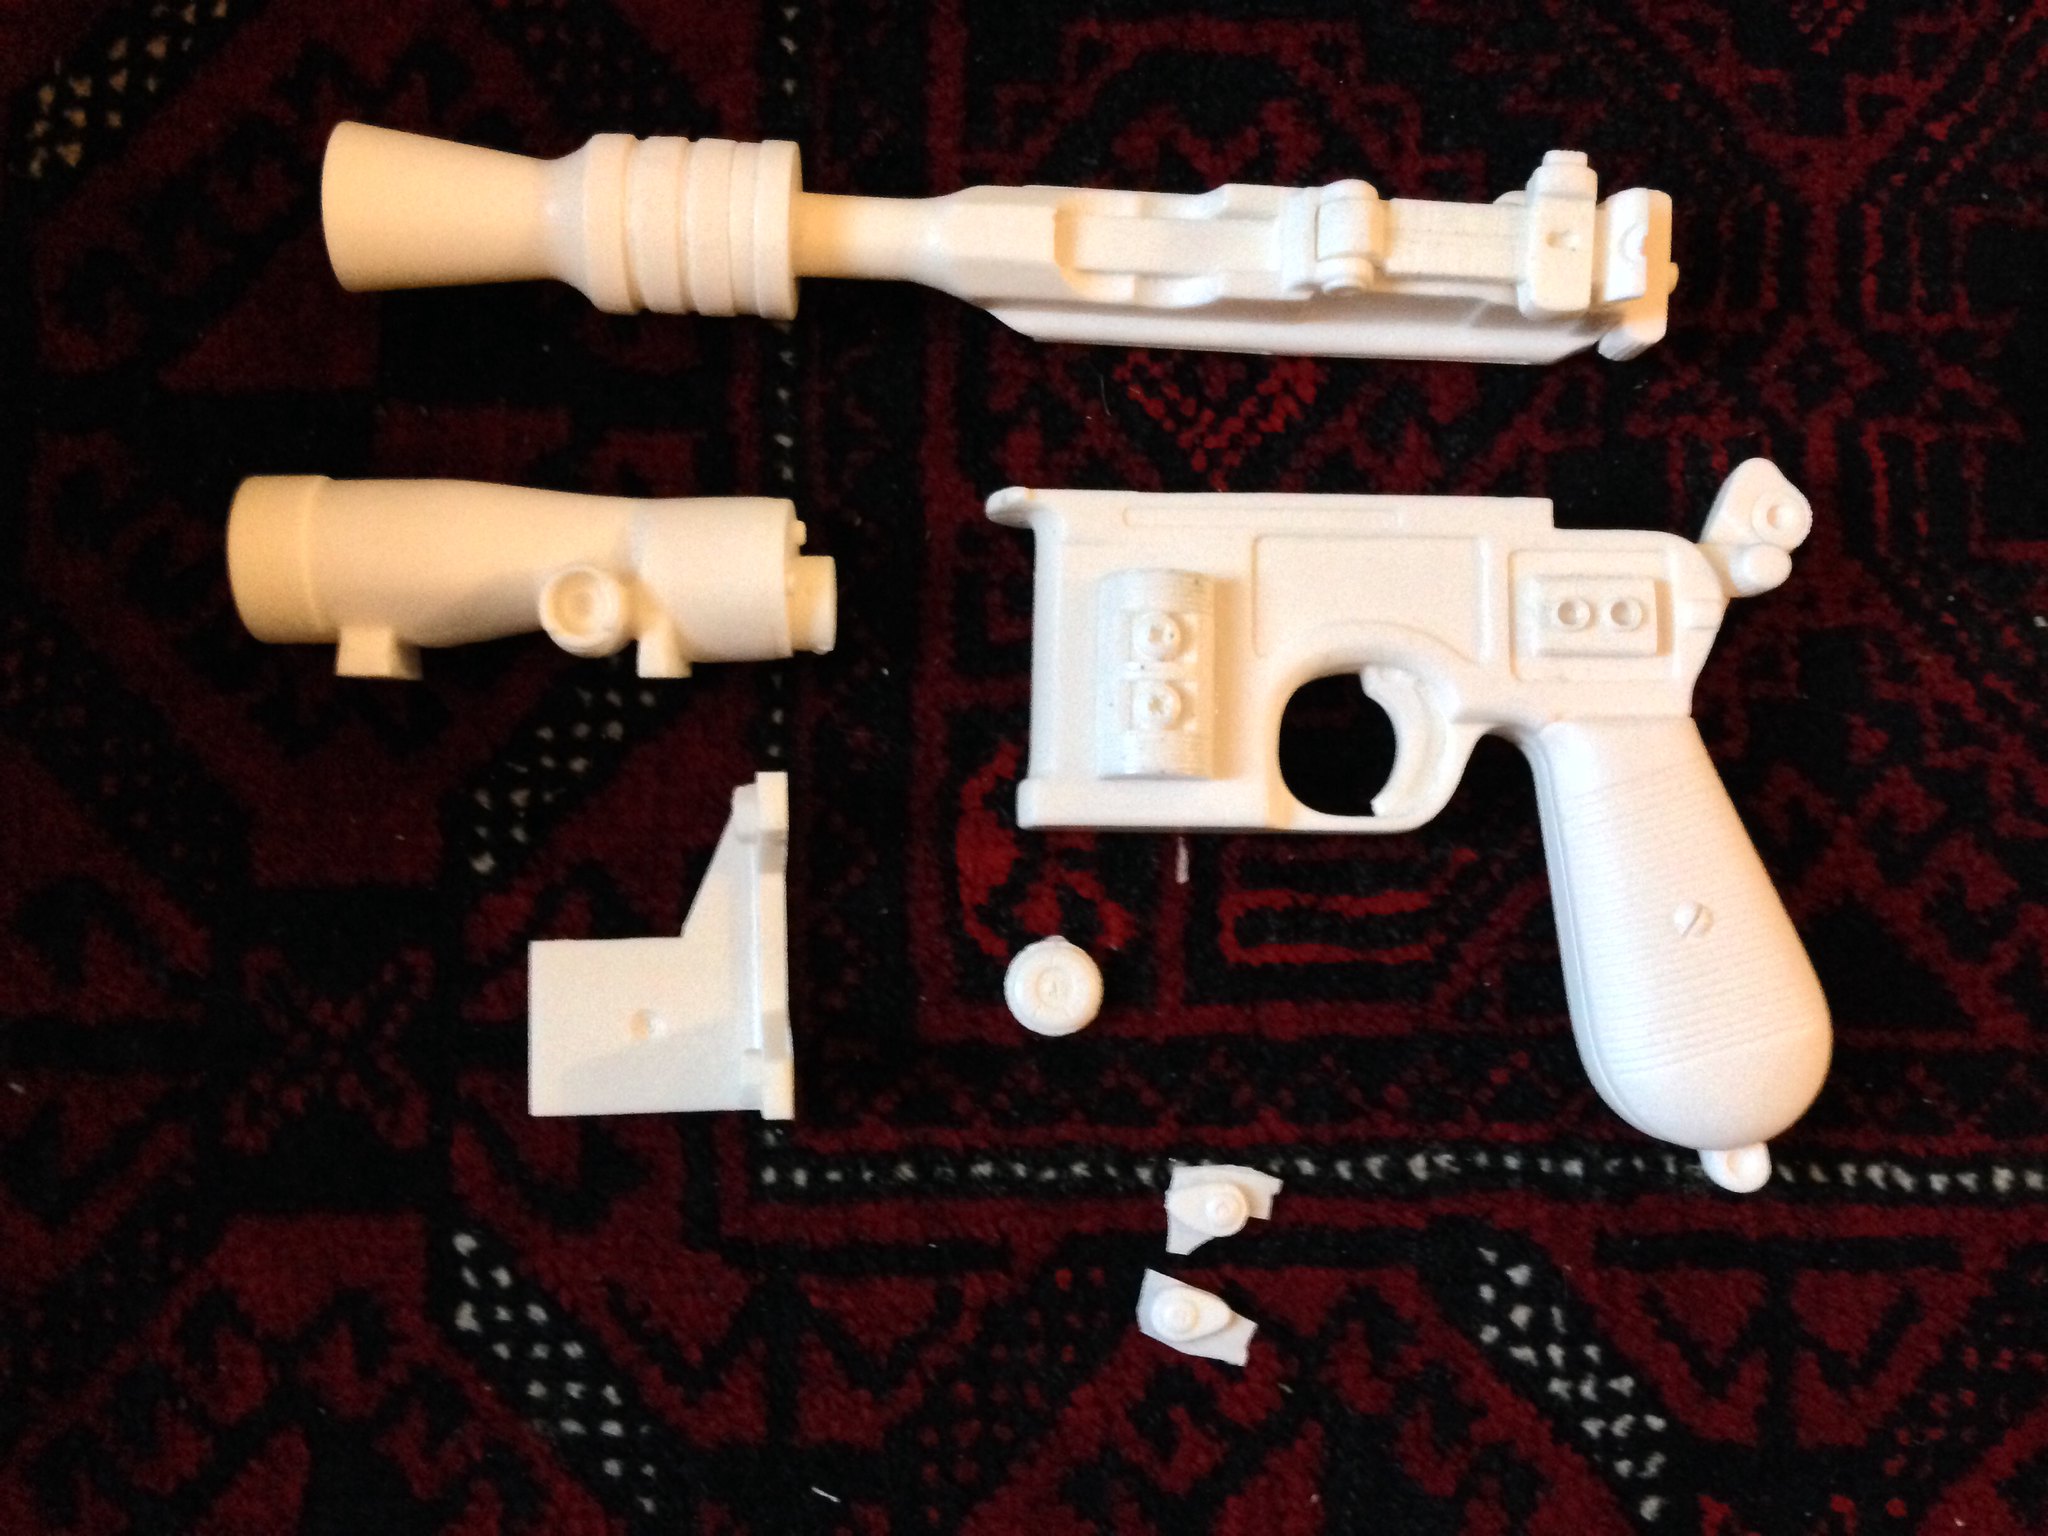
The main parts go together pretty well. some tiny little detail parts were a little harder to know where to put them (this is where the reference pictures come in handy)

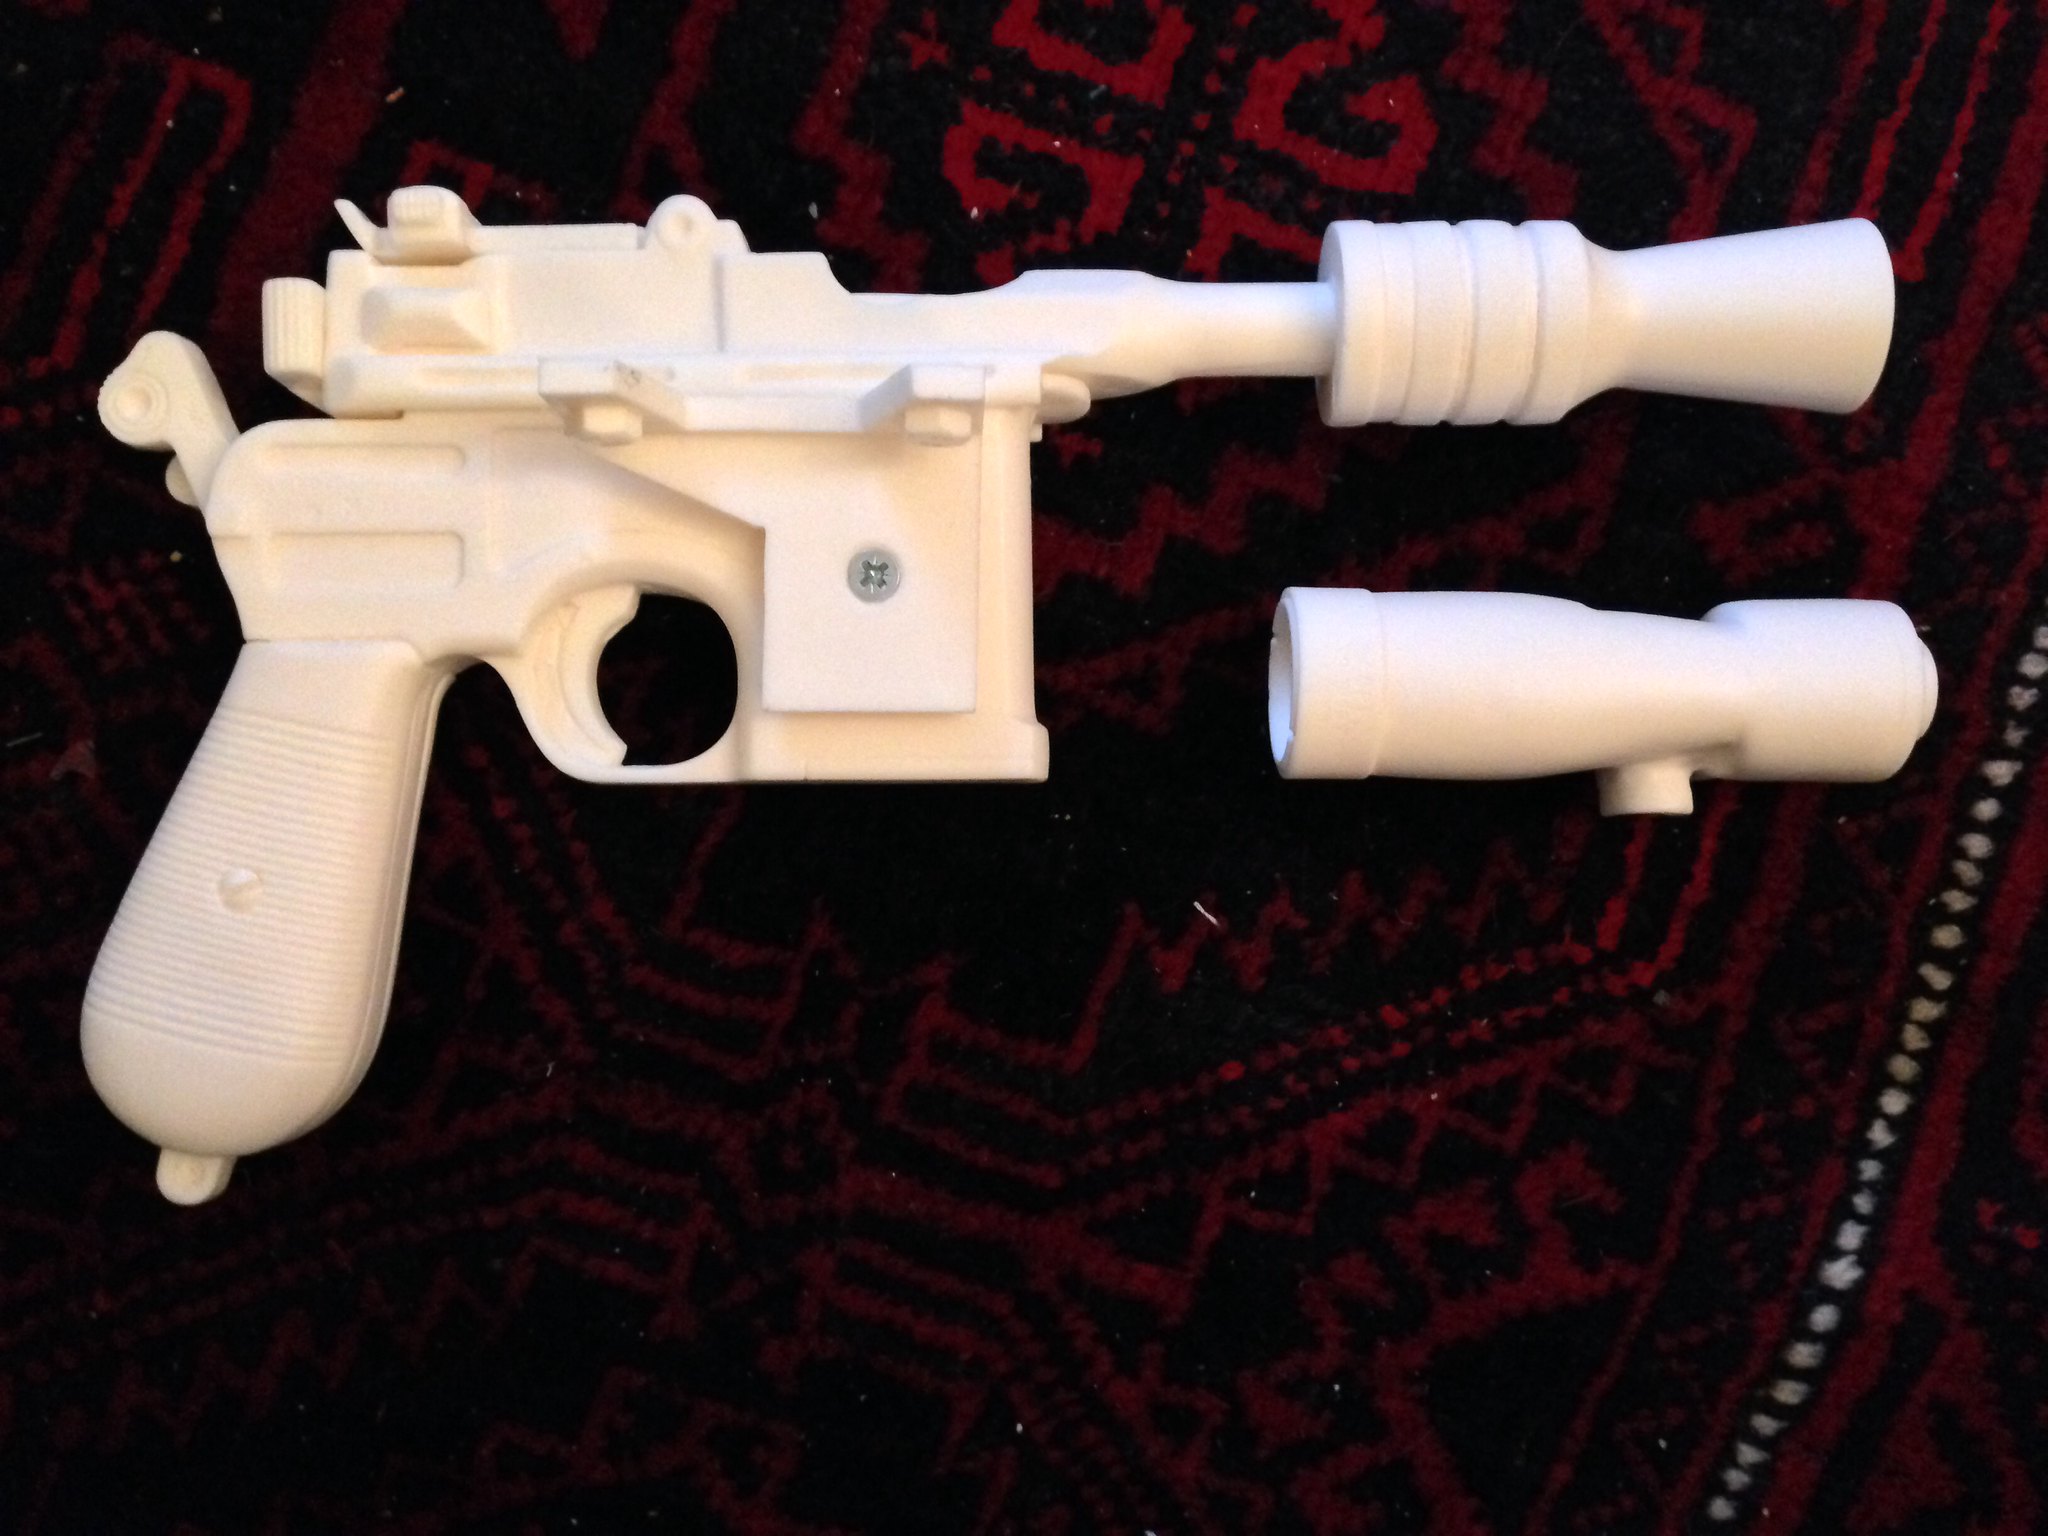
The barrel of the gun slides ontop of the body of the gun (this will be glued later)
i drilled a hole in the right hand side of the gun to mount the scope bracket on.

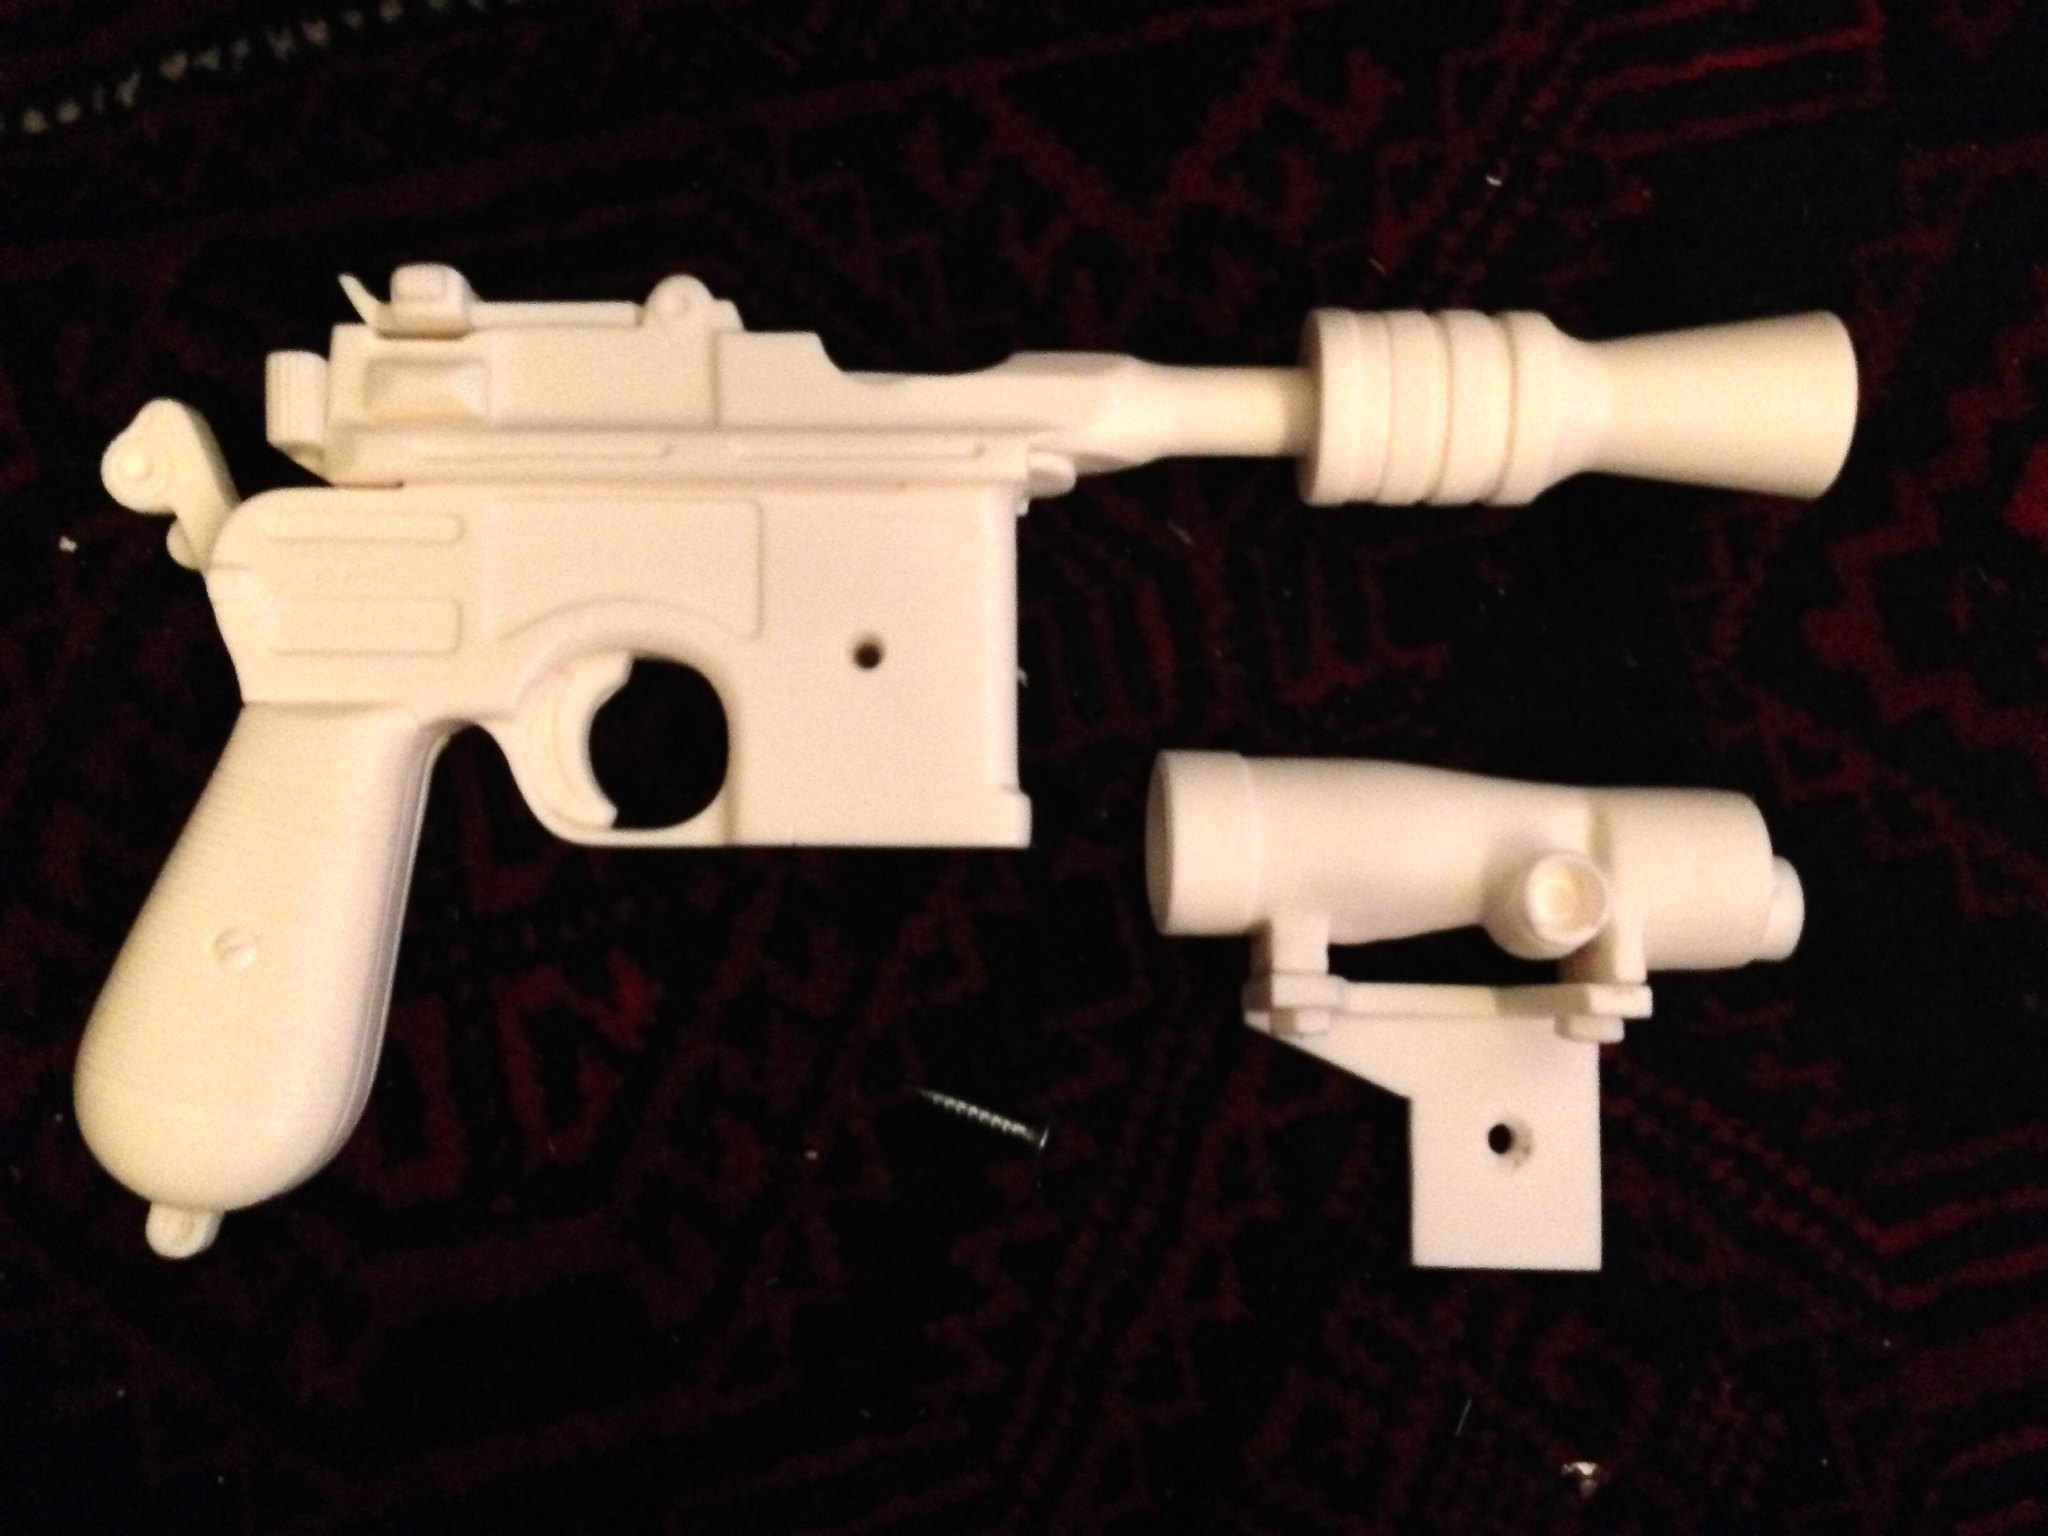
I also drilled a matching hole in the bracket and counter sunk the hole so the screw head would sit flush to the bracket surface, the screw head is hidden under one of the smaller parts of the kit.
the scope mount can be held with just the screw but i am going to fill the hole with glue and screw it together once everything is painted. I'm painting the the scope and bracket and the rest of the gun in two parts as its difficult for the paint to get into the gap behind the scope and mount.
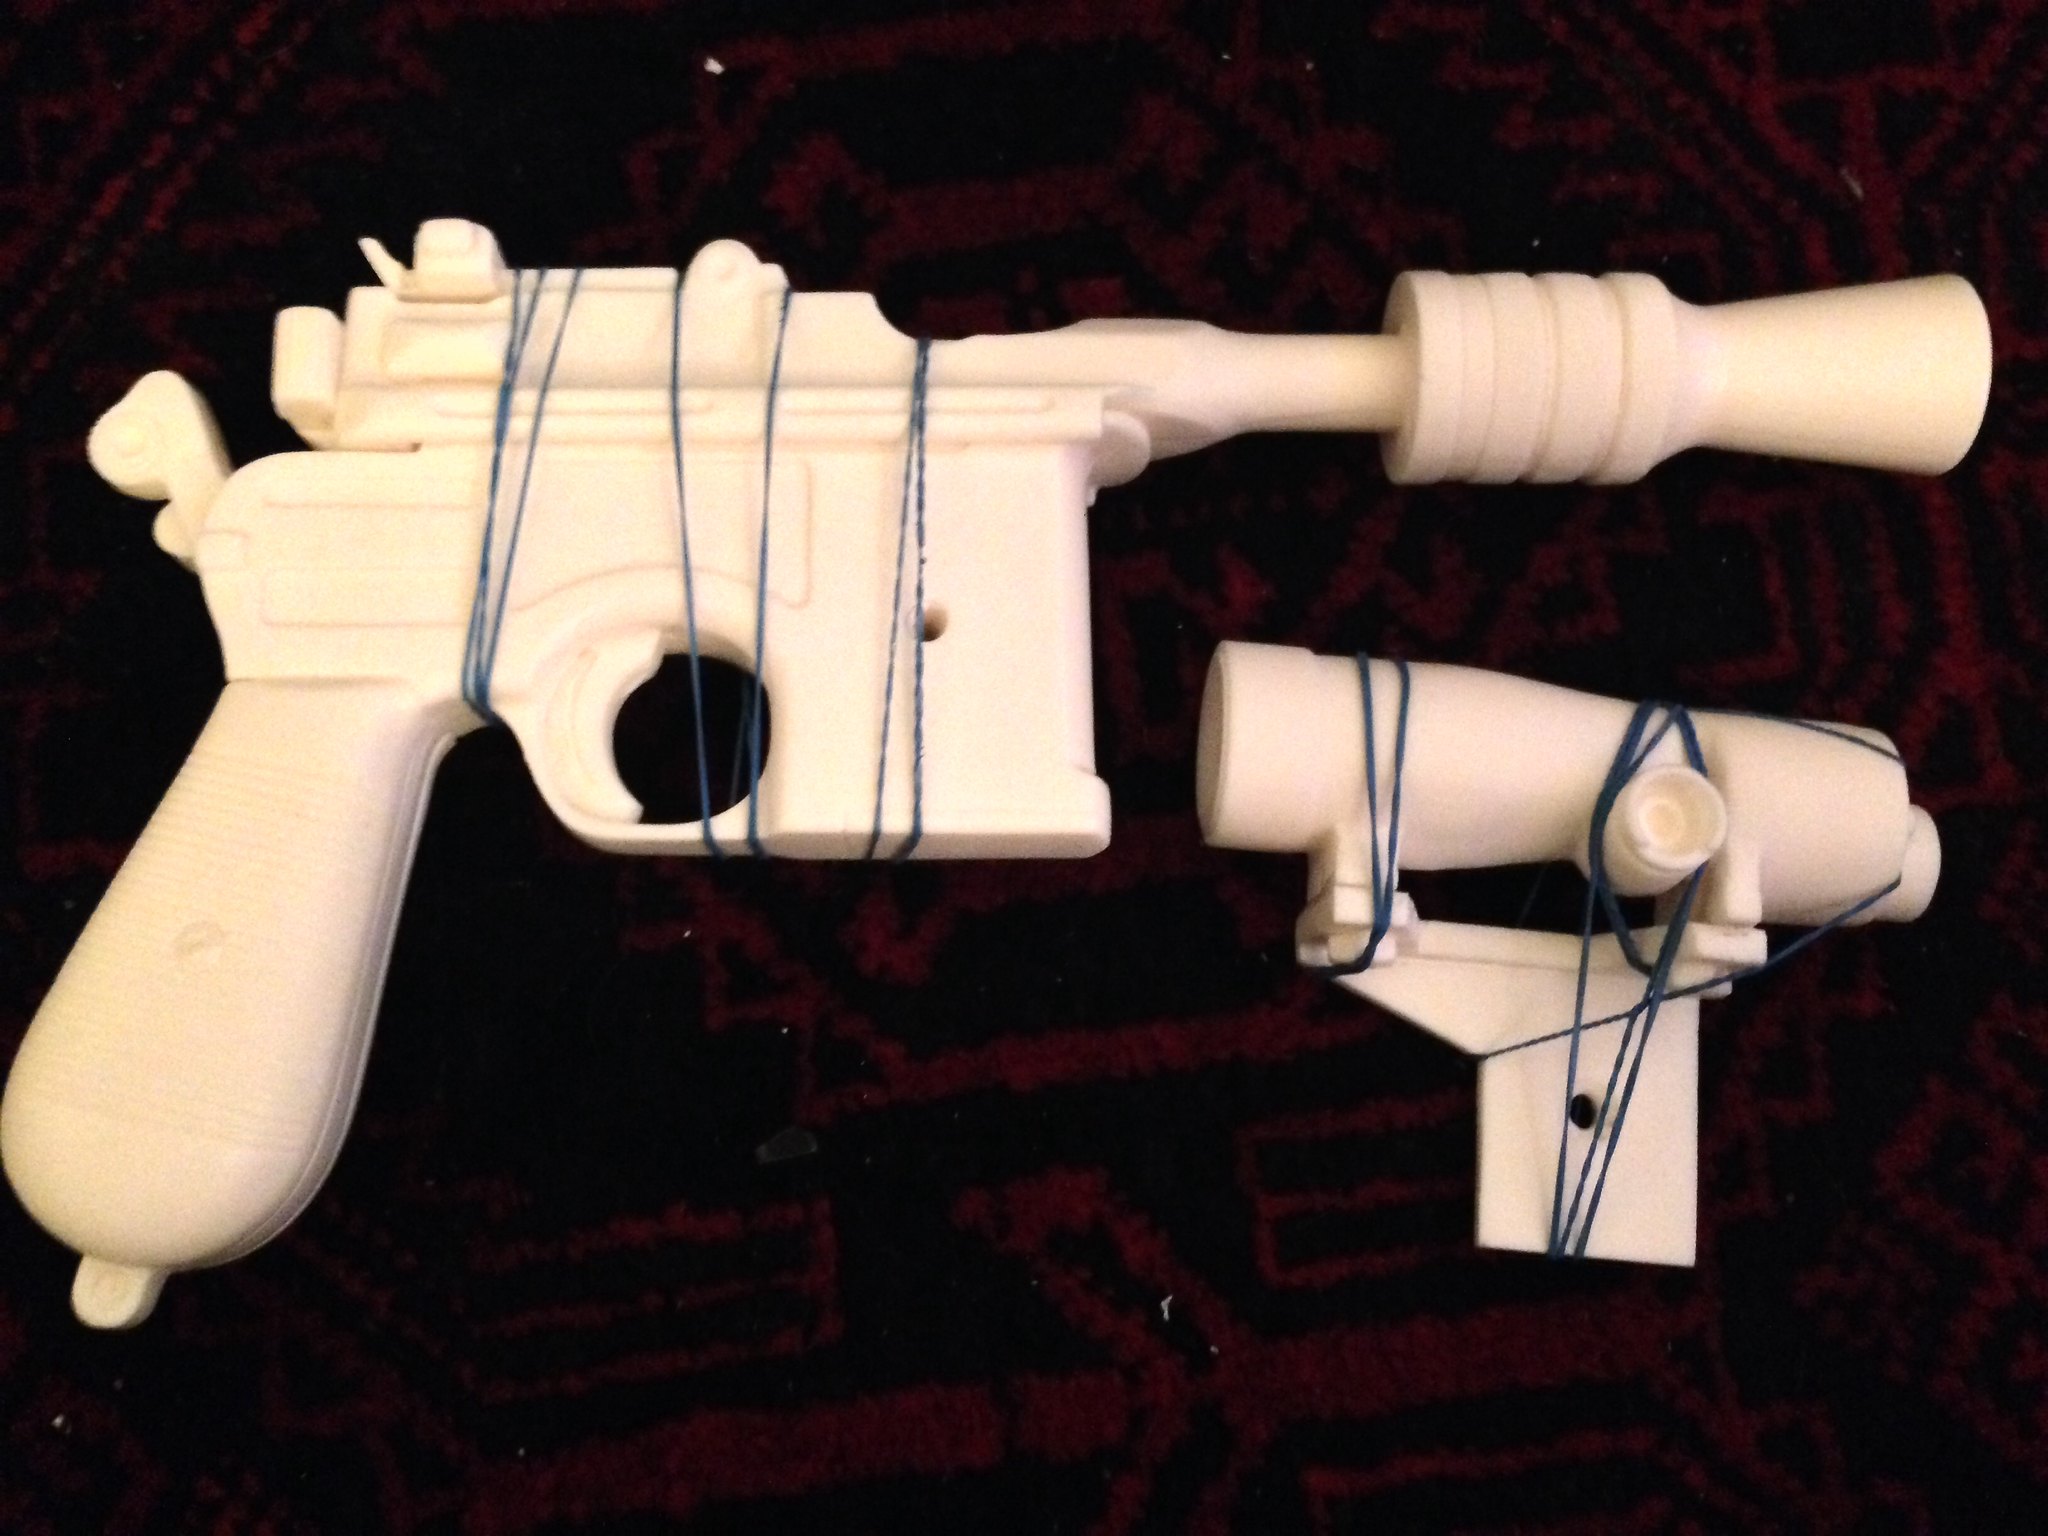
I used a epoxy resin glue to glue the barrel to the gun body and the scope to the mount. The elastic bands are to hold the parts in place while the glue set.
Once the glue had dried i assembled the parts to see what the gun would look like and to make sure it was all in the right place.
I gave the whole kit a coat of white primer and then a black coat. (i forgot to take photos of these stages)

I gave the whole kit a coat of white primer and then a black coat. (i forgot to take photos of these stages)
once the black had fully dried (i left it for two or three days as the cold weather here slows the drying time and it stays tacky for a long while.) i masked off the rest of the gun and left just the flash hider and sprayed it with a nice metallic silver paint.
I glued the thumb screw part over the screw head after gluing it into the hole for extra security.
The white marks in the black paint on the main body are from where i hung the gun to paint, i retouched these.
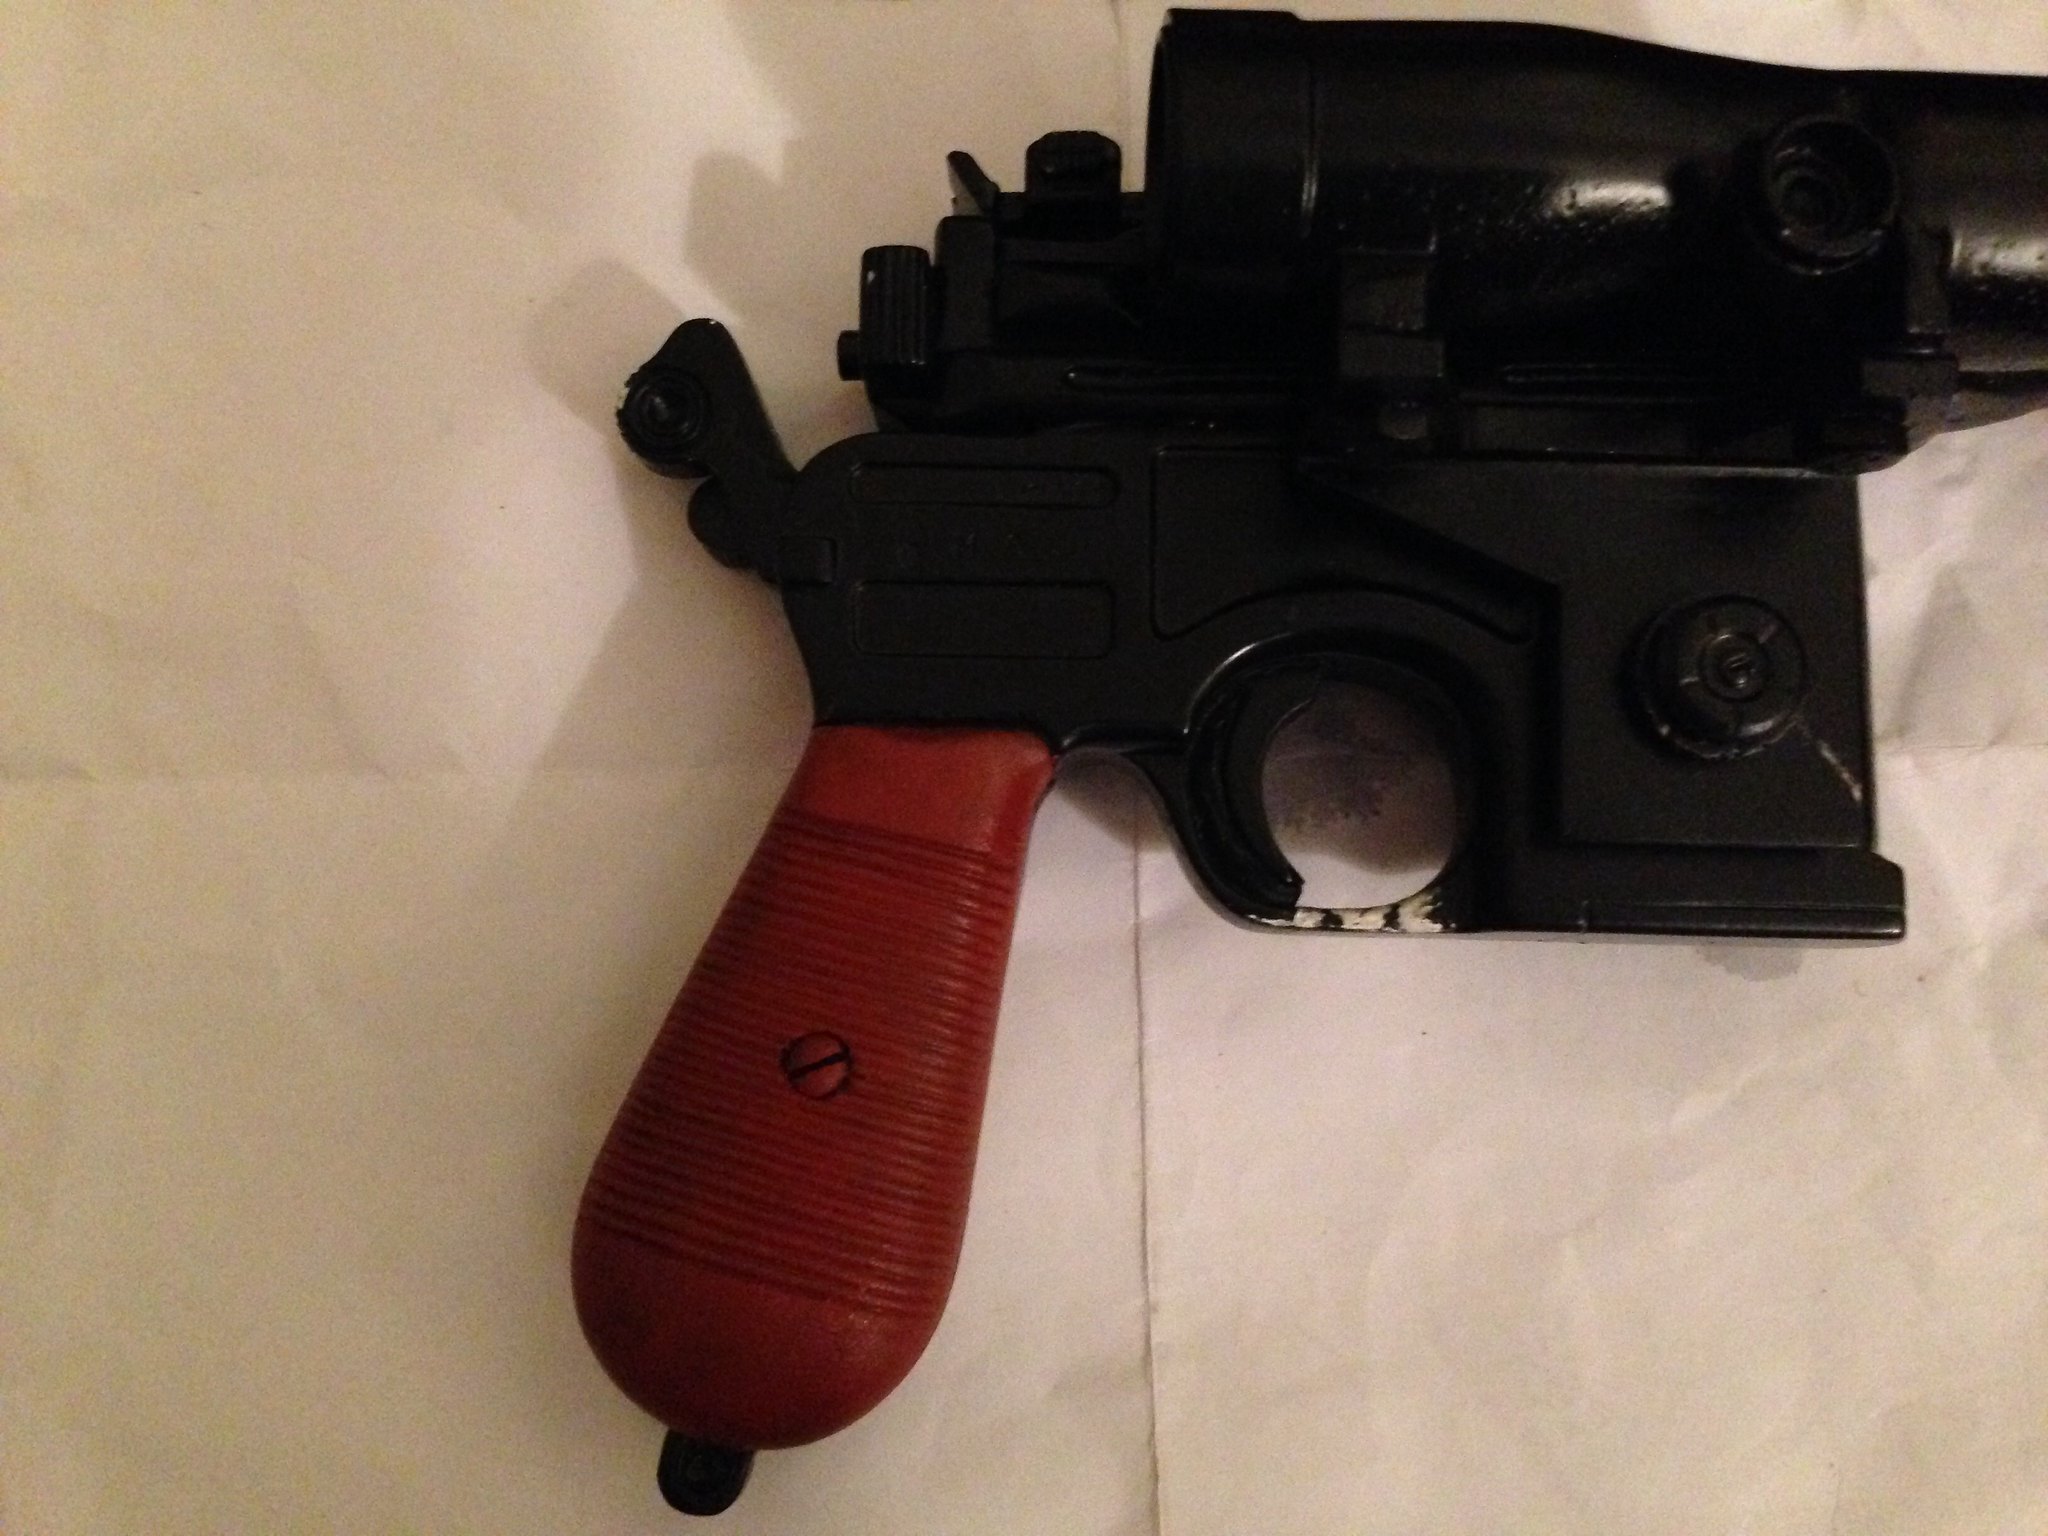
I painted the handles with a light brown, the brightness of the brown will be dulled down in the next stages.
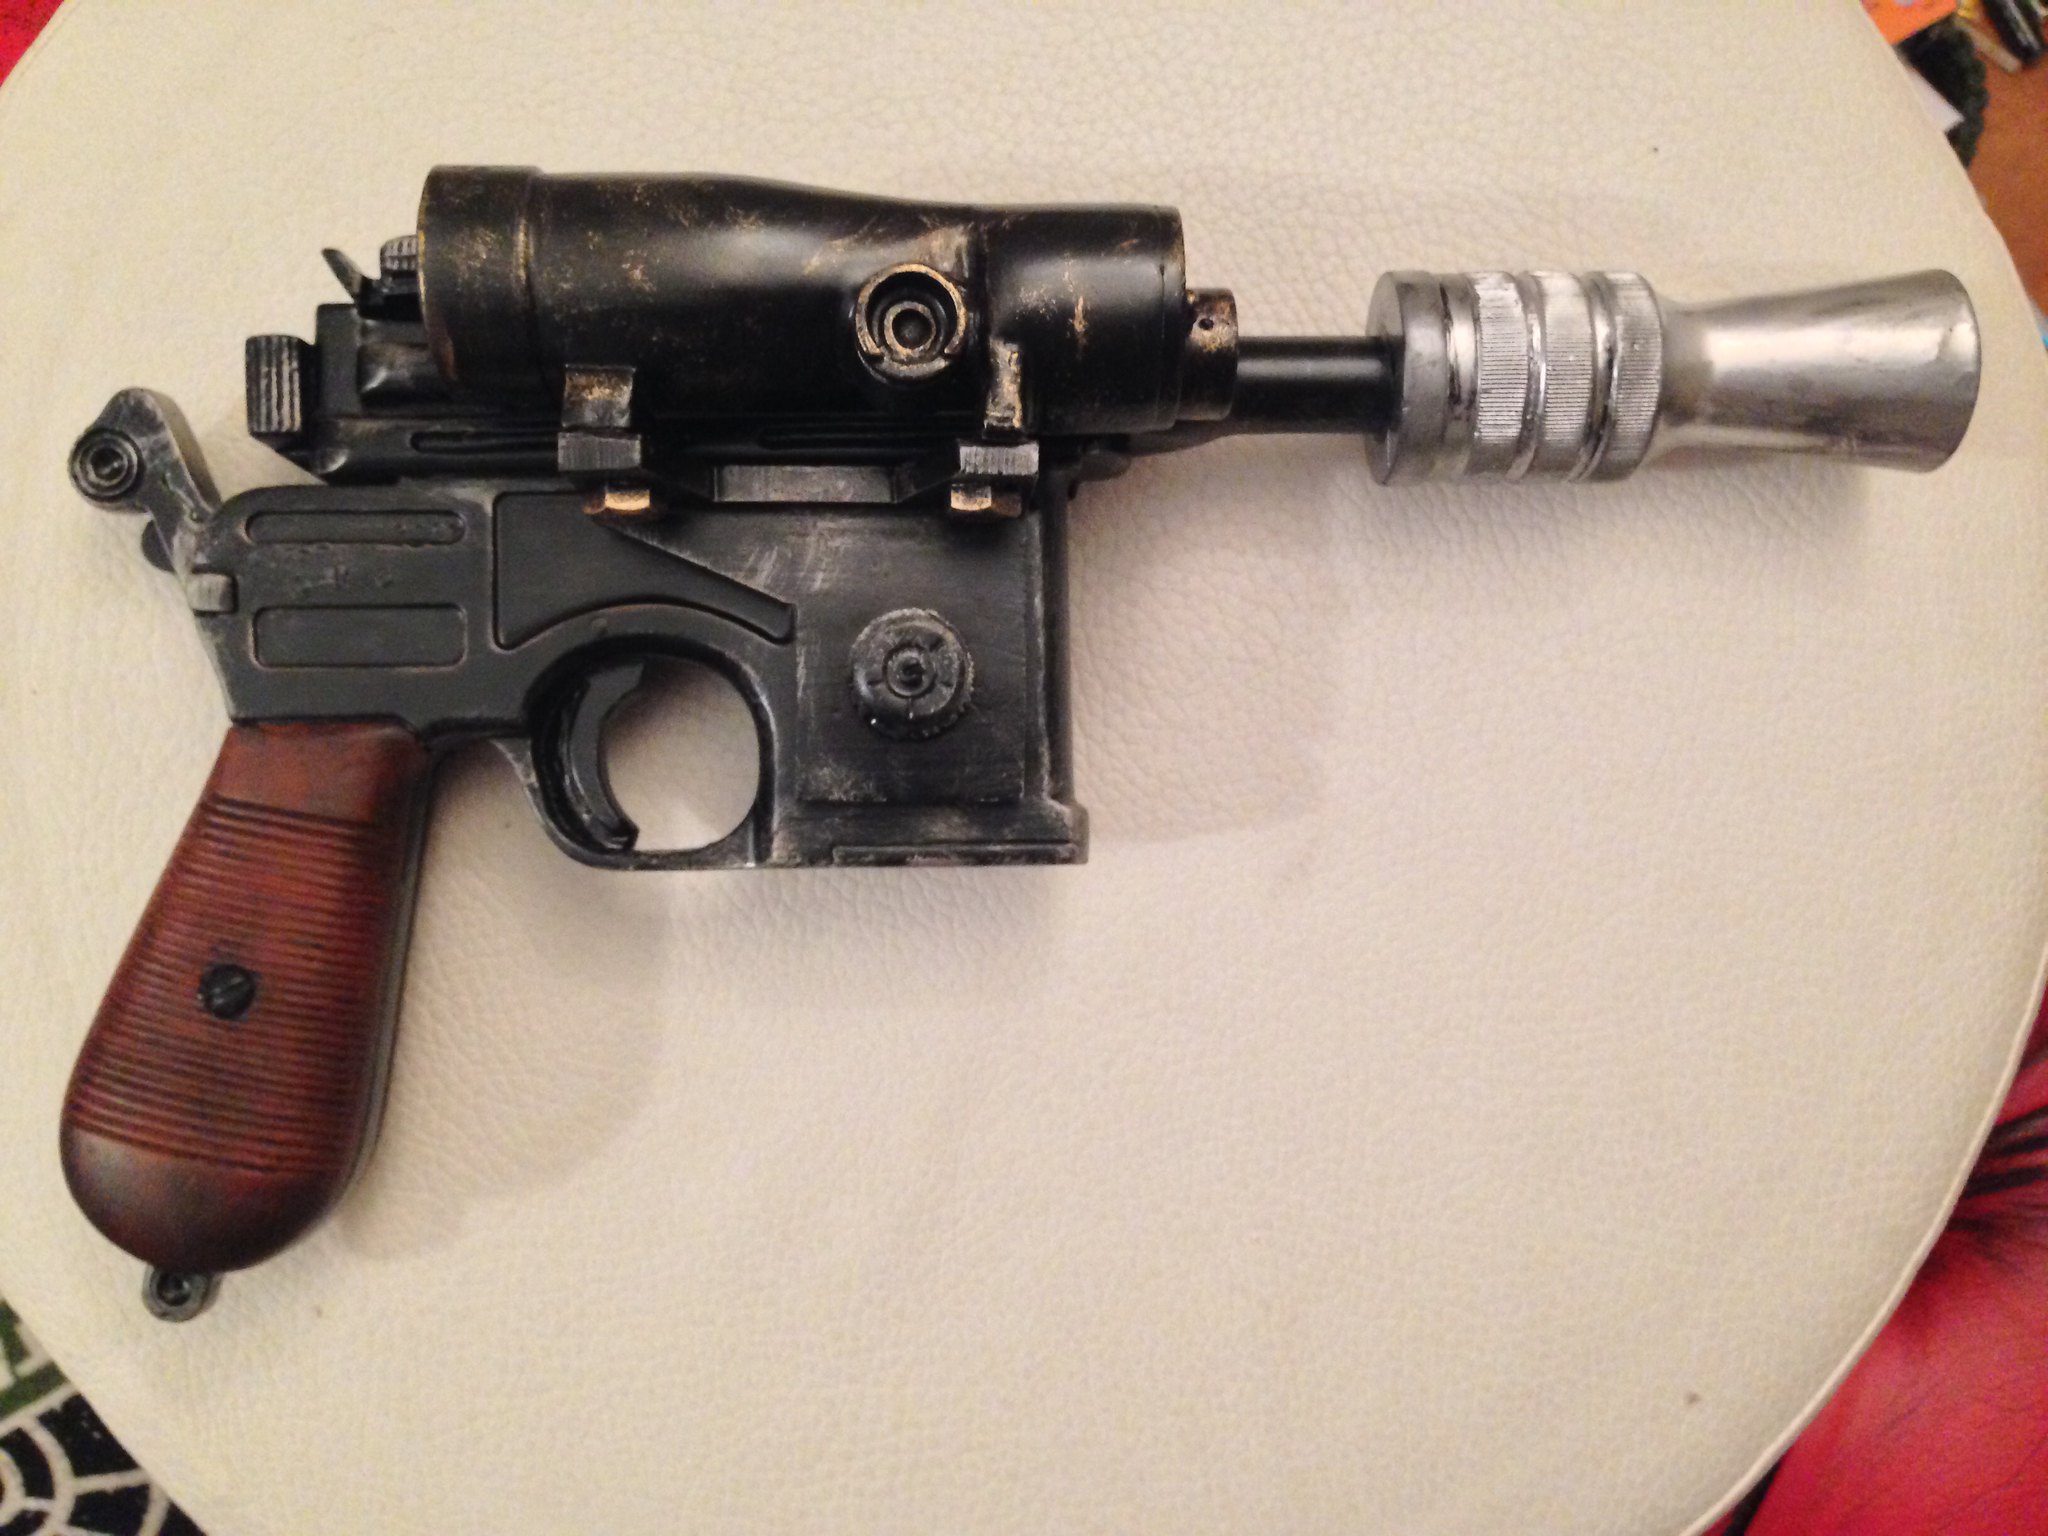
The scope and scope bolts were dry brushed with a gold. The bolts and screws on the scope were to be painted to look like brass fixings. the scope was dry brushed to look like a brass scope that has been painted black and the paint has weathered off over years of use.
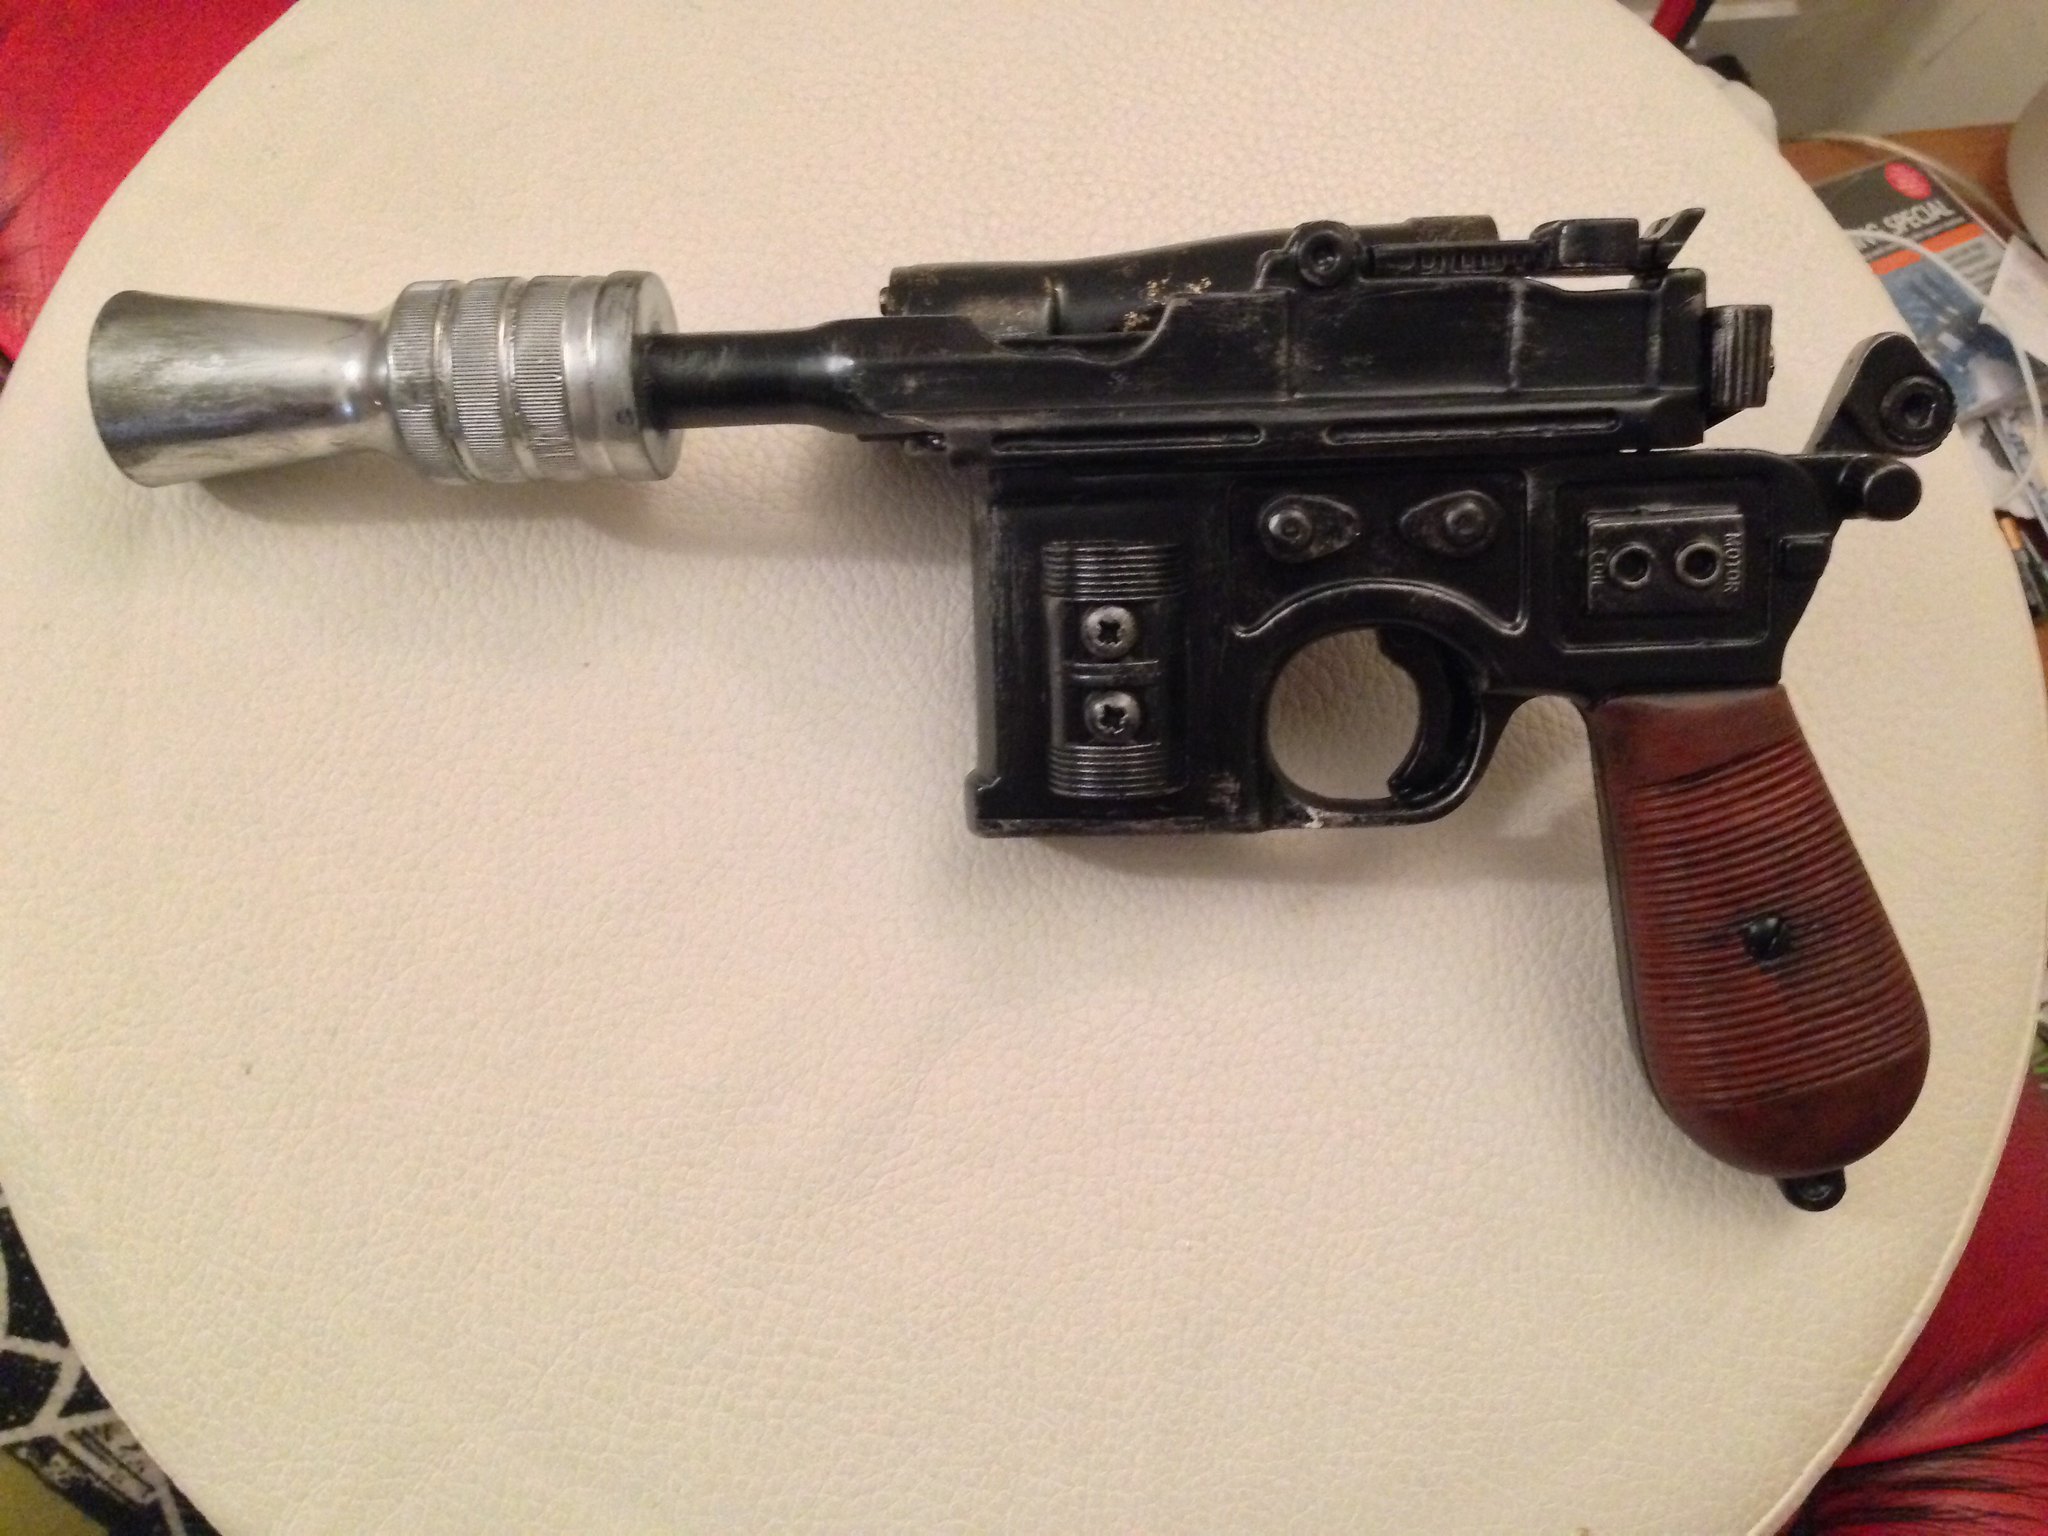
The body of the gun was weathered down with a dry brushing coat of silver paint to give it a worn effect.
The flash hider was weathered with black to make it look like it had been fired and been smoke damaged and dirtied up.
I gave some of the silver a wash with black to knock it back down if it was too bright to make it look dirty.
I was tempted to paint it up and have it look factory fresh, but there were some little defects in the resin cast and in my painting so i went with a weathered used look, i feel that it looks much better used.
I will make a stand and it will be displayed with my E-11 Hasbro conversion.
Once i have i will take some better shots.
great work man niceone looks great,ive just brought one myself and i have no idea what the best glue,primer or paints for it any help would be most wlecome
ReplyDeletethanks great work
great work man looks great,ive just brought one and have no idea whats the best glue,primer or paints to use ? any help most welcome
ReplyDeletecould u please tell me whats the best glue or primer and even paints to use on the kit? sorry im a right novice and have just brought the kit
ReplyDeleteany help most welcome
looks GREAT
whoa! 3 comments in 2 mins lol.
DeleteI used just a basic plastic primer spray paint for the primer. you need to wash all the parts of the model with soap and water before painting anything.
Then for the main black and silver blast cover on the end of the barrel i used car body spray or any enamel spray paint.
Then all the other detailing colours were acrylic paint, the silver finishings were done by spraying the silver paint into a lid or pot and then dry brushing it onto the replica.
Hope that helps.