Blade Runner Water Pistol Blaster Paint Up.

I recently just purchased a Water pistol by Fullcock.
these are getting very costly on eBay and other selling websites, I got mine from japan for a good deal cheaper than all of the eBay selling places, and it took a good month or so for delivery.
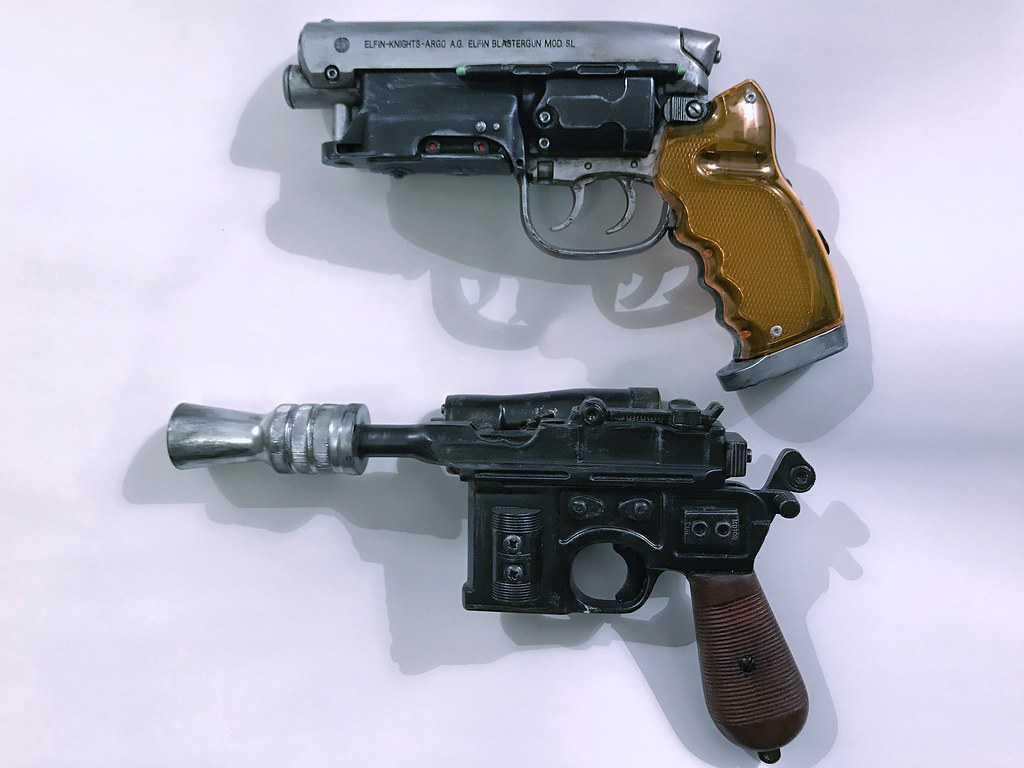
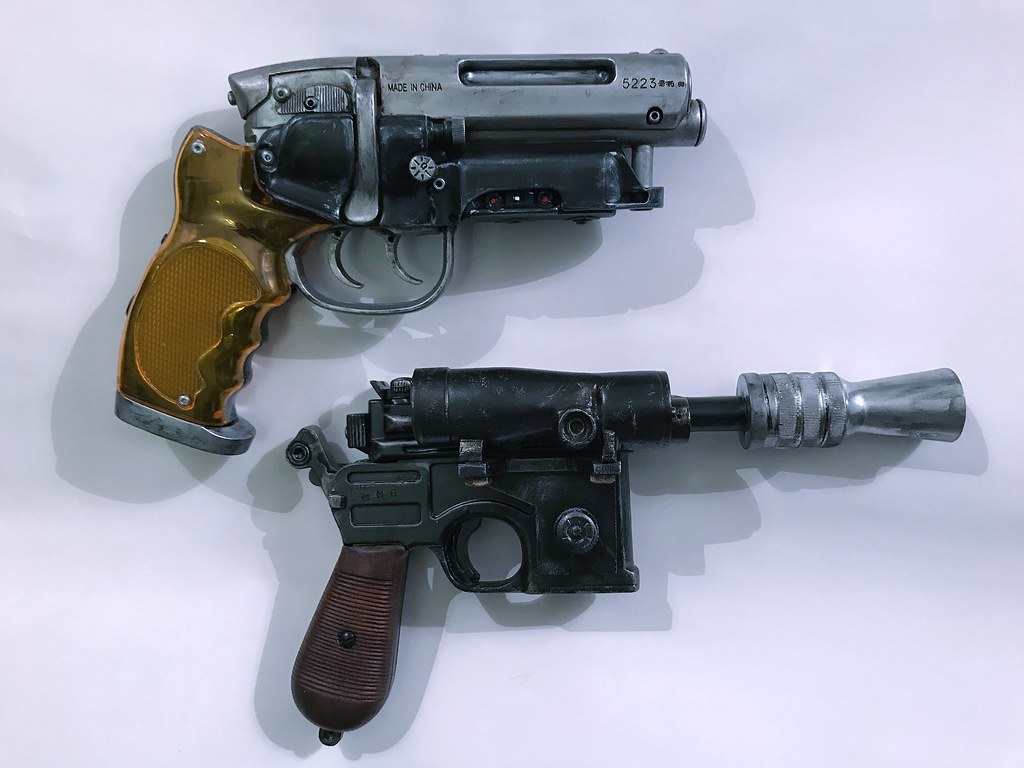
when it came i was very excited. This gun will go with my Han Solo blaster with an idea to complete my trilogy of Harrison guns. The third being one of the pistols from Indiana Jones films. (although this may be a little hard for me as being in the UK its hard to find correct (realistic looking) replicas of real fire arms.)
The water pistol came in a rather cool looking plastic bag. All the information is in a language i have no clue how to read but it doesnt really matter here.

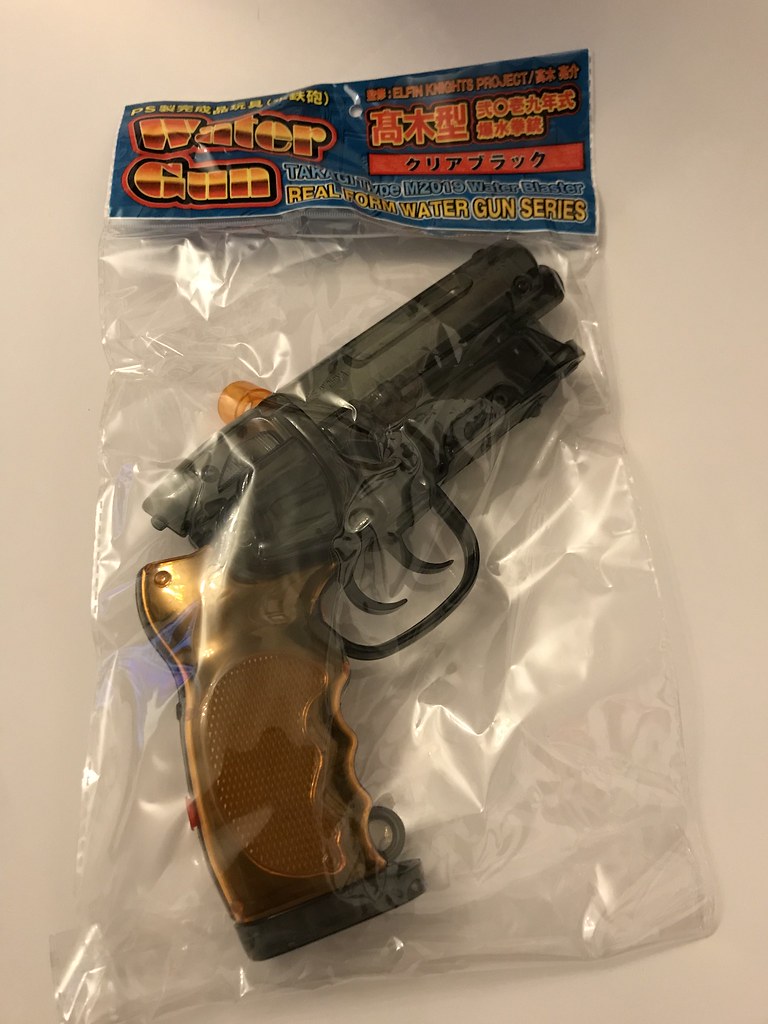

The content of the bag were as such:


The water pistol itself and two little clippy on things.
The orange one being for UK laws, any replica that looks like a real gun (almost anything that's gun shape) has to have an orange tip to show its a fake/toy gun.
The little black ring when clipped on looks more realistic and that is the option i will be putting on my water pistol. (im not going outside with this gun, and if i do i can put the orange tip on)

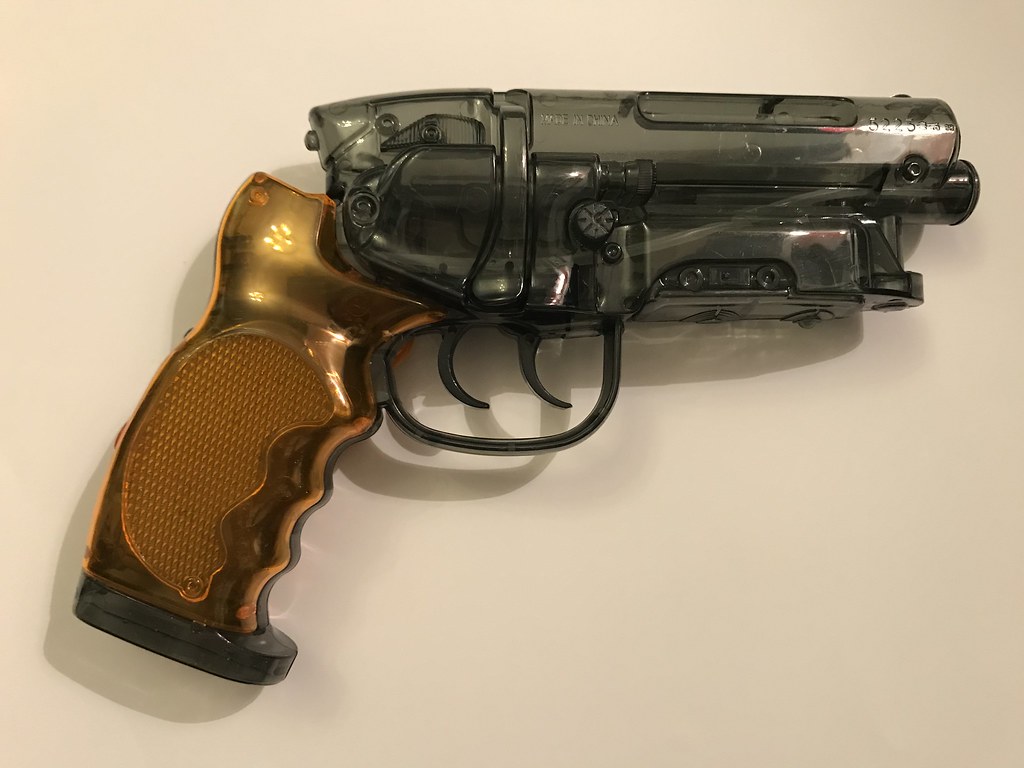
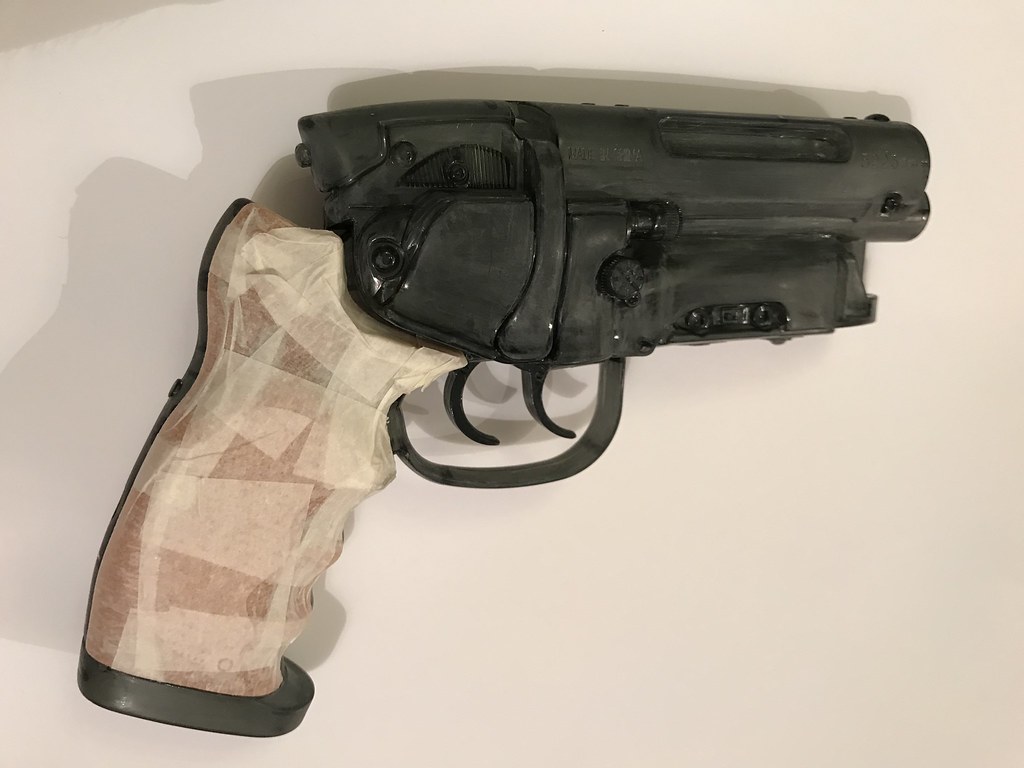
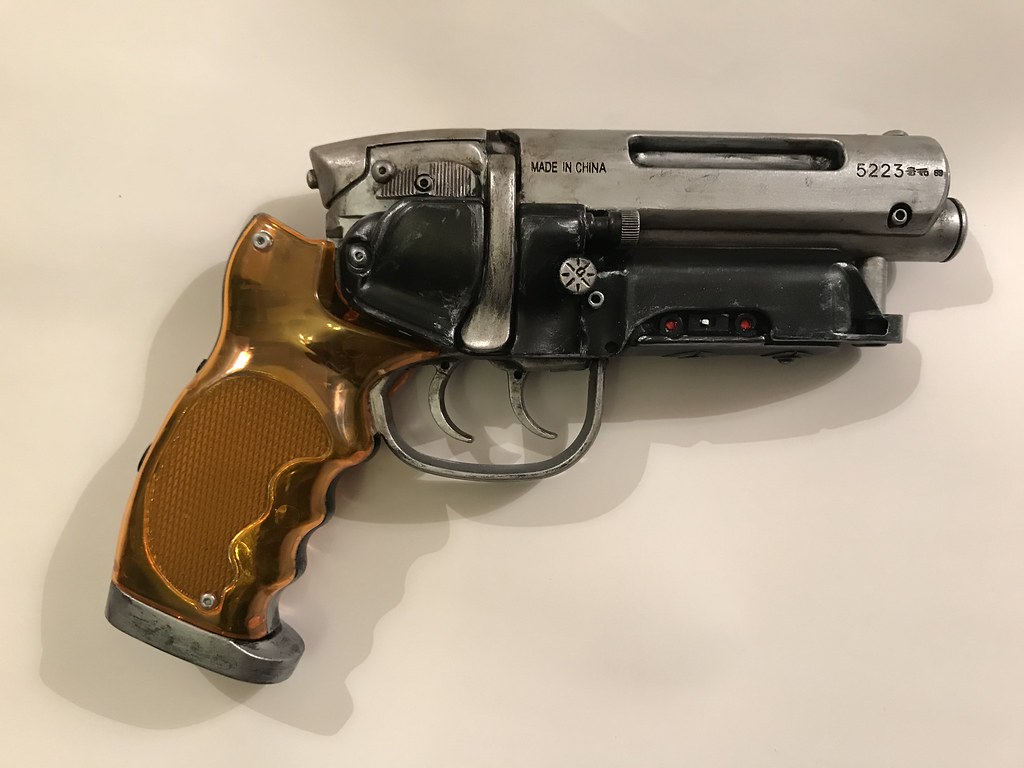
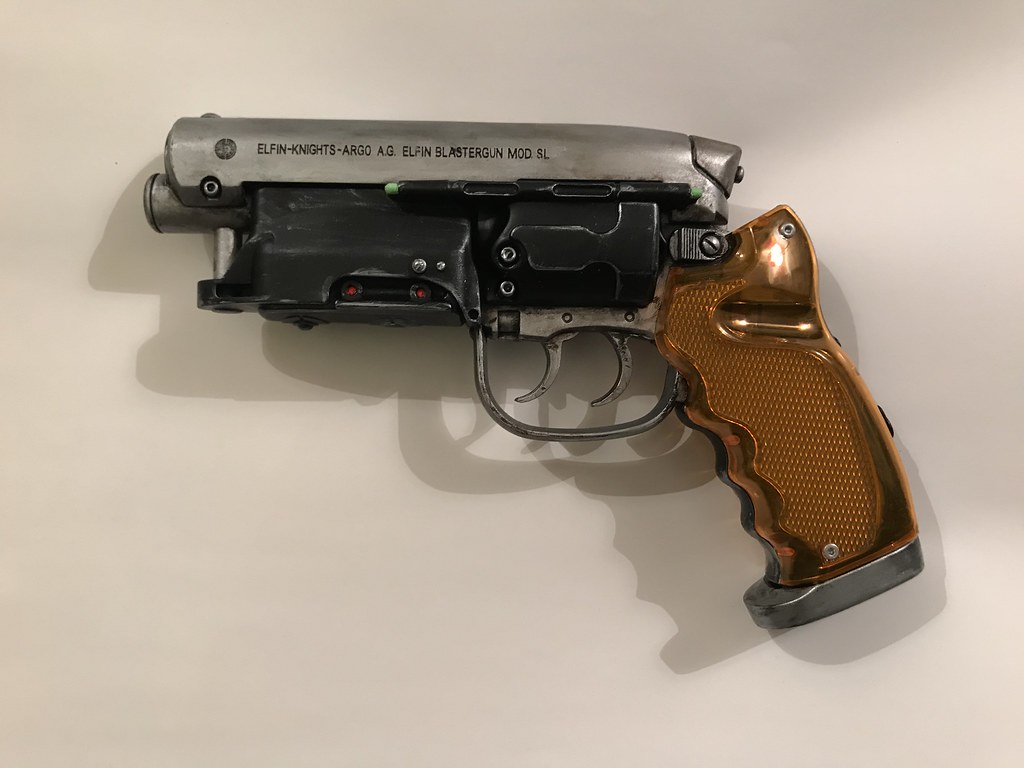
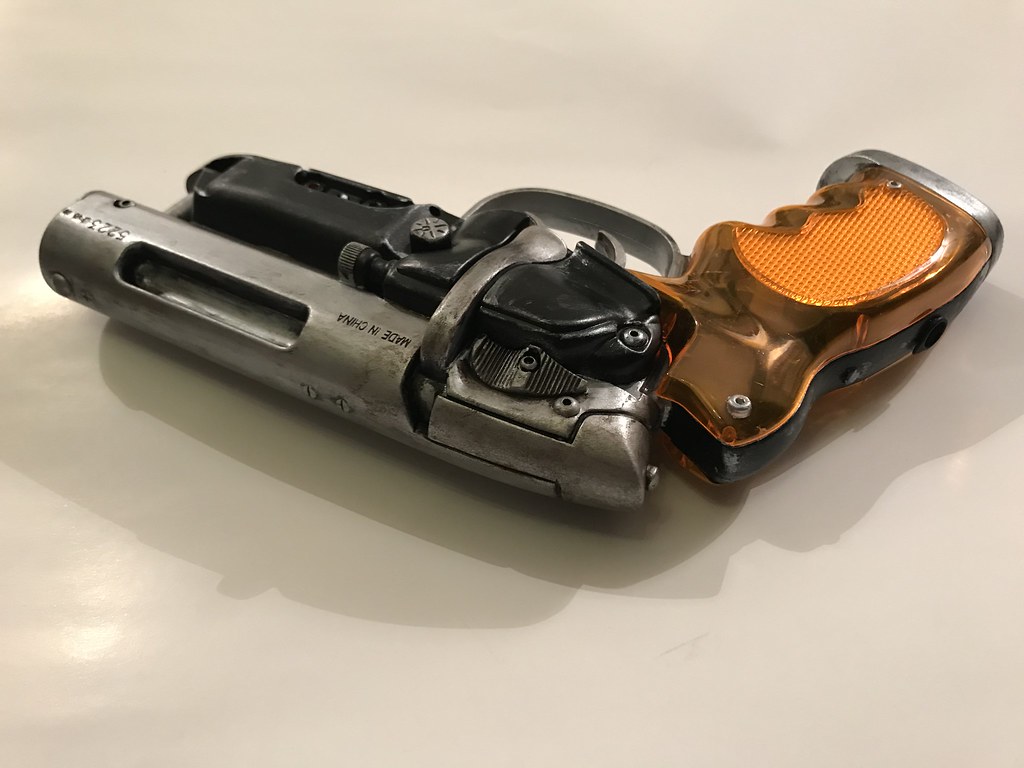
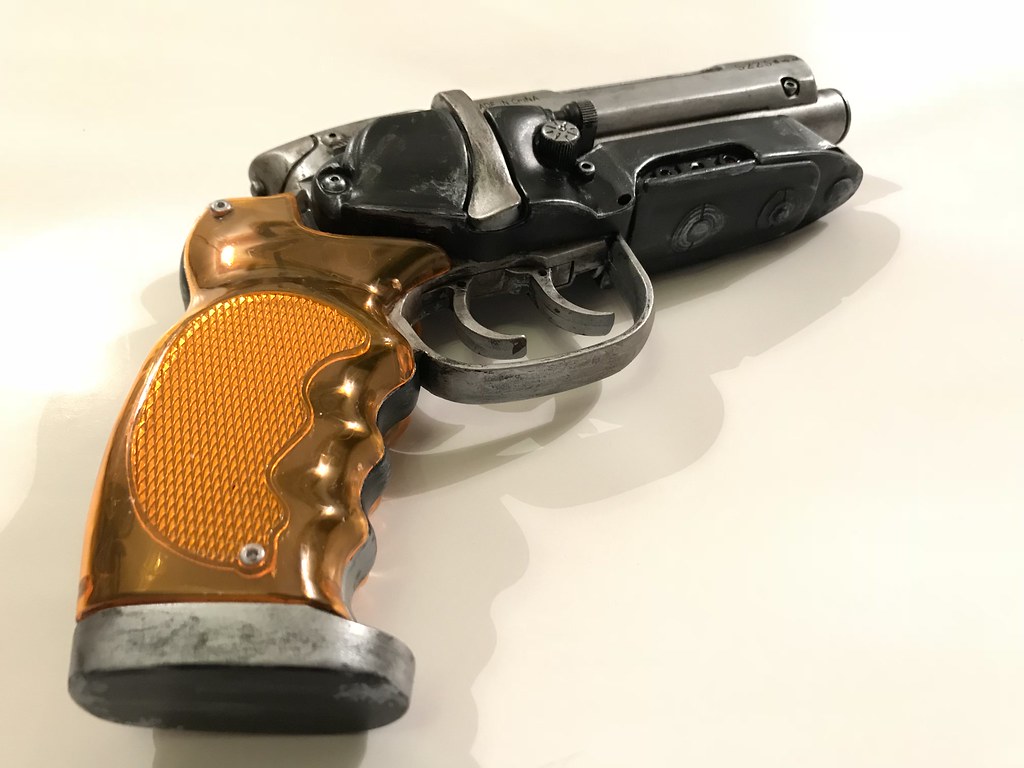
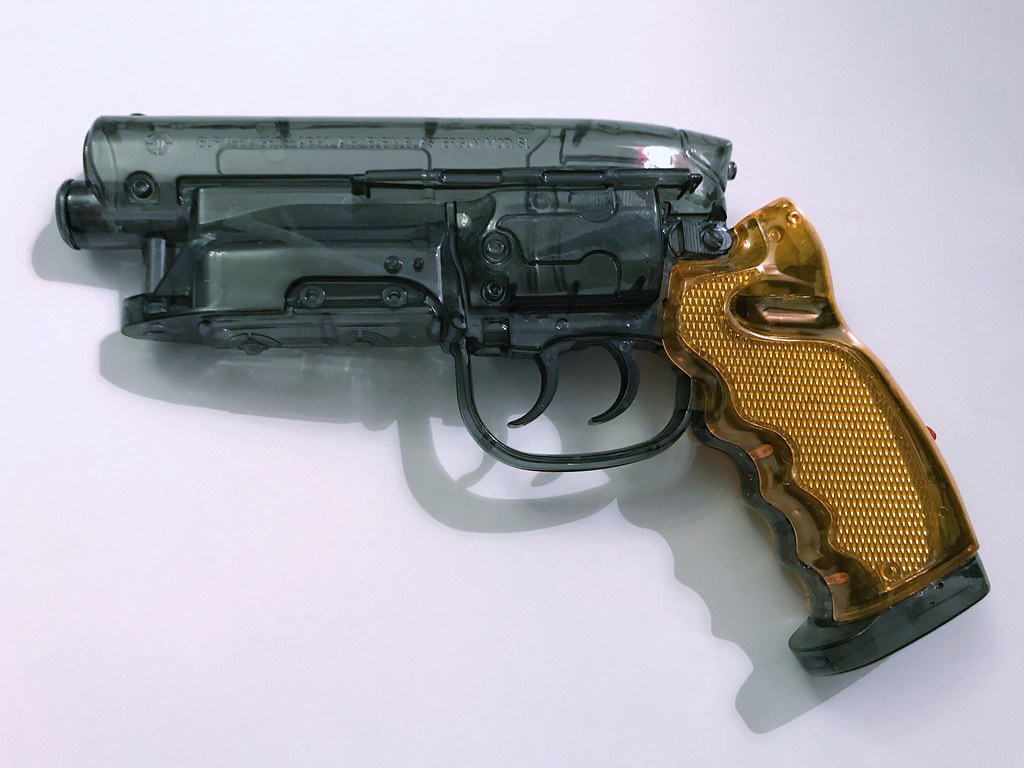
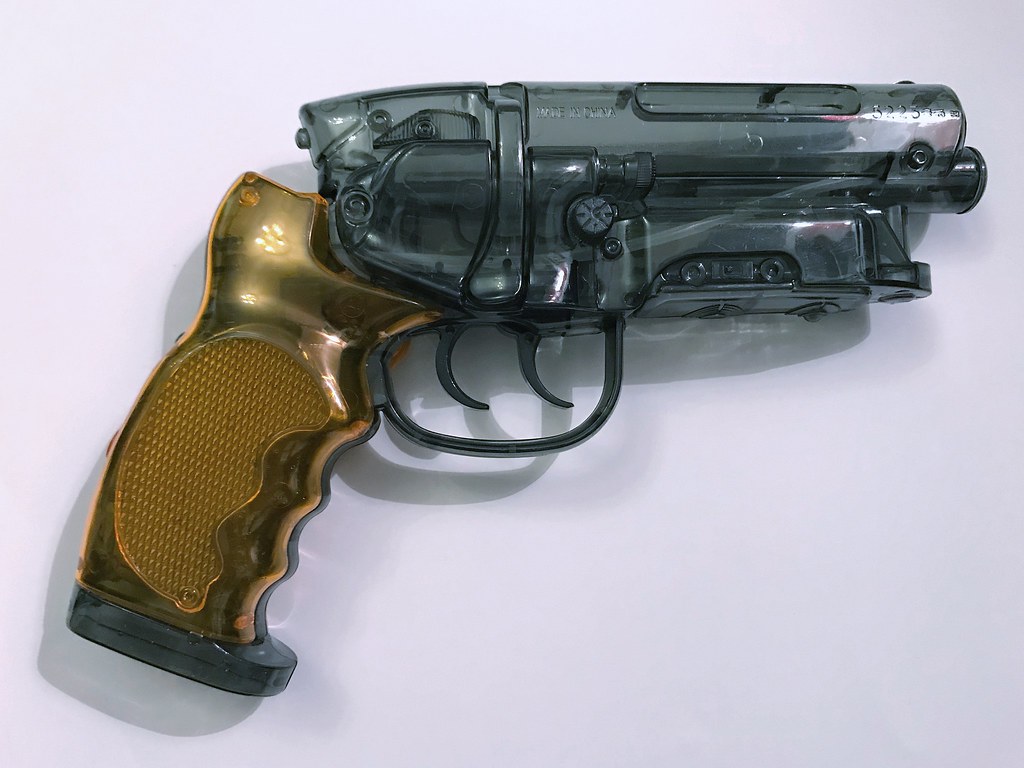
The two sides of the water pistol.
This water pistol is a pretty good replica of the blaster used in the film.
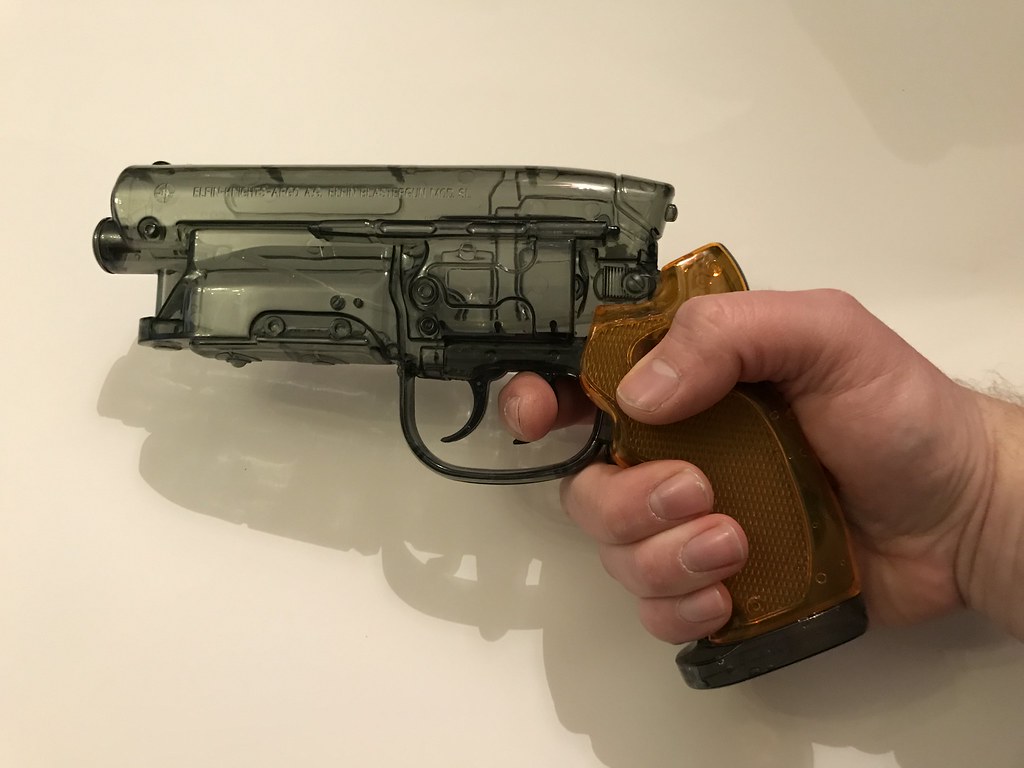
It is a fairly good size and fits in the hand really well.

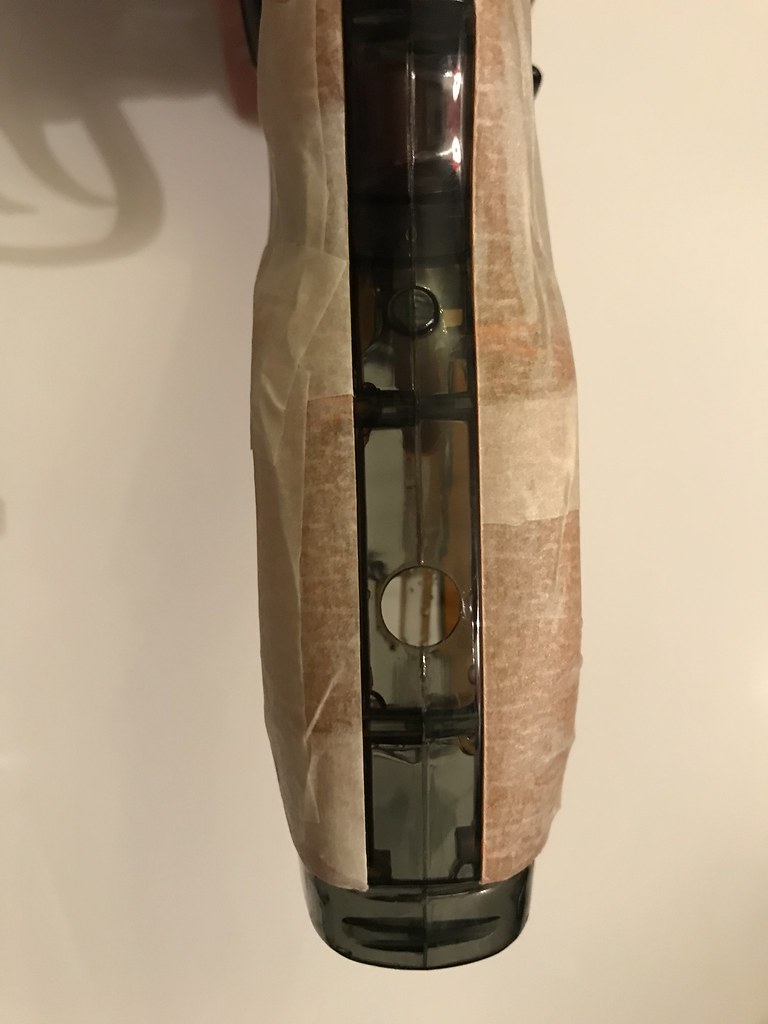
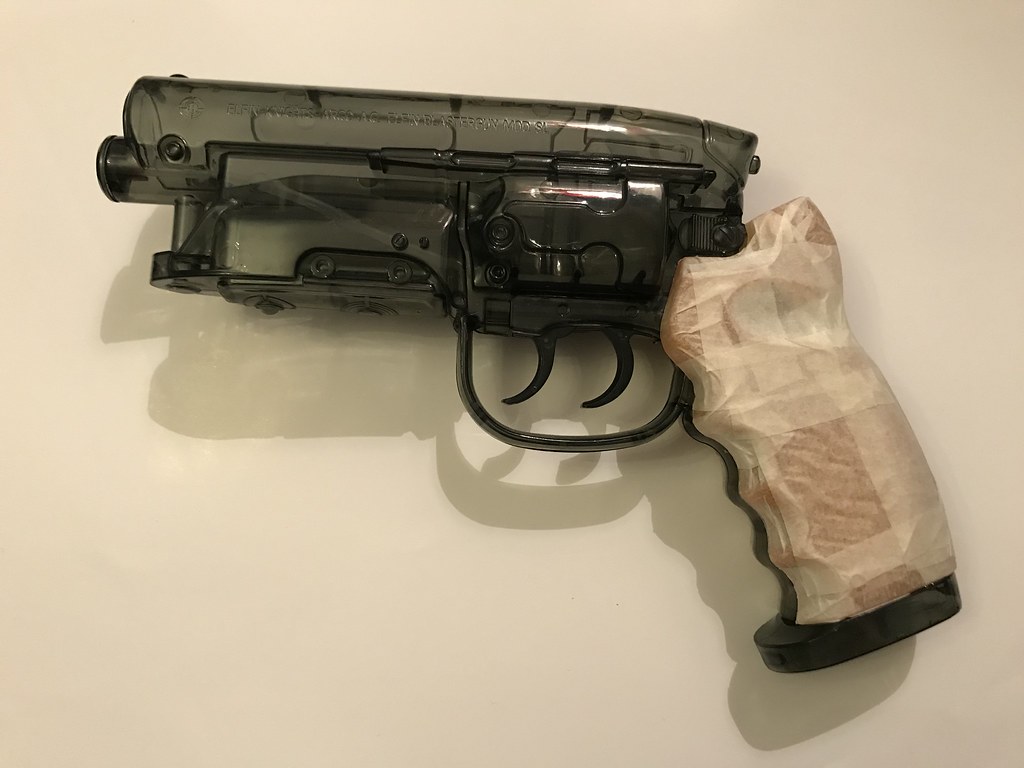
I started prepping the gun by masking off the amber grips, i am masking these off as trying to remove them feels like it would crack either the grips or the body of the gun, this is not what i want to happen.
The orange handle of the gun is going to be the only bit i do not paint as the original props had lovely amber transparent grips.
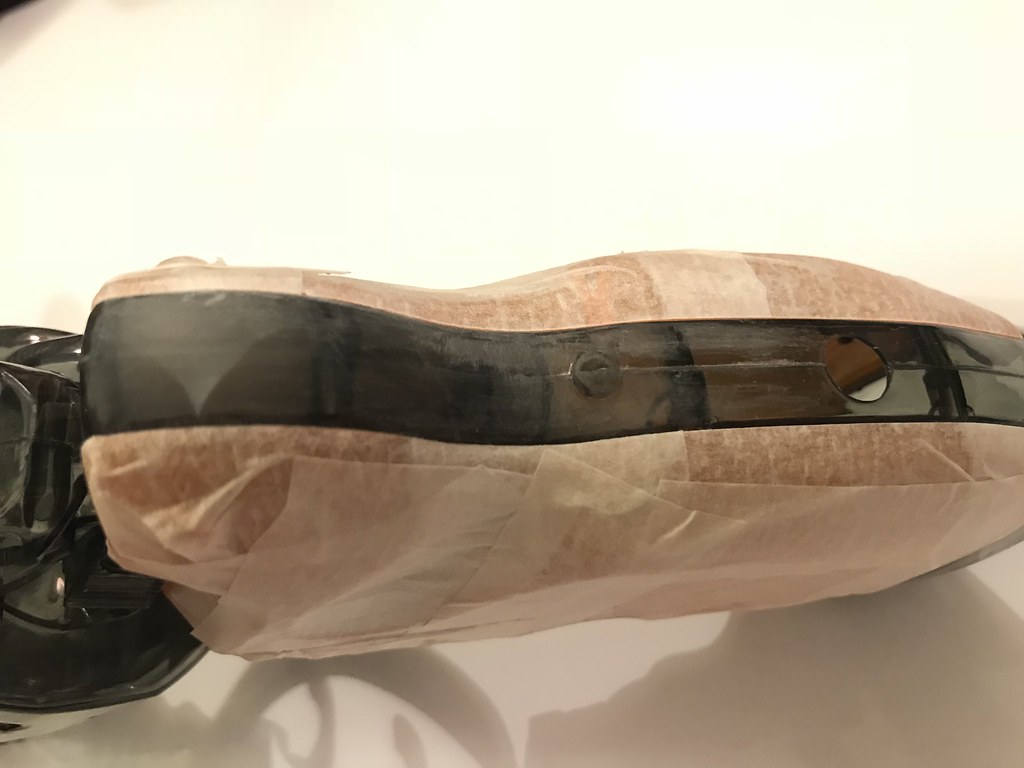
Once the grips are masked off i started with filing and sanding down the seam of the two halves of the plastic shell. The reason for this is two fold, one is to remove the visual line that the join makes when painted. two is because I will have to sand the whole gun to give the paint something to grip to.
i went all the way round the guns joining seam and sanded it down feeling it and looking at it under the light to check i had removed the seam correctly.
Above is the Water pistol once i had given the whole thing (the bots i could get to with the sand paper.) a rubbing with some fine sand paper.

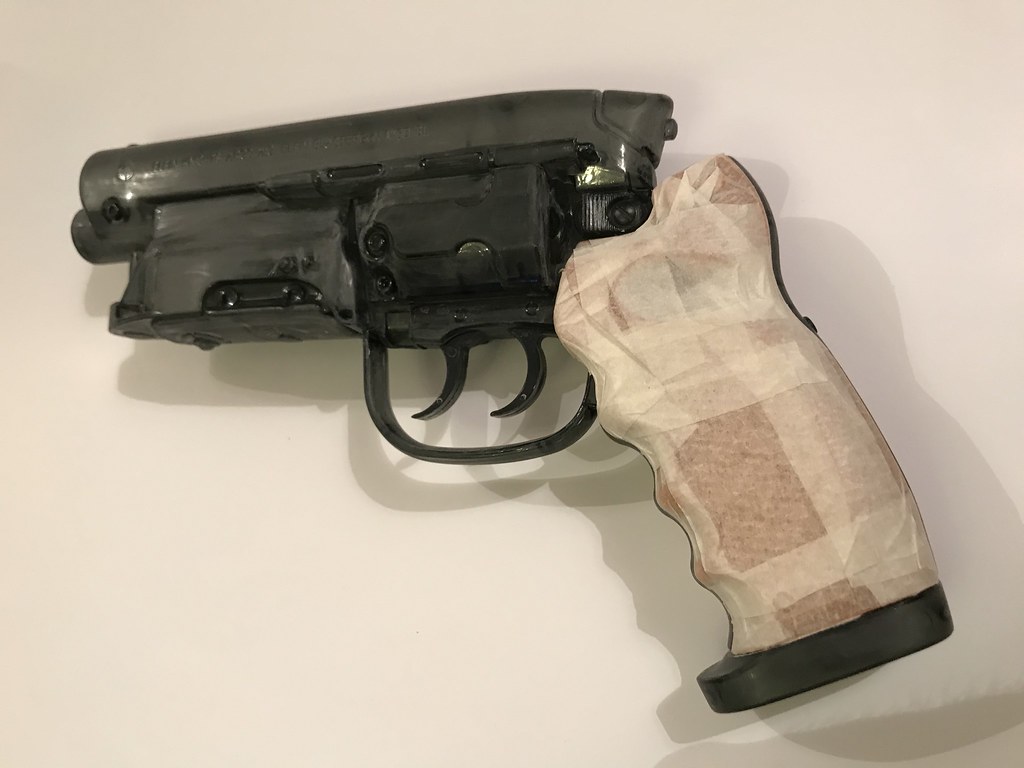
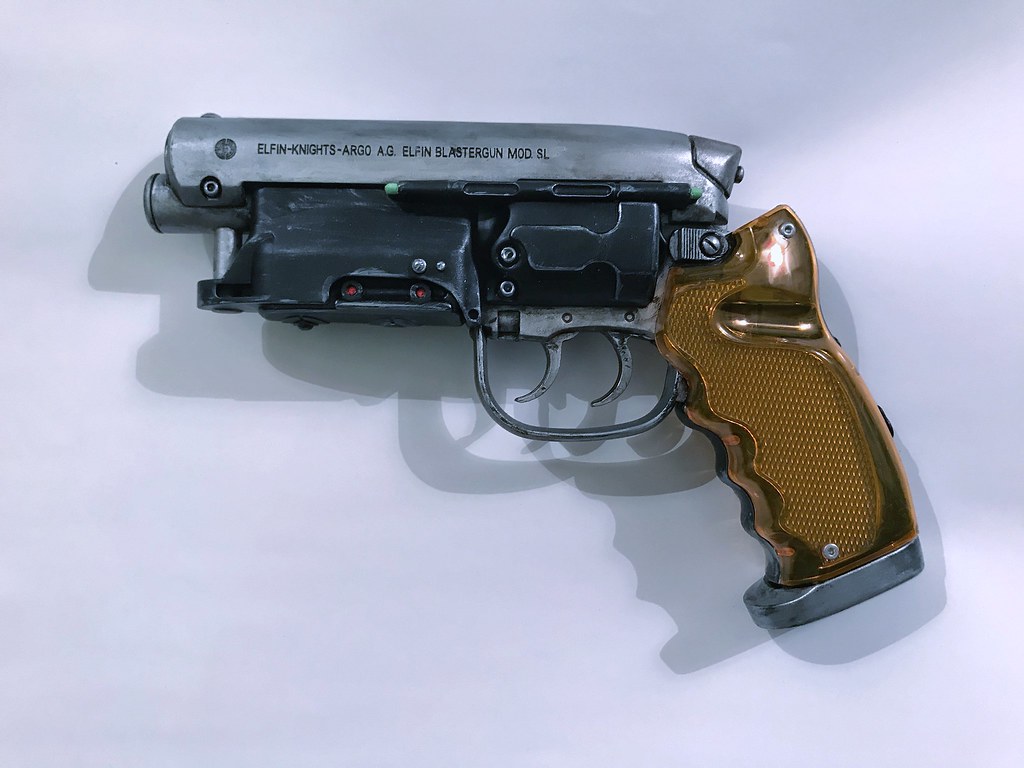
Once the paint was on the gun the details really came out. The detail that the designers have gone to are really great.


All i need now is a replica of one of the guns used in the Indiana Jones films (original trilogy of course)
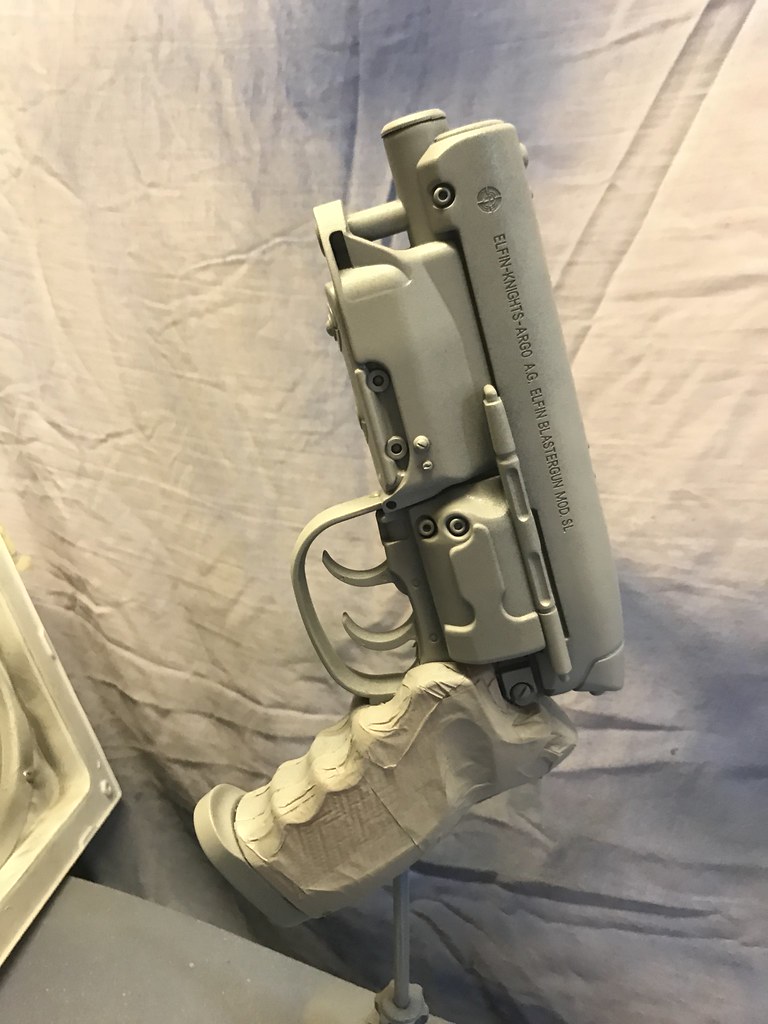
When the primer paint had dried i gave it a coat of silver chrome. this will be the main colour of the gun then i will remask the silver and paint certain parts black.
The chrome paint didn't come out as well as it has before. its a little flat and dull.
I feel there are two reasons for this. The paint i used was a little old and the temperature was very low when i painted it. Environmental factors play a great part of how well a paint comes out, and this is a perfect example of why you should have a good temperature when spray painting.
(this step is here and i did do it honest i just forgot to photograph it!)
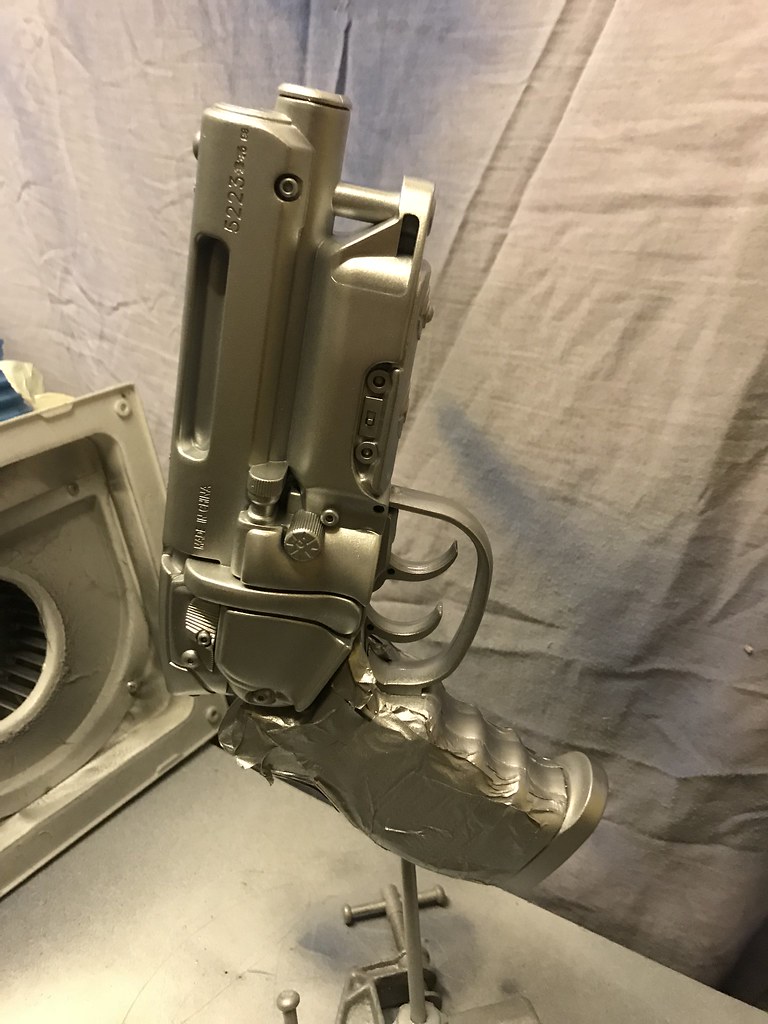
when the silver had dried i masked all the parts i wanted to keep silver and then spray painted the gun with a flat black.
Once the black paint had dried I removed all the tape to reveal the colours and the lovely amber grips.
Even though the silver isn't as good as I wanted it turned out OK.
In the above photos you can see some parts where the black has seeped under the masking tape, I will correct this in the weathering and finishing steps later.
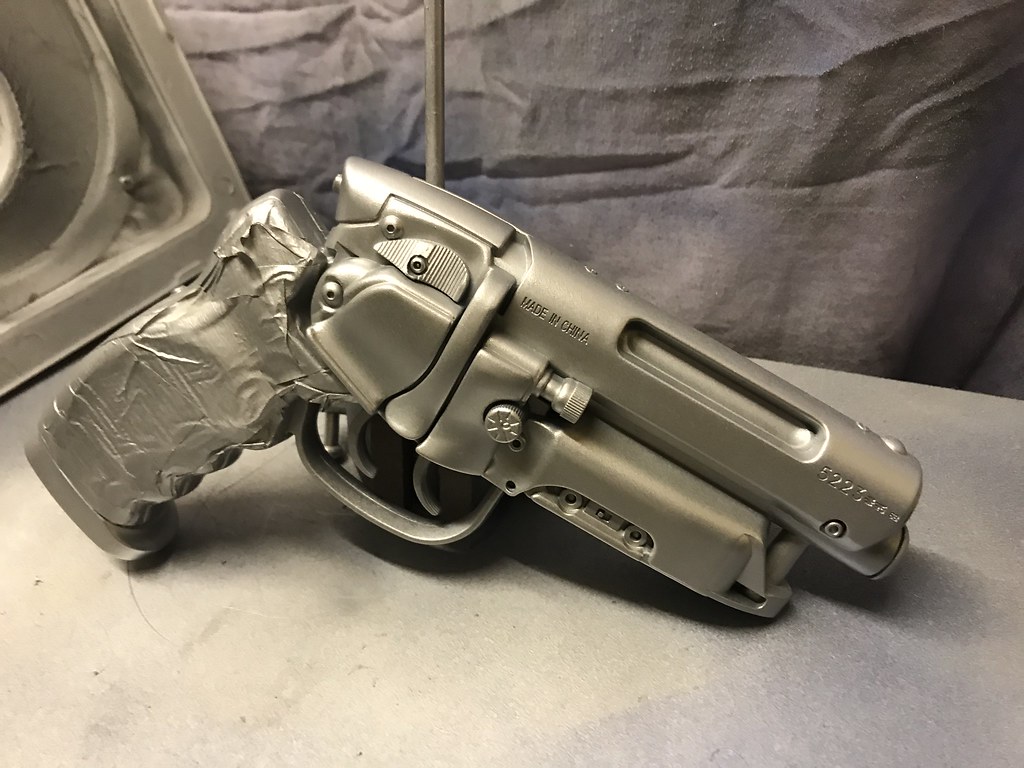
Finishing the gun was a multi stage process and i totally forgot to take photos of it step by step but here are the final results.
First i used some chrome brush on paint to brighten up the silver sections (after the poor spray paint results)
The chrome paint was great at covering up the errors in the black coat (where it had bled under the masking etc)
When the chrome paint had dried I used it again to dry brush the black parts to give the effect of worn paintwork, to make it look like it was painted worn metal.
The chrome paint was great at covering up the errors in the black coat (where it had bled under the masking etc)
When the chrome paint had dried I used it again to dry brush the black parts to give the effect of worn paintwork, to make it look like it was painted worn metal.
I then used some black acrylic paint to weather the silver sections of the gun and to touch up parts that i masked off when i should have left it to get sprayed black. (namely the rear of the handle.)
using the black to weather the gun gives it a used look. It also gets in the small fine detail, the text and the grooves and parts that would gather the oil and grease that a gun would collect.
Once the black had dried i used a small amount of brown (rust) acrylic to detail the rear of the silver sections. (the reference photos of the original blade runner gun i found had dirty rusty grime) i replicated this, it gives the whole weathering more depth.
I left the amber grips completely clean save for painting the bolts/screws that are moulded in the amber plastic.
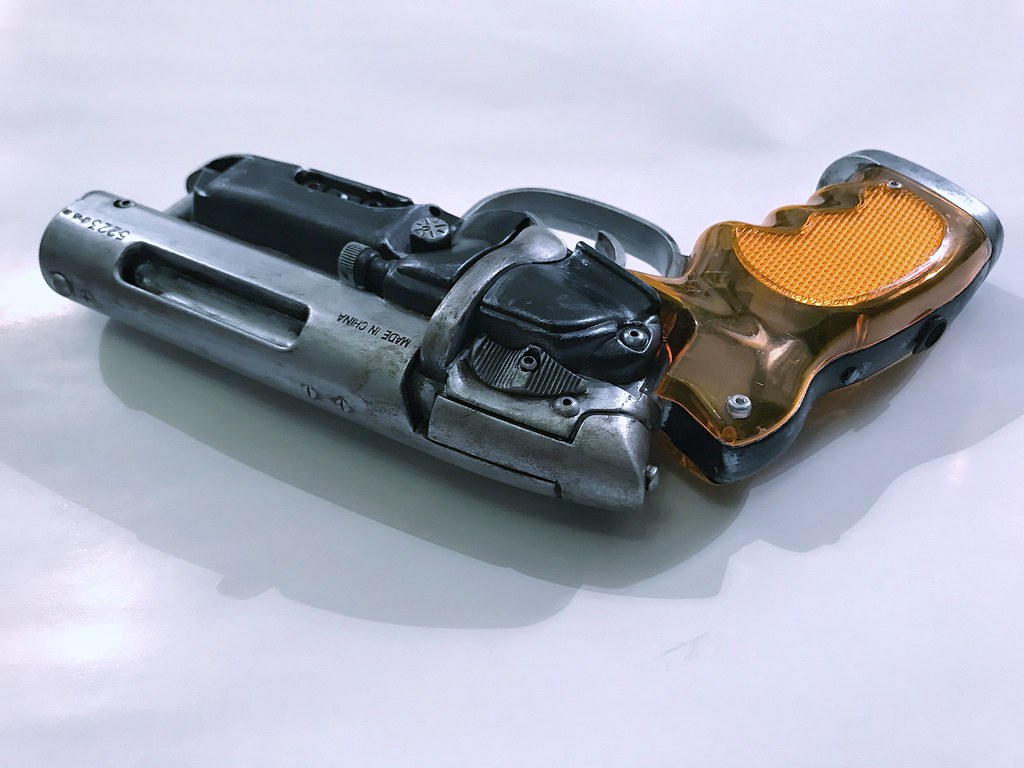
Before and After shots.
Above and below are before and after shots of the water pistol, to show the difference the paint job made to the toy water pistol.
My Indiana Solo Deckard trilogy of replica blasters is nearly complete.
All i need now is a replica of one of the guns used in the Indiana Jones films (original trilogy of course)
Hi there. The blaster looks really cool. What company did you buy it from please
ReplyDeleteMany thanks Mick
Hello, I cannot remember where I got it from. It has been a while since I got it.
DeleteIf you search for 'blade runner water pistol' you get a few options.
But the price of these items has shot up in the past few years.