Hello, I am a maker of a wide variety of genres. I have worked as a Architectural model maker, designer, tool maker and graphic designer.

To view my online Photo Portfolio of my Architectural model making please go here.

This blog is where I document my personal and commission projects with photos and write ups.

Please read my about me page for contact info and how to enquire about commissions or plan purchases.

Plans for sale : here

4 July 2017

Harley Quinn's Baseball Bat from Suicide Squad.


Recently my wife purchased a pair of the trainers worn by Harley Quinn (Margot Robbie) in Suicide Squad, They are pretty awesome. She jokingly mentioned that I would have to make her the baseball bat that she uses in the film. 
Not to take a challenge lightly I made the baseball bat :) 

 http://imagesmtv-a.akamaihd.net/uri/mgid:file:http:shared:mtv.com/news/wp-content/uploads/2016/01/tumblr_o18hgpw23p1qf5hjqo8_250-1453309654.gif?quality=.8&height=140&width=245

 I did a little googling and found a few images of the screen used bat. one such image had a full 360degree view of the bat.
 using this image and some others (im pretty sure they are replicas and souvenirs) they helped me work out what to put on the bat and the spacing for the main components.

https://c1.staticflickr.com/5/4194/34755583794_f1870f4f60_b.jpg
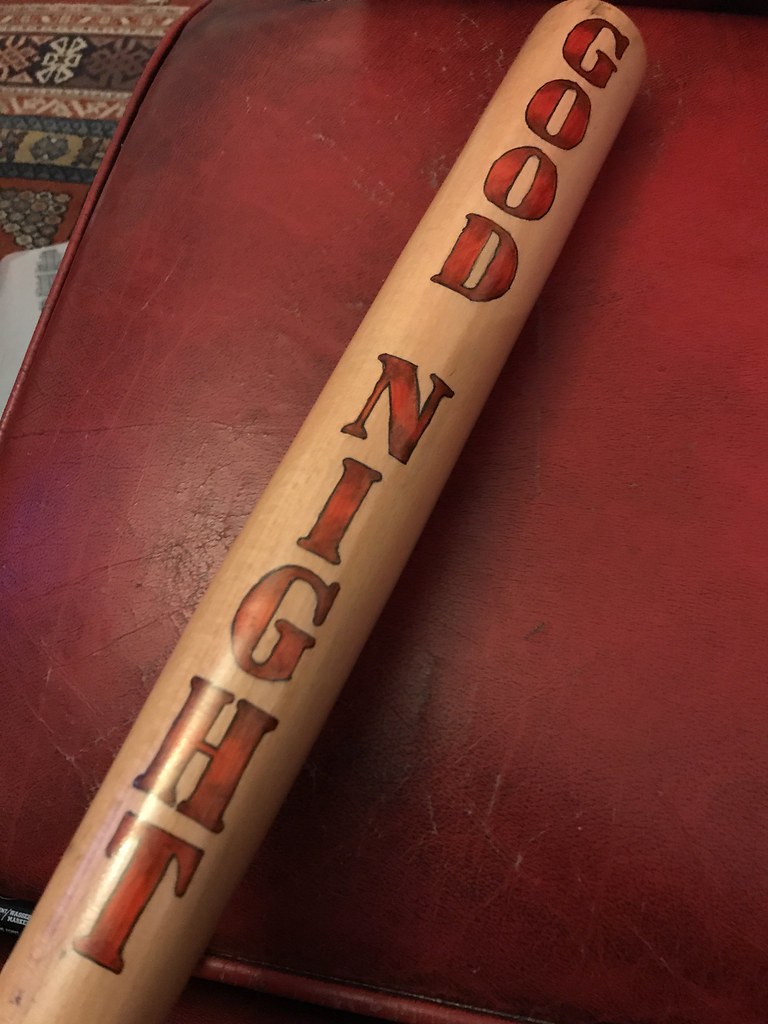
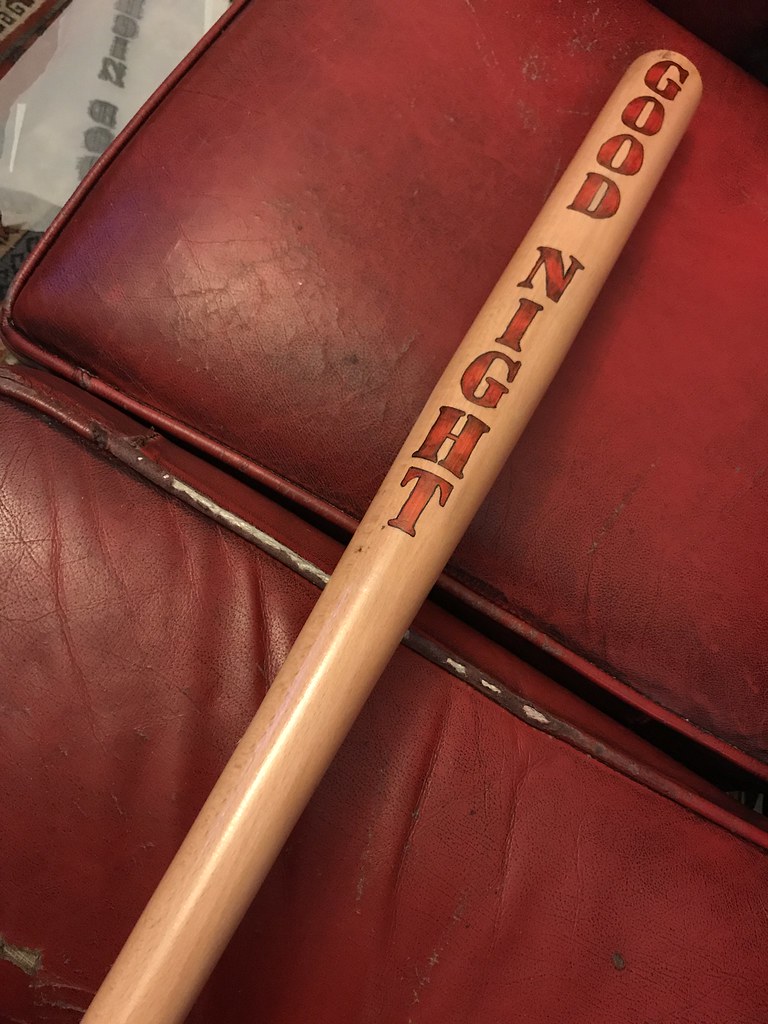
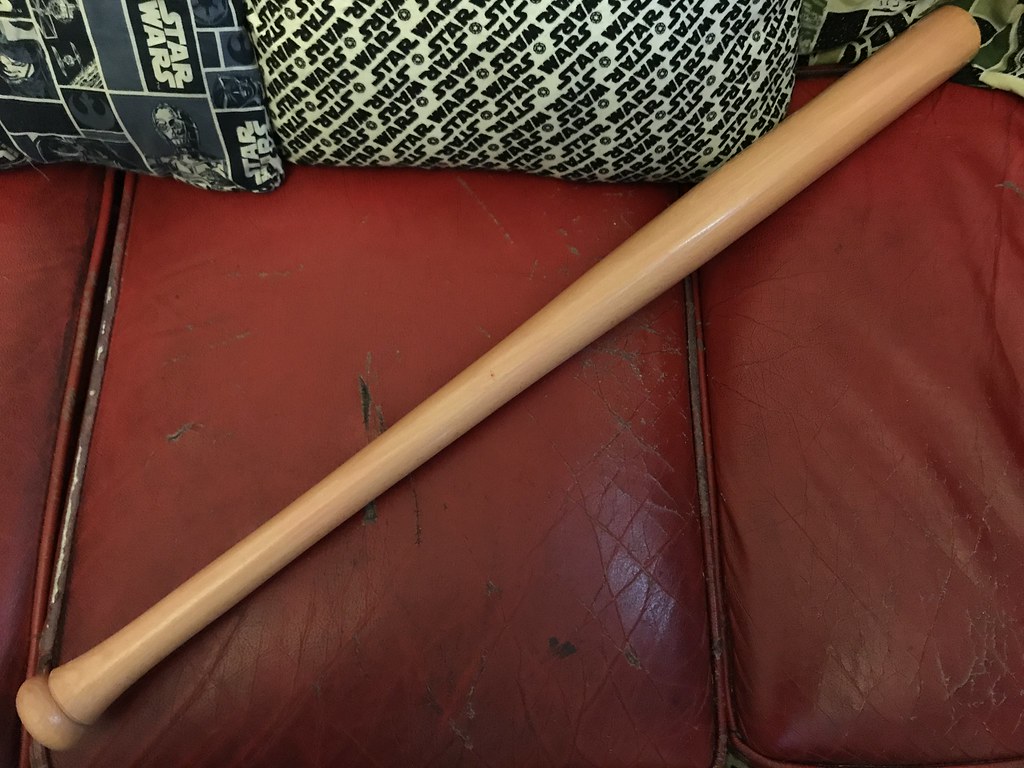
Once i got a suitable bat that didnt have any markings or branding I measured the length and scaled the images i had to the right size so i could work out the size and position of the 'GOOD NIGHT' text on the front of the bat. 

https://c1.staticflickr.com/5/4175/35558194056_7c78990a99_b.jpghttps://c1.staticflickr.com/5/4262/35558223806_20ab37bc0a_b.jpghttps://c1.staticflickr.com/5/4025/34755617104_e397bee226_b.jpg
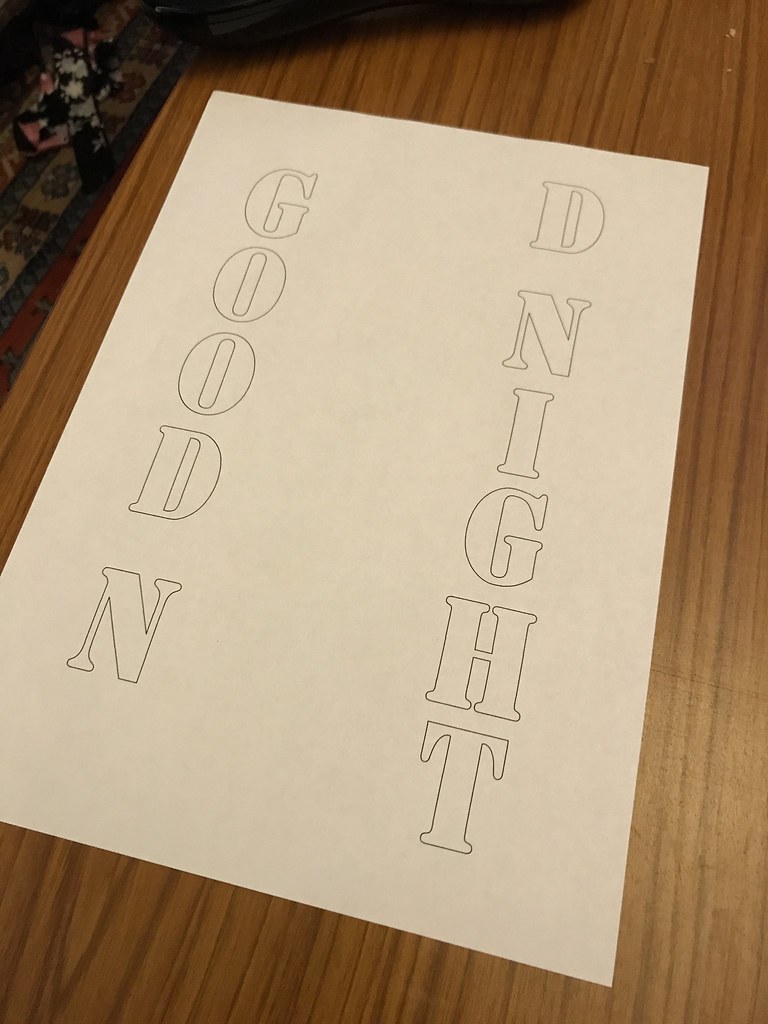
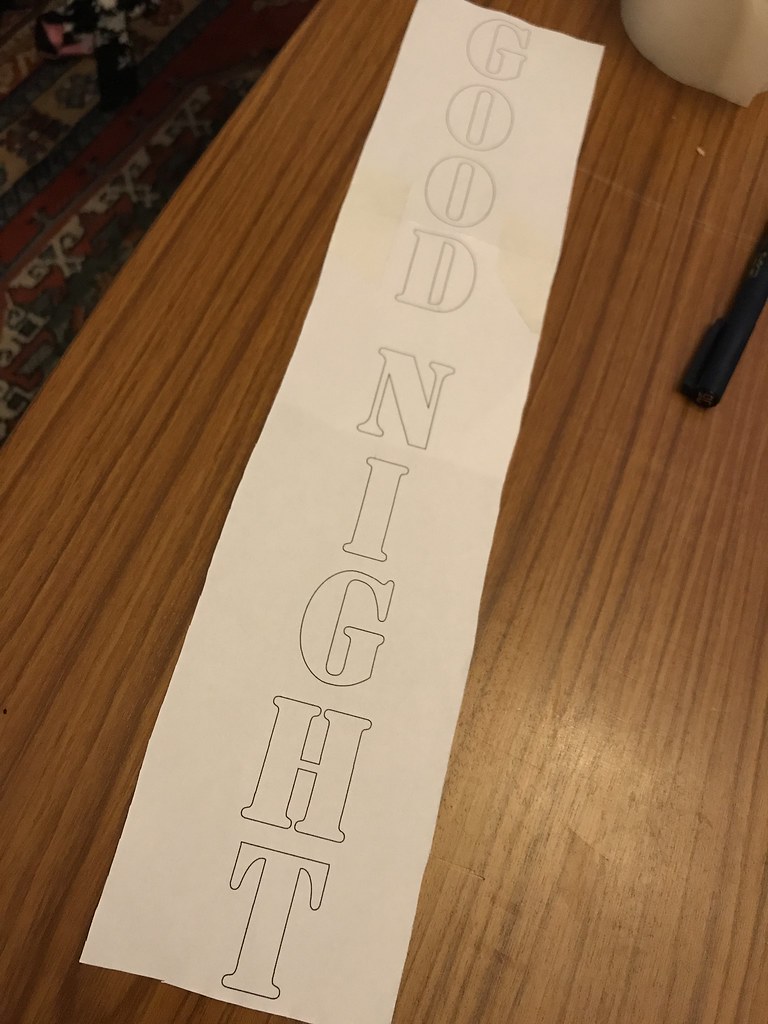
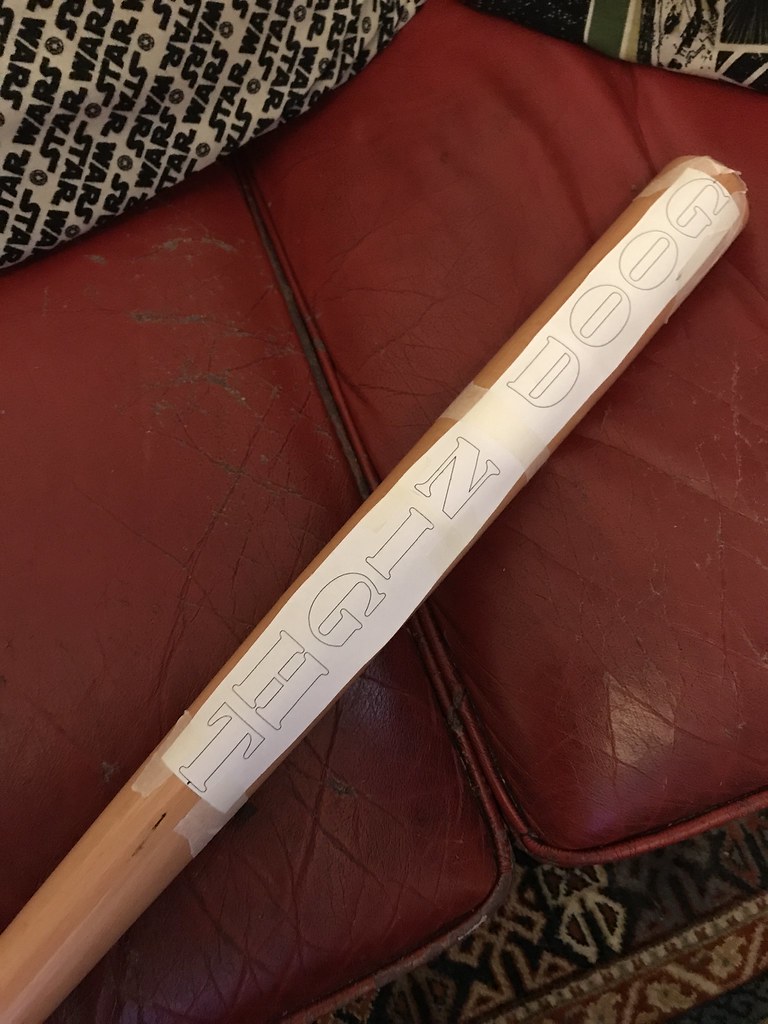
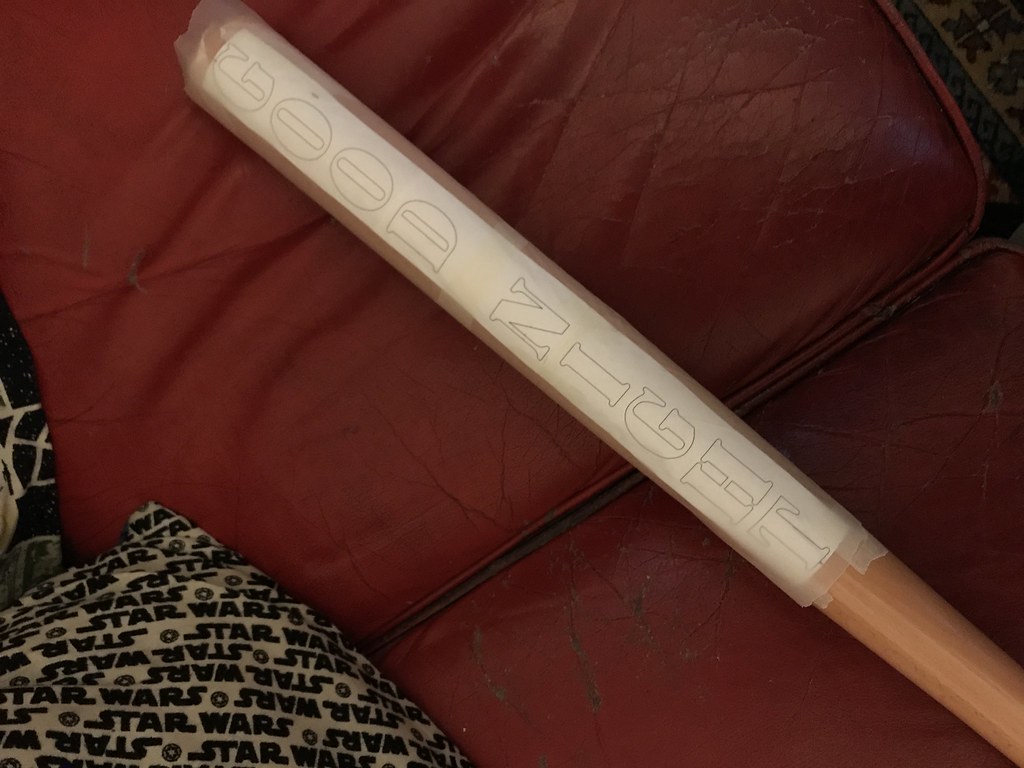
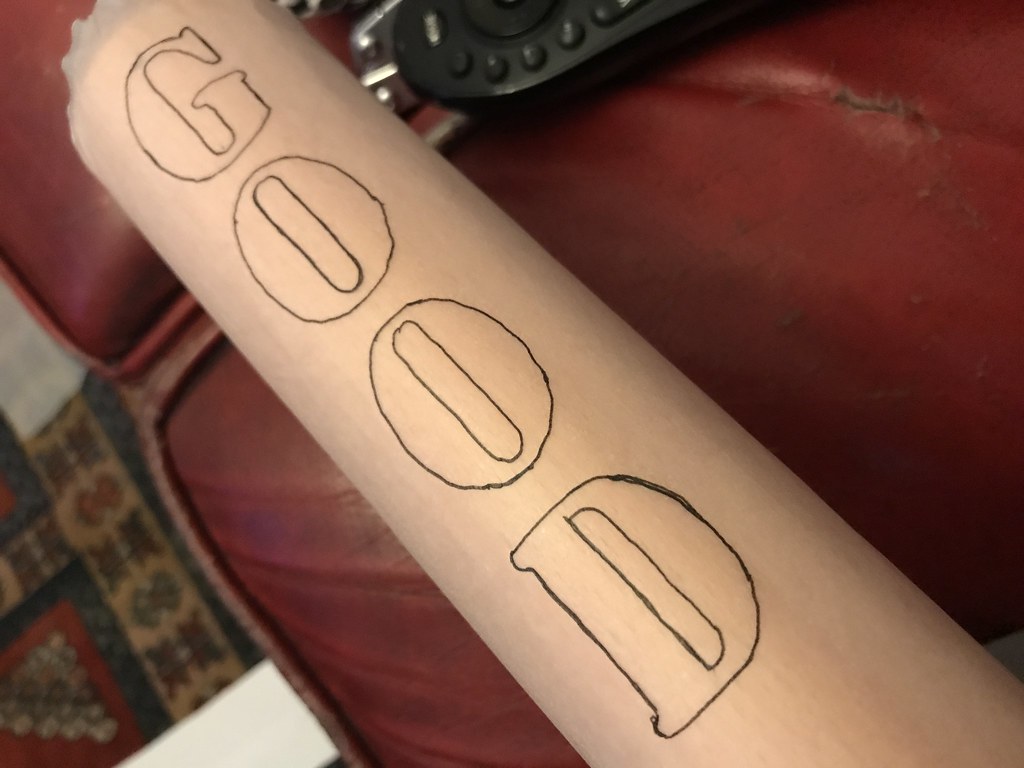
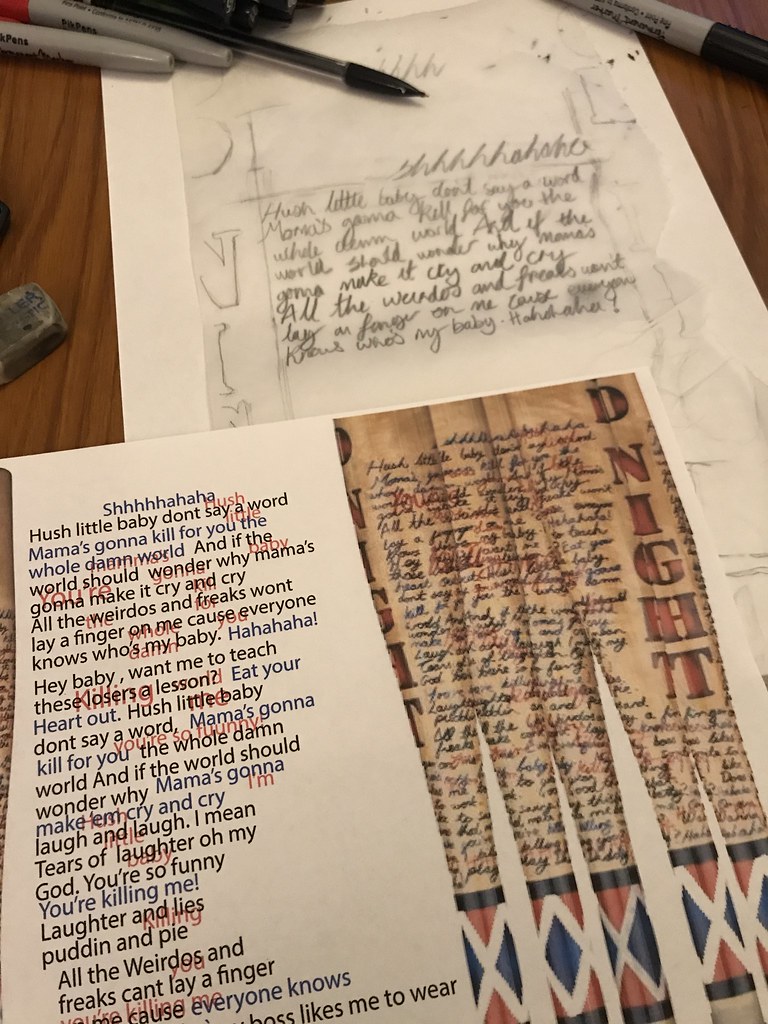
 I traced out the lettering of 'GOOD NIGHT' and printed them out to the right size to match the bat. cut it up and taped it in position on the bat. this will be my guide for marking the words out on the bat.

https://c1.staticflickr.com/5/4279/34755616954_1883fe8eef_b.jpghttps://c1.staticflickr.com/5/4243/35596803775_5f50e53469_b.jpg
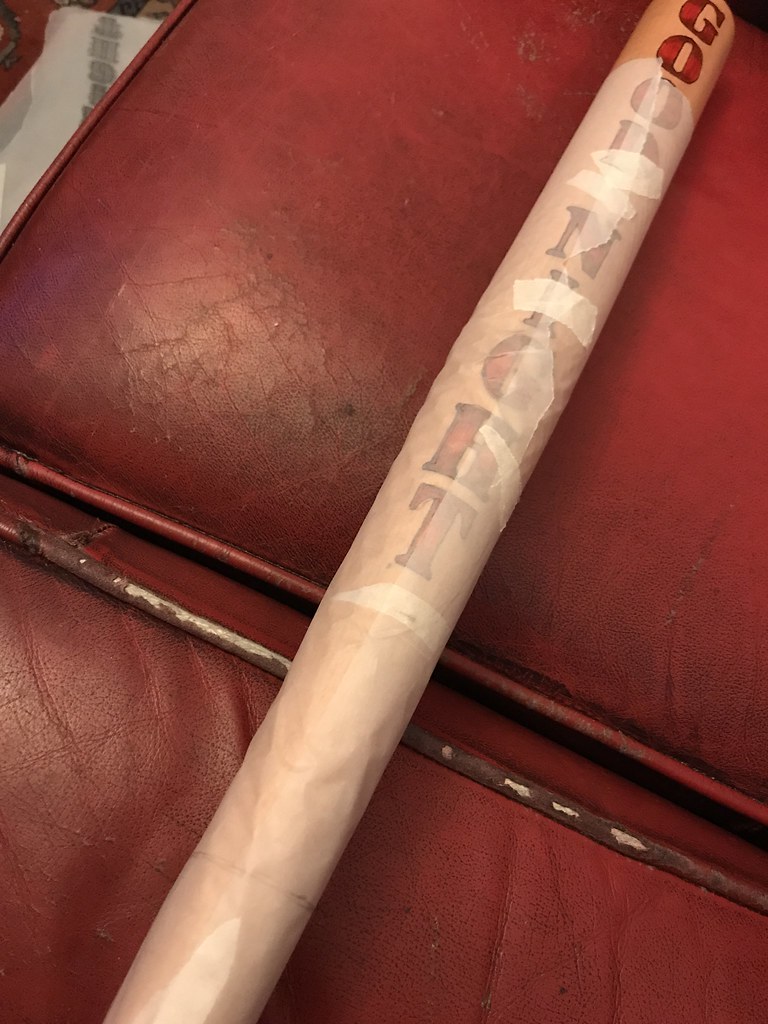
Once the template was taped in place i wrapped some tracing paper round the bat and traced the words on the paper while it was all in place on the bat. 

https://c1.staticflickr.com/5/4196/35428514612_7f61c602a7_b.jpghttps://c1.staticflickr.com/5/4038/34755604794_2cddb6670f_b.jpg
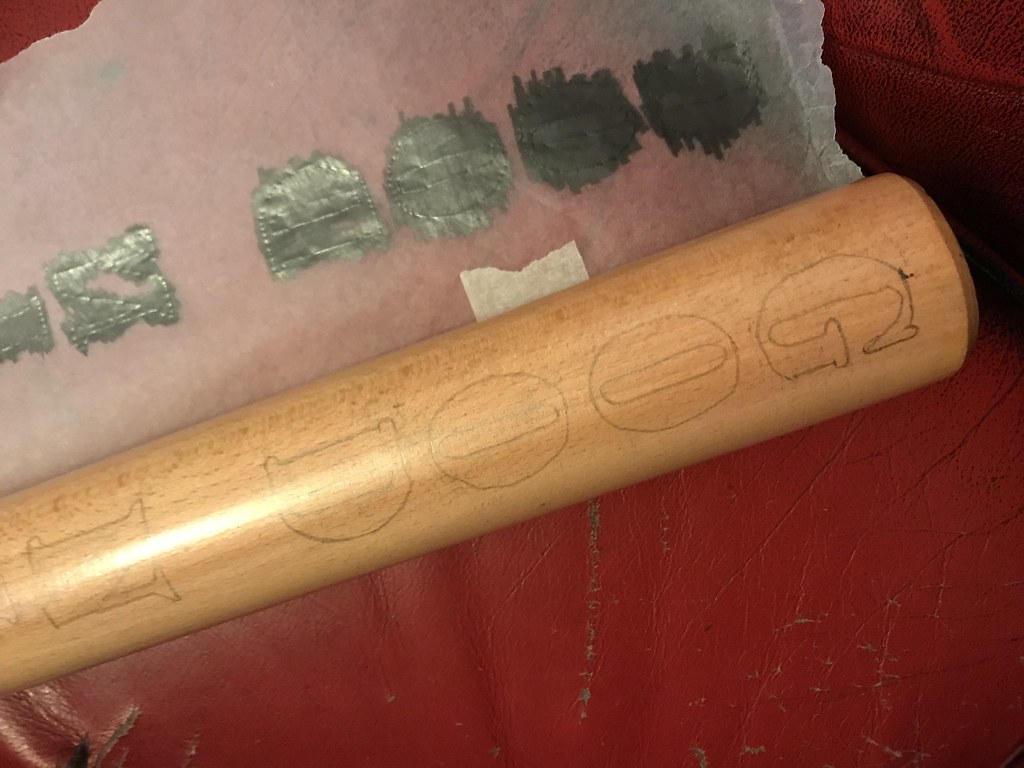
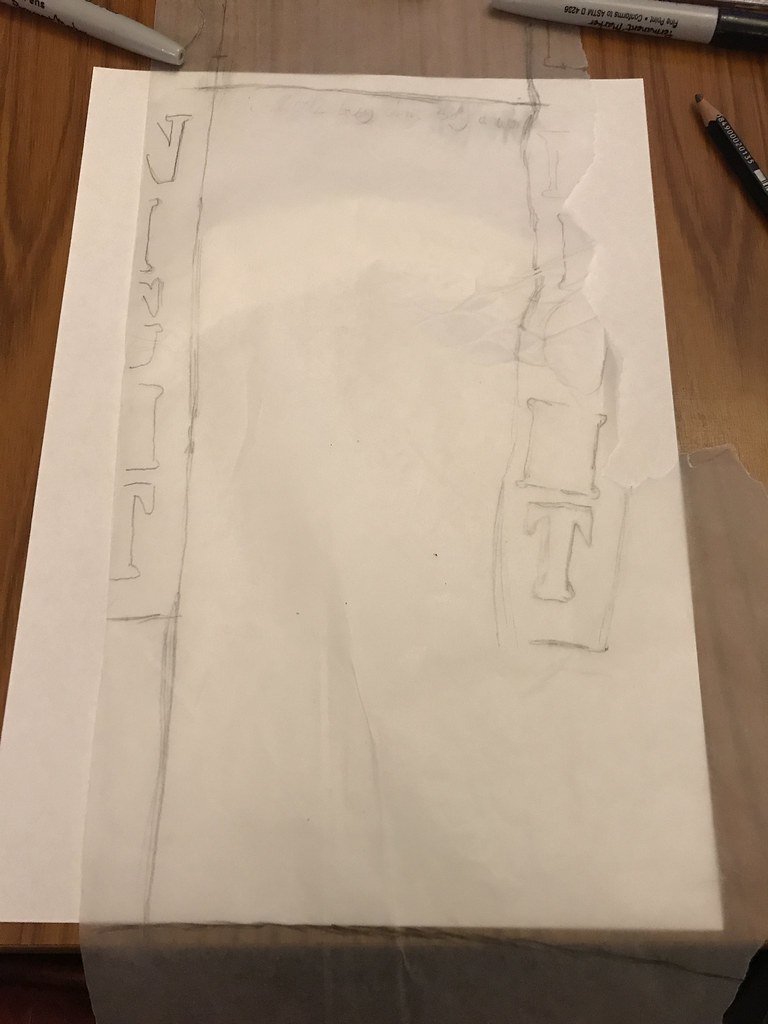
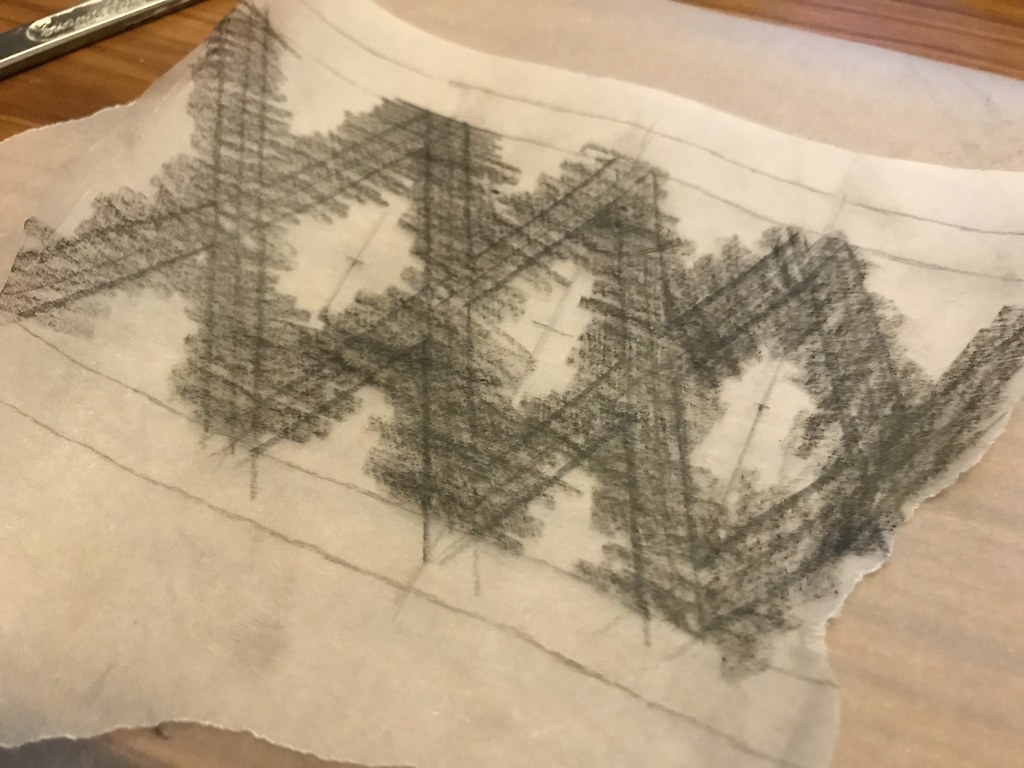
 leaving one side of the tracing paper taped onto the bat so it would be returned into place, i used a soft 7B pencil to colour the back of the letters. 
When the tracing paper is wrapped back round the bat and traced over the lettering again, which transferred the soft pencil onto the bat.  (its like a home made sheet of carbon paper)


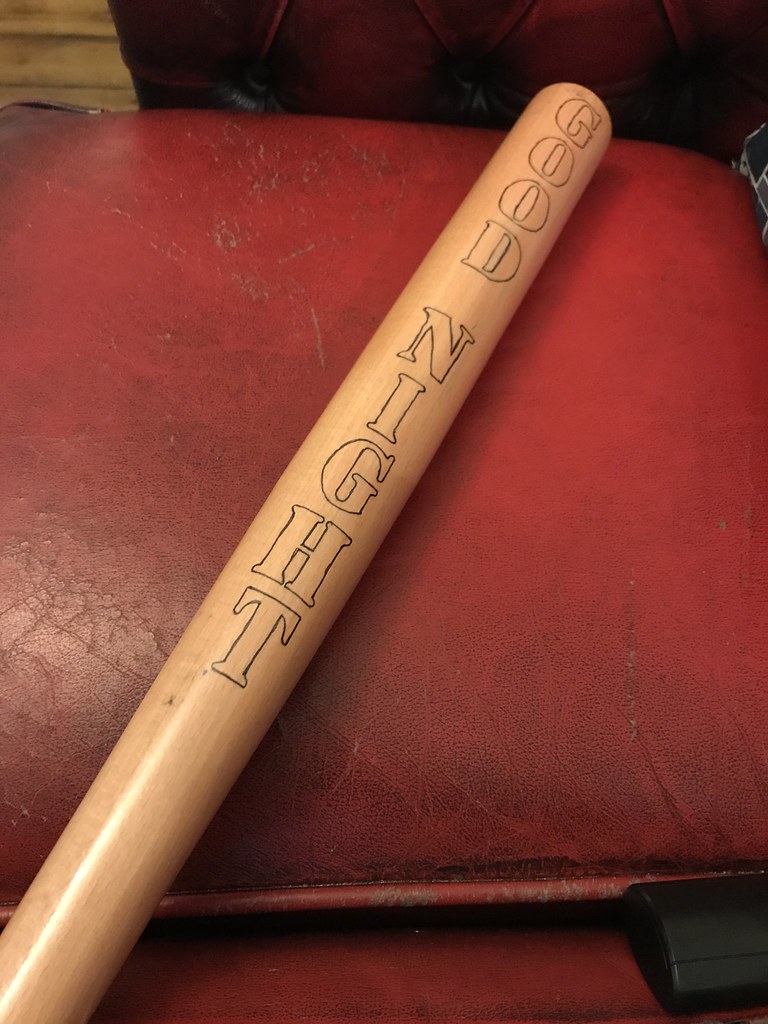
I then went over the faint pencil lines with a thin permanent pen.  
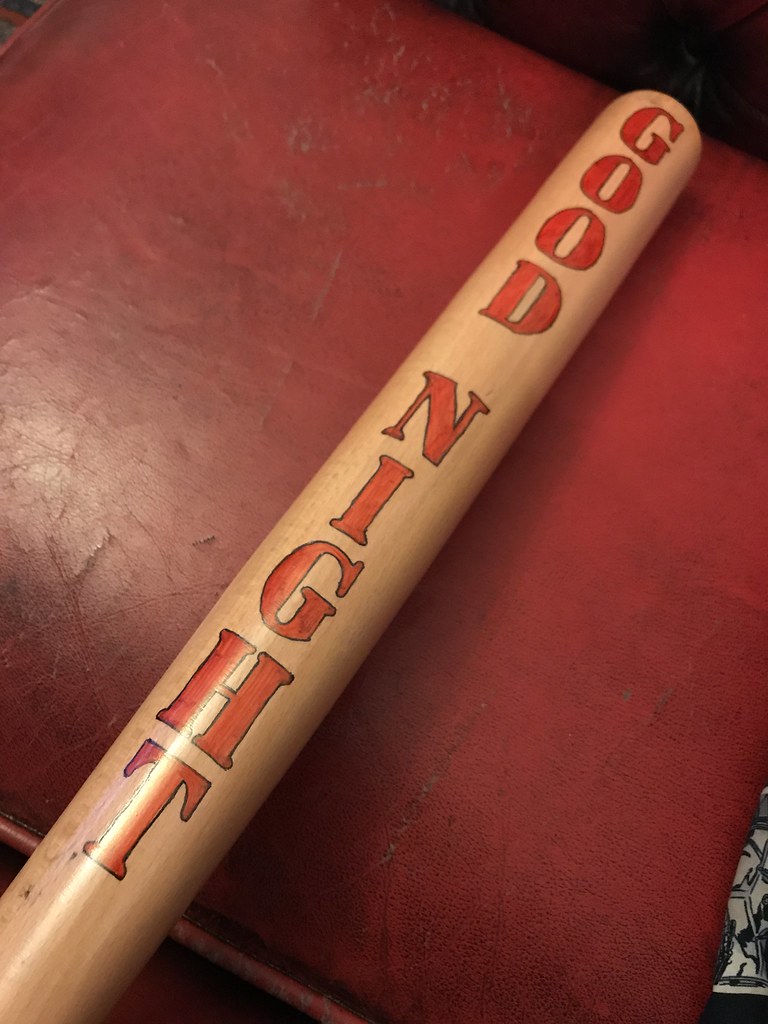


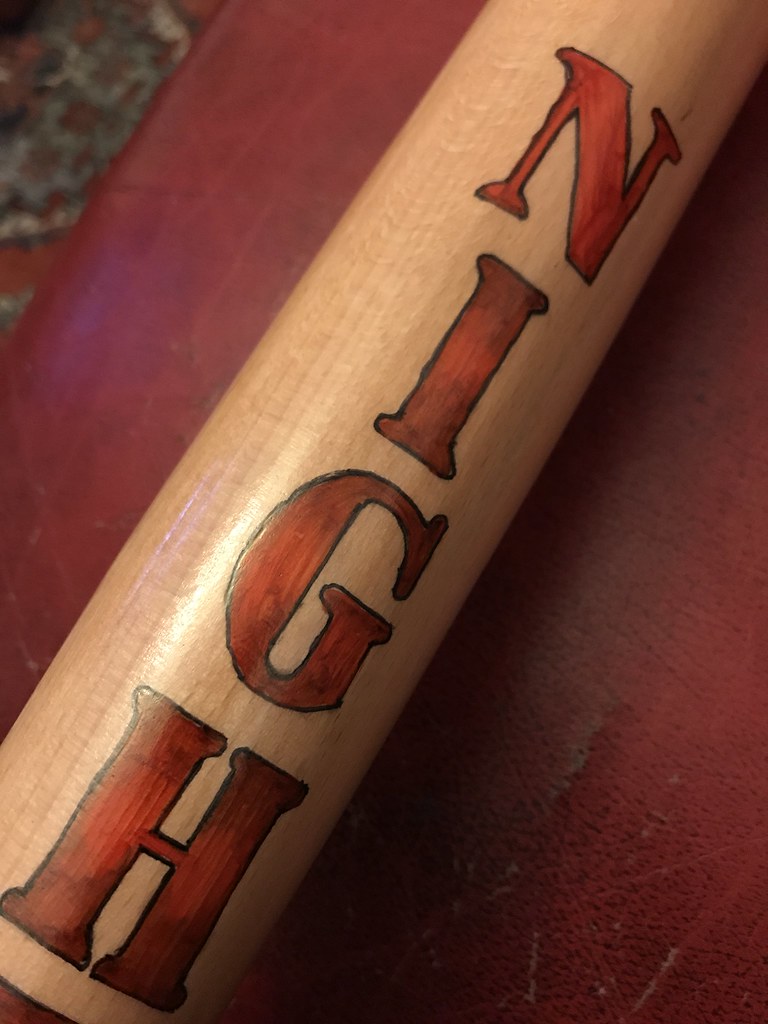
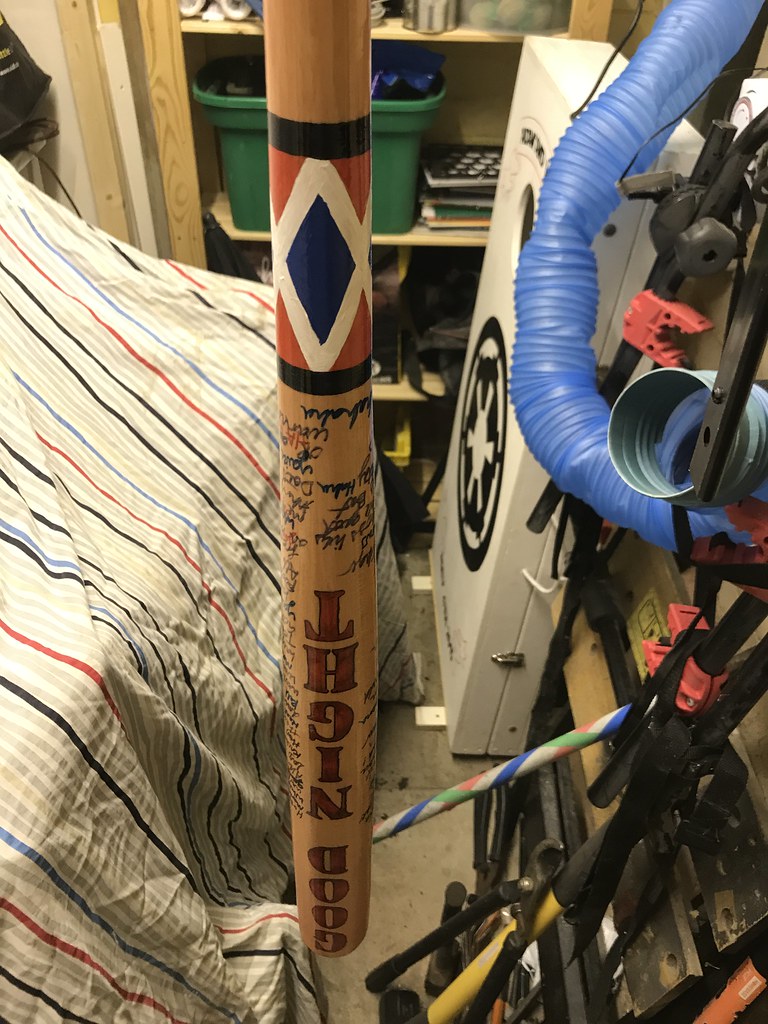
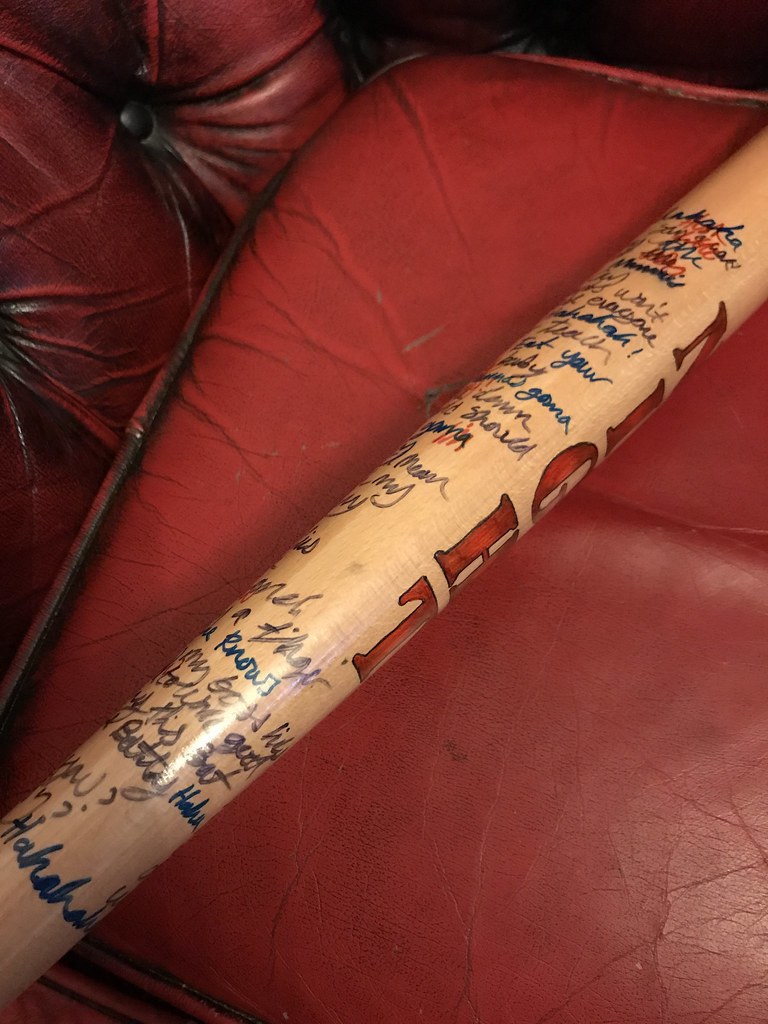
I then used a red permanent marker to fill the letters in red. (Im using red markers as it lets the grain of the bat show through and I feel its more like something Harley would do.)


 Using a non-permanent fibre tip pen and a cotton bud i coloured the edges in and blended the black into the letters to give them the airbrushed fade to black look seen in the source images. 


I wrapped some more tracing paper round the bat again, this time the join is over the letters on the front. 
The aim of this is to get a template for where the writing is going to be on the back of the bat. 
I traced round the sides of the letters this was so i could see where they were when i unrolled the paper. This was to allow me to get the spacing correct on the bat.

 
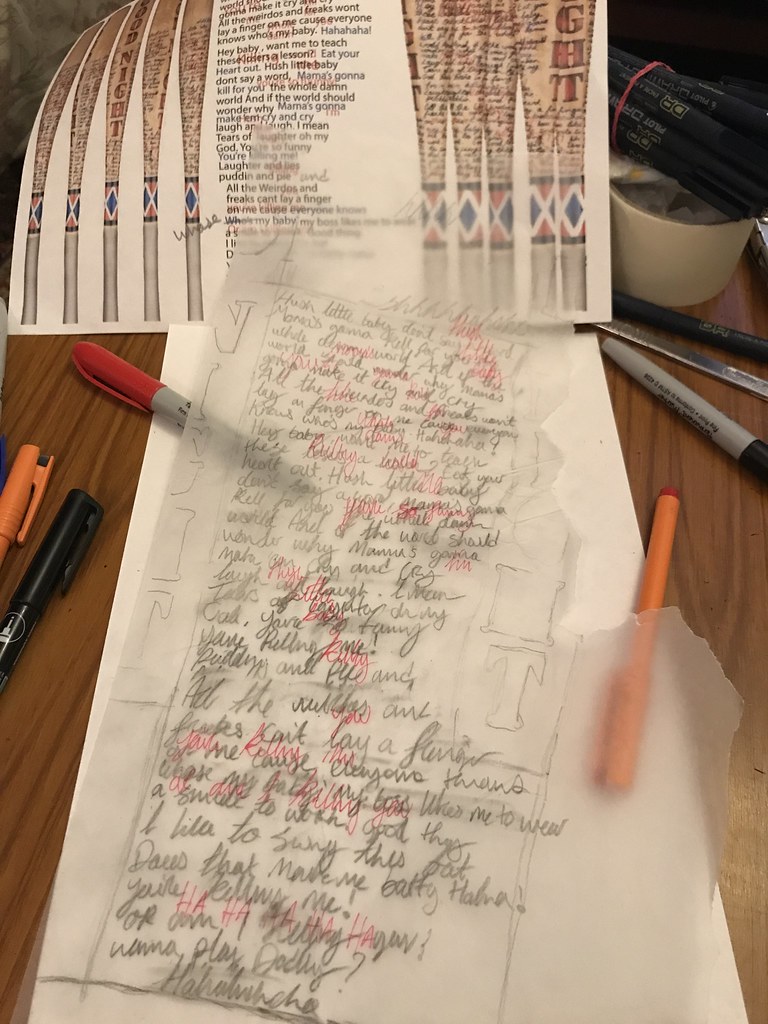
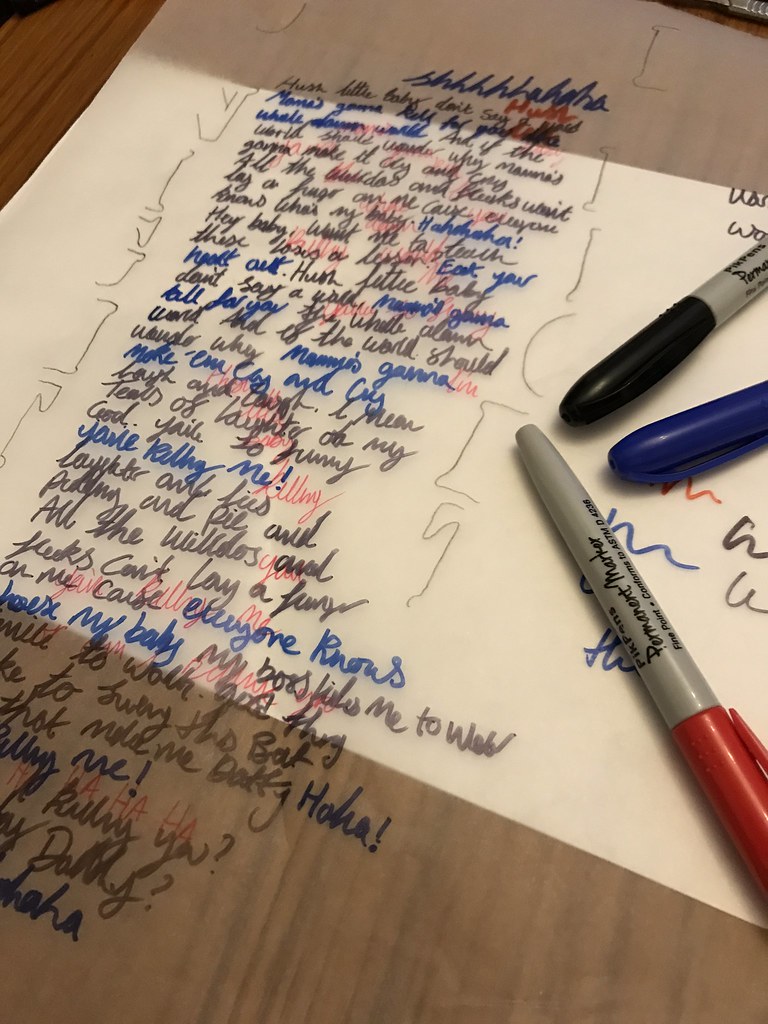
Using the template i wrote out the whole quote once just to get used to writing it and to try and get the spacing correct. 
I then did it with the pens i will finally do the bat with. this matters as the pens are thicker than the pencil i used first.
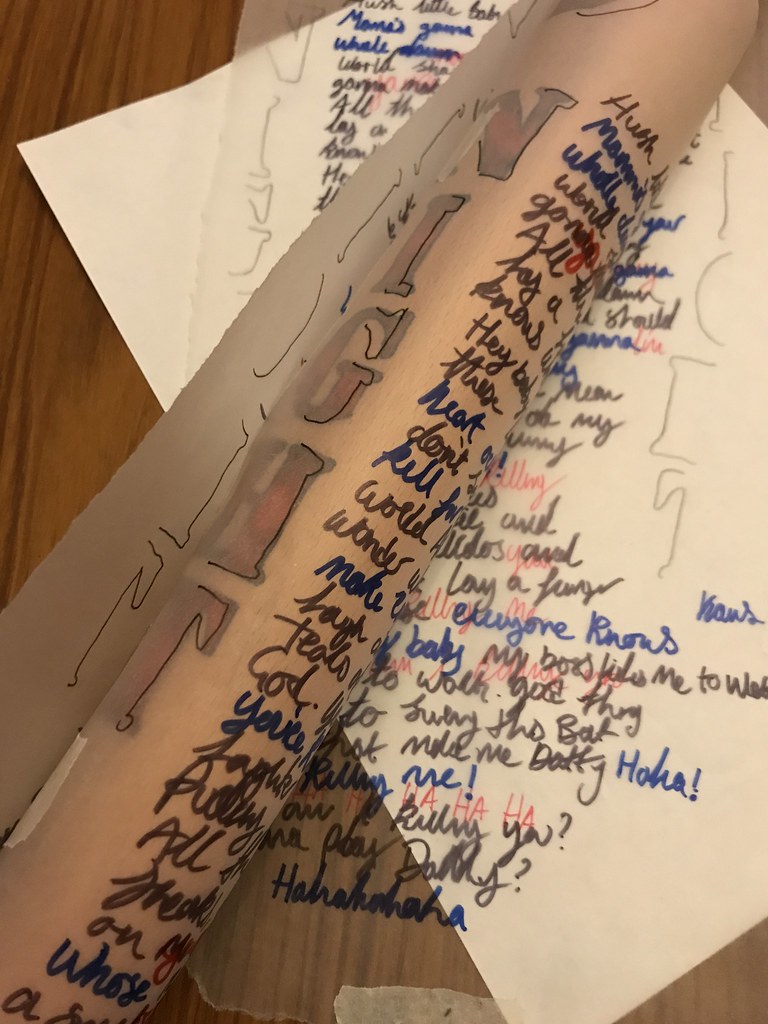
I wrote the words out a few times in the pen just so i knew i could do it when it came to putting it on the bat. 
I wrapped the tracing paper back onto the bat (using the outlines of the letters to align the paper correctly.) this was to make sure the spacing of my writing was correct and that it all lined up.

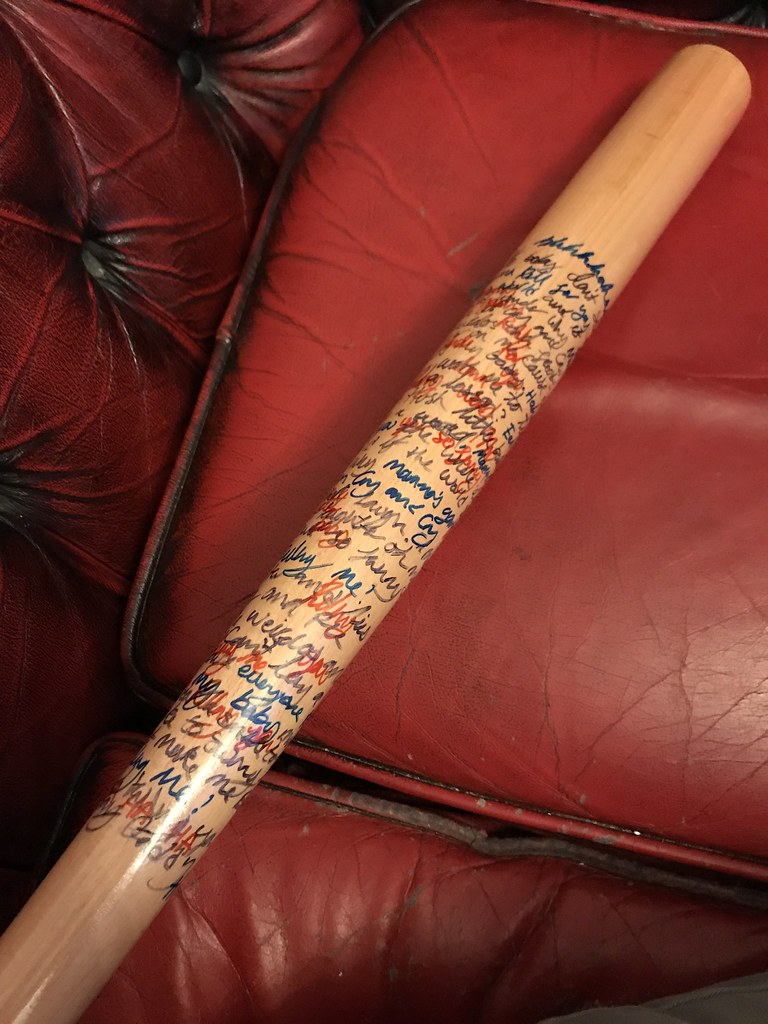
Once i felt confident that i could write the quote on the bat correctly I went about slowly writing the quote onto the bat.  
I started with the black and blue lettering, switching between them as i went along. 
The red lettering in the background of the quote was written last to make sure it was in the correct place.


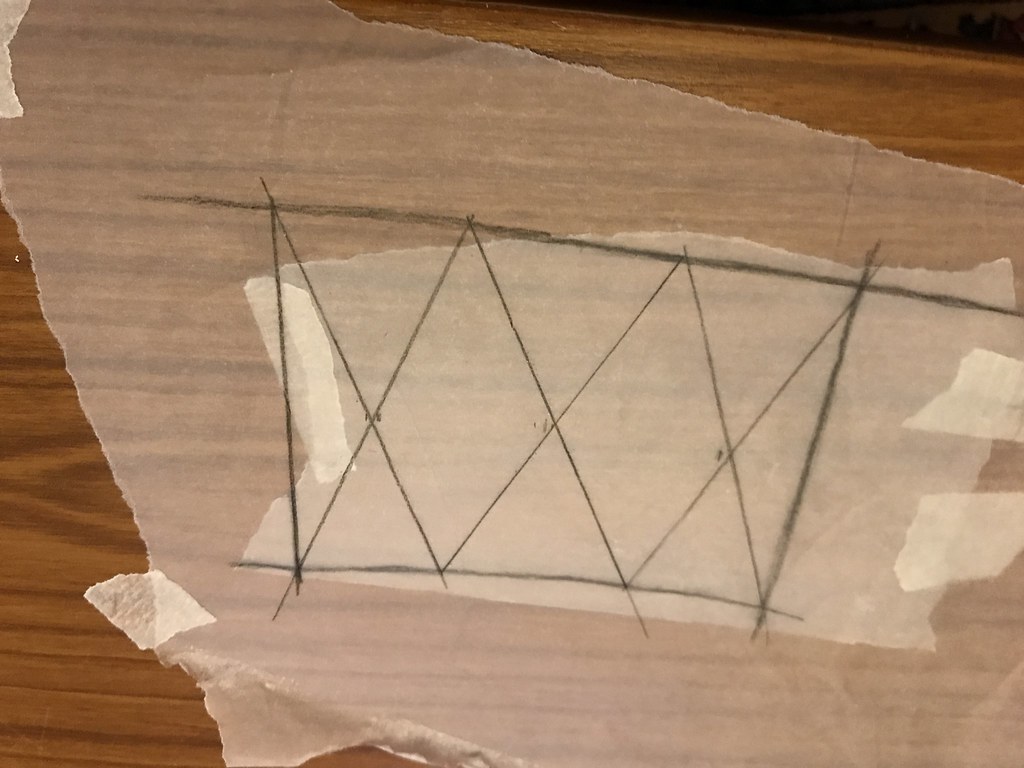
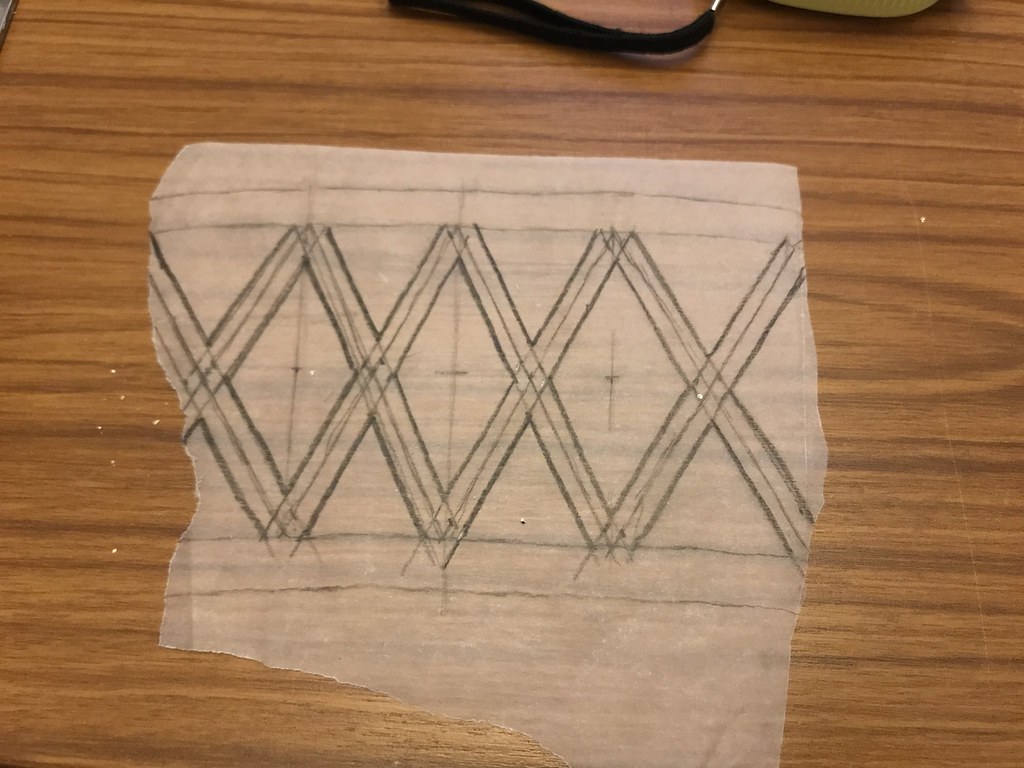
 Using the tracing paper I wrapped the handle of the bat and marked out where the diamonds would be. I used the scaled image to get the dimensions correct. 
I took the paper off and marked out how the diamonds will look. thickening up the lines so they matched the screen used prop. 
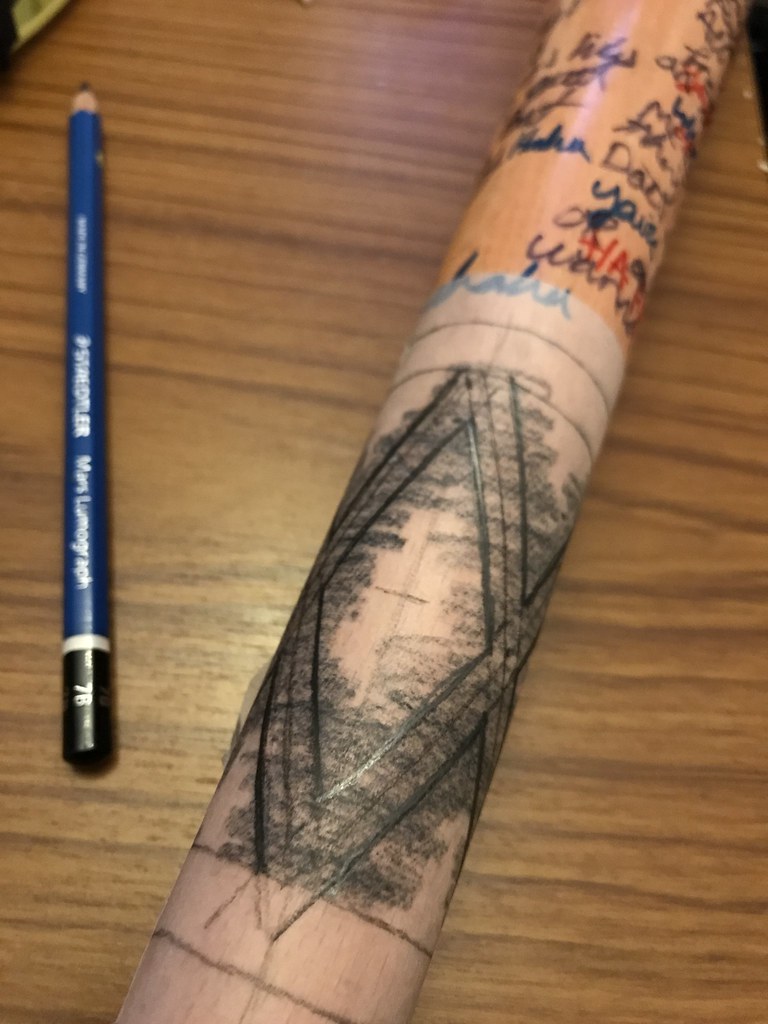
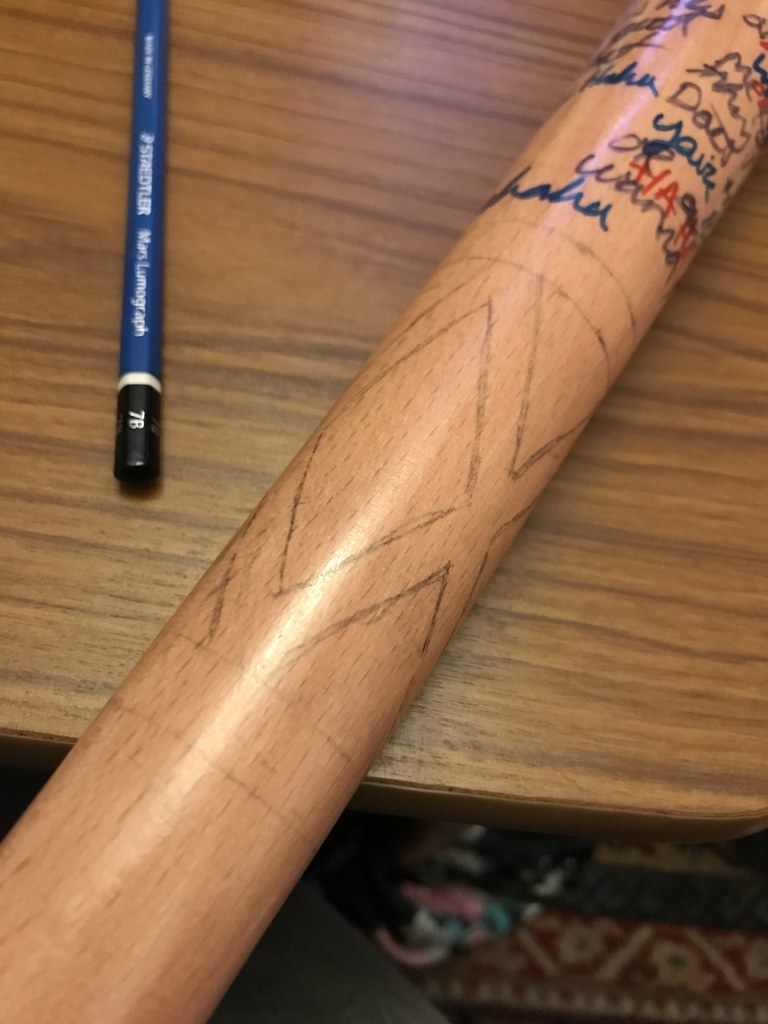
Then using the colouring the back of the paper technique again I placed the design onto the handle of the bat. 
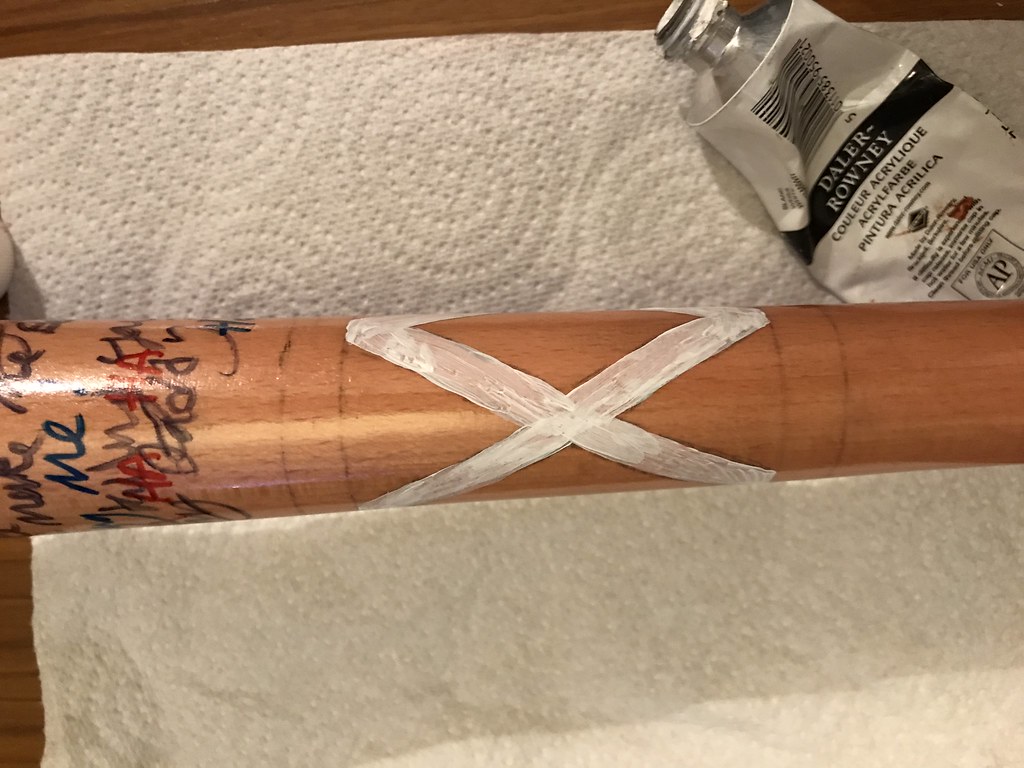


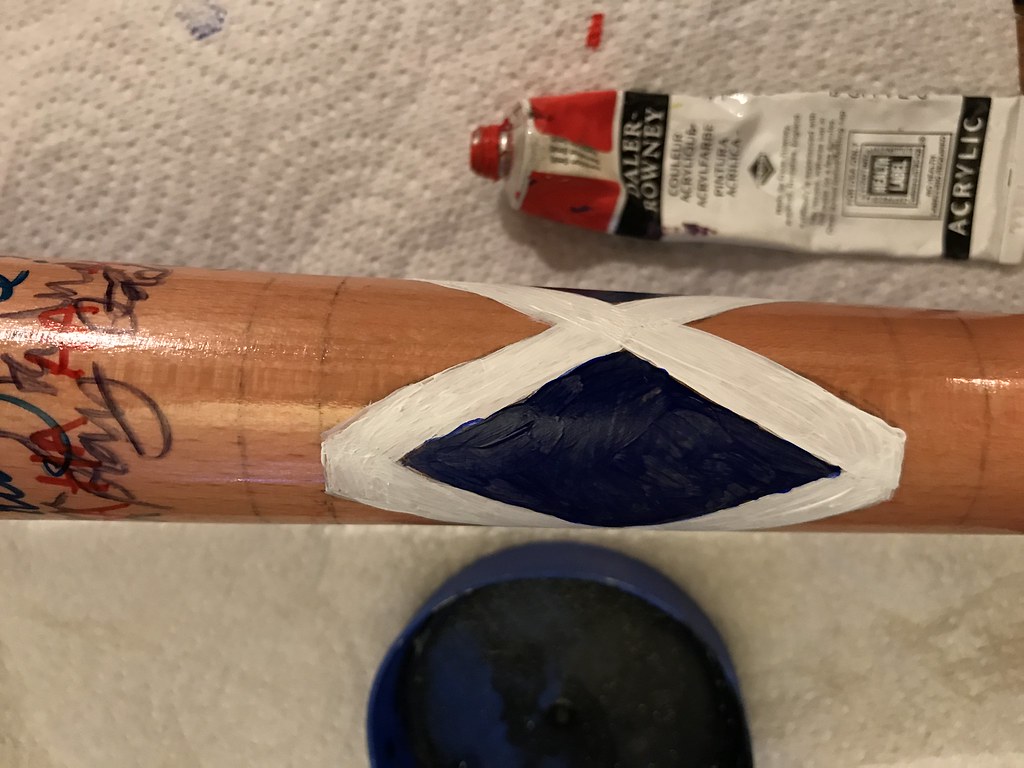
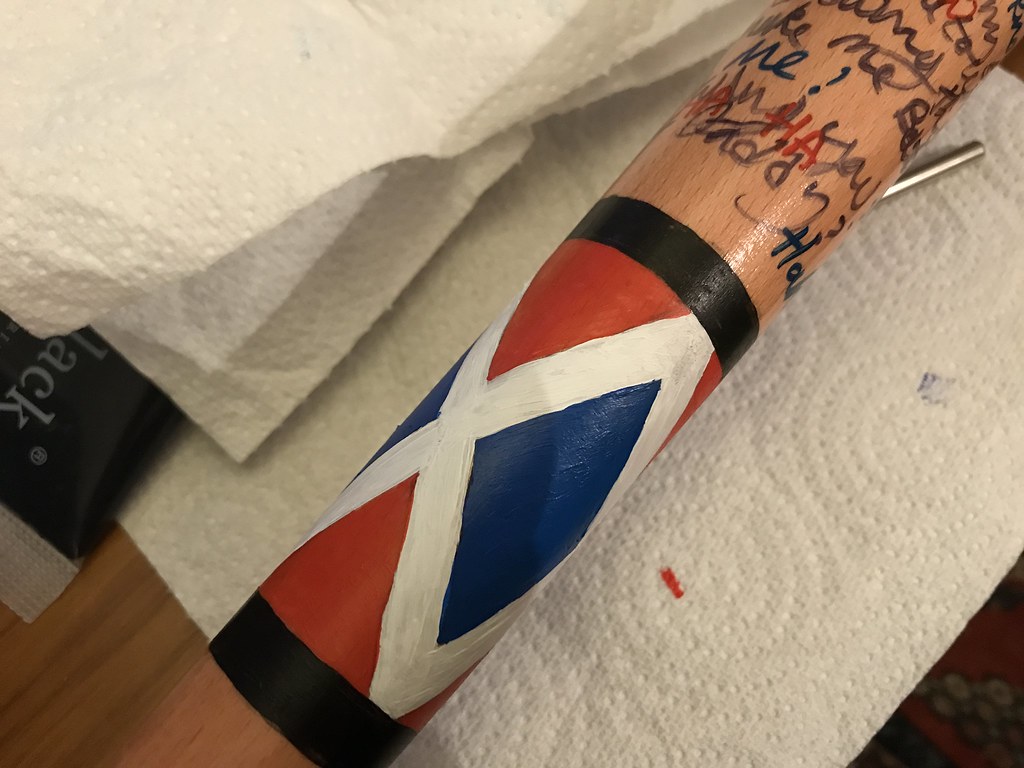
I then used some acrylic paint to fill in the lines. I started with white as other colours will go over it better if i make a mistake :)


The blue i originally used was a tad too dark once I painted the other colours so I used a lighter blue and I think it works a lot better. 


Once the paint had dried it was time to seal the bat. 

I took the bat out to the shed and gave it a couple of coats of clear gloss lacquer. This is to protect the paint job on the handle, and also it will make sure the pen wont run or smudge, even though it was done in permanent marker it still might get smudged but with the gloss clear coat over it it will stay fresh.


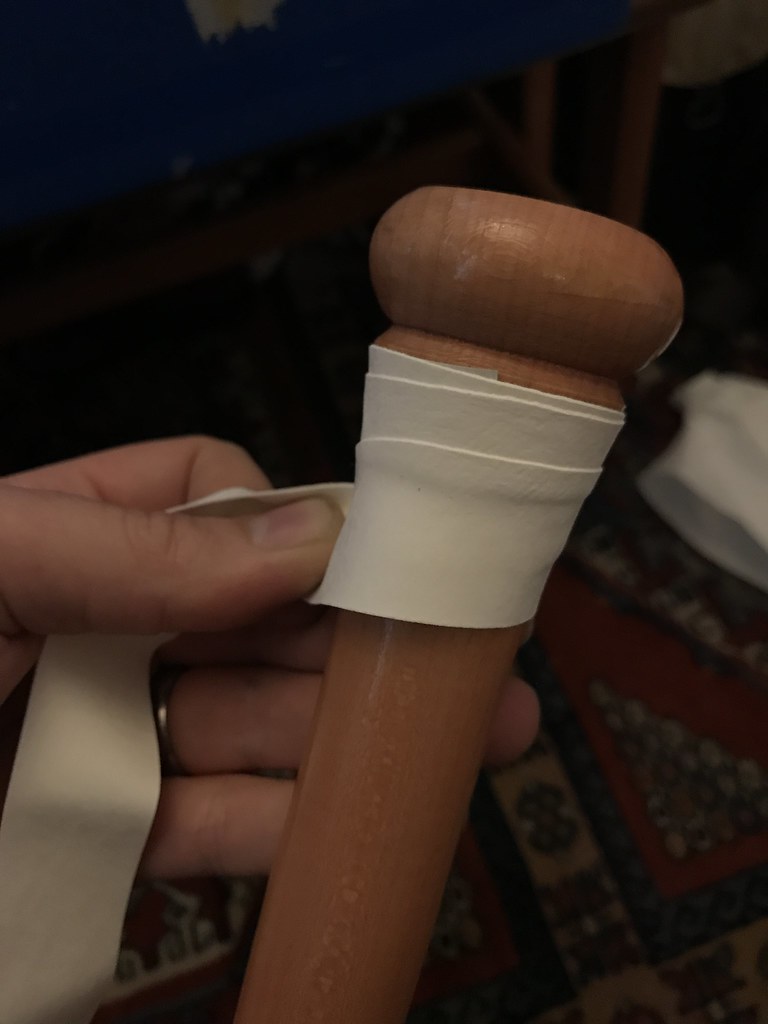
To put the grip on the bat i purchased some white rubber tennis racquet grip. The one I got was white and i thought (incorrectly) that it was blank. I had to wrap it funny in the middle to cover the dunlop logo as i didnt want it to be visible if the grip got dirty etc. 

I started wrapping at the base of the grip and then worked my way to close to the black lines on the bottom of the diamonds. The grip came with some black logo tape to secure the grip but i didnt like it so i used some white electrical PVC tape. it will age differently to other grip but i think it looks good. To match the top of the grip i wrapped some tape round the bottom as well.
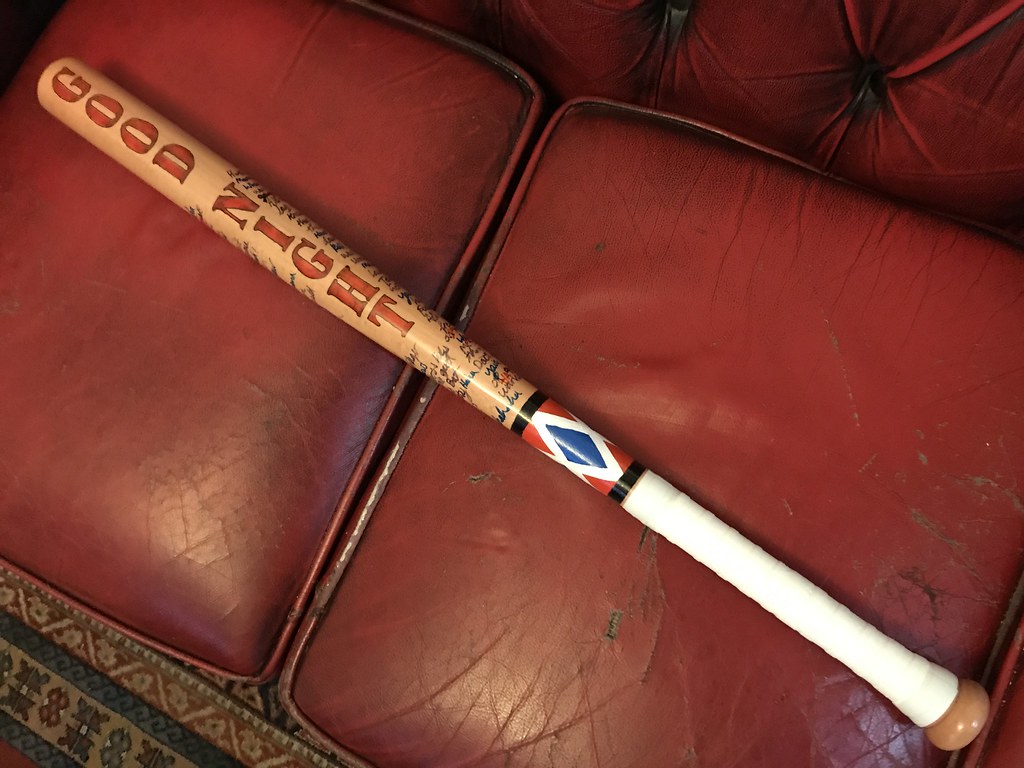
 
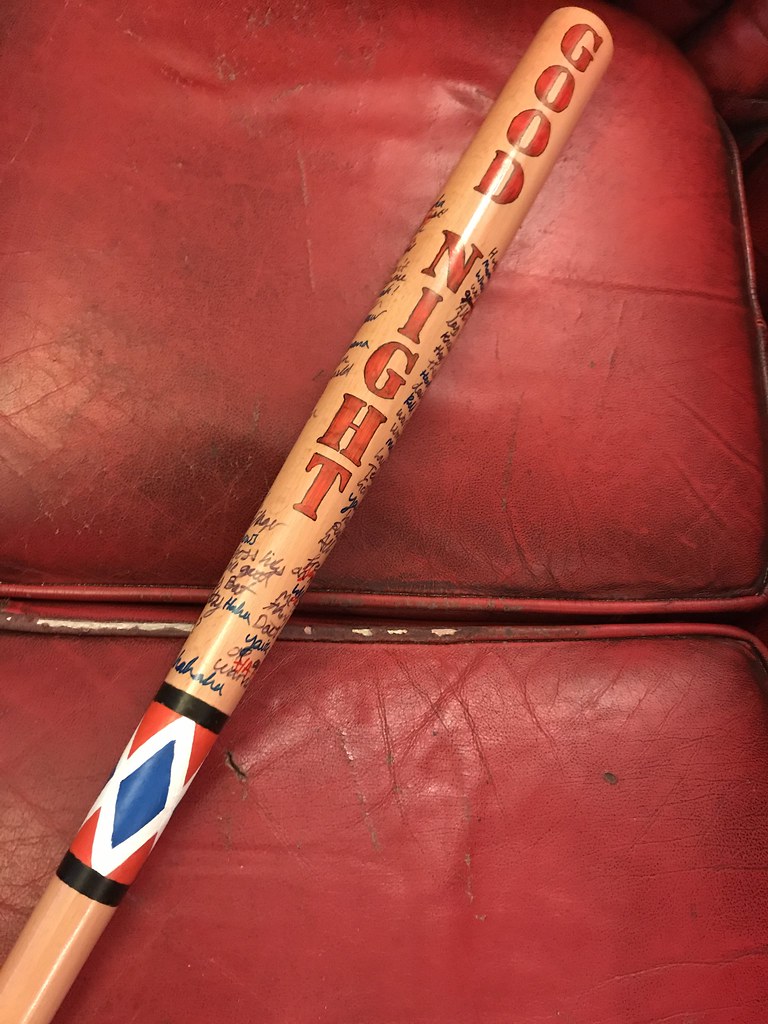
Finished bat is all shiny and ready to get some folk for Mr J.
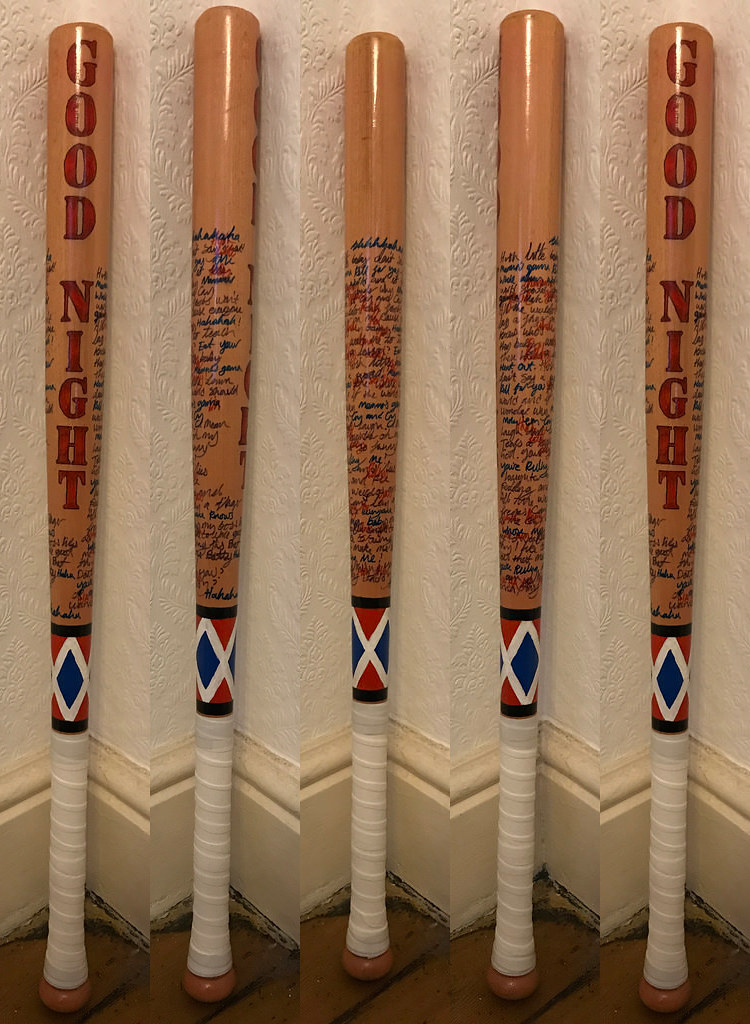
 
 https://c1.staticflickr.com/5/4257/35722119235_937314eb2d_b.jpg


 Thank you for taking a look at my post about how i made Harley Quinn's bat from Suicide Squad. 
If you have any questions please feel free to ask and i will try my best to answer them. 

If you like Harley Quinn I have another post about how I made her Mallet. see HERE


6 June 2017

The Grail Diary From Indiana Jones And The Last Crusade.

This prop build is a bit wordy , sorry, but there are still a few pictures for you to enjoy. 

Another of the holy trilogies* that I am a fan of is the Indiana Jones films. 
That being said i felt it was time to approach one of my favourite props from the films. (and one i can do while recovering from surgery) was the Grail Diary that Henry Jones sends to Indiana in the Last Crusade.  


As always i started with a good old Google. 

To say that there are a few websites with information on what is inside the grail diary is an understatement, so if you are wanting to make the diary yourself do a search, you will find more information than you know what to do with. 
I will share some of the links that i used and that were very helpful. 

LINKS i used are listed below.
(there were more but they have been lost to the wind)

Zenseeker was one of the most helpful, i got the page order and a lot of the page art work from here. 
Club obi wan is a great forum (you have to sign up to see posts) where people discuss everything you might need to know. 
indianajones.dk has a great selection of info. and also a nice little tutorial with loads of links and helpful tips. 

All these places will HELP you make a diary but there isn't a place that will just give you the info for a whole diary. This page is definitely not going to give you anything of the sort. people spend years collating the info for their diary and are not about to give it out for free. I worked hard and did a lot of research and drawing and computer work to get my pages and I'm not going to give them away so don't ask. 


 With all that out of the way lets get down to it! 
I made a hero diary. One that is as close to the one used in the filming, not one that would be a story diary. The story diary has a made up chronology to it and includes pages that are not used or seen in the film. The hero diary has a set of pages that are repeated throughout the diary, some with different inserts to act as markers for the actors etc. Mine is a HERO. 


PAGE ORDER AND LAYOUT
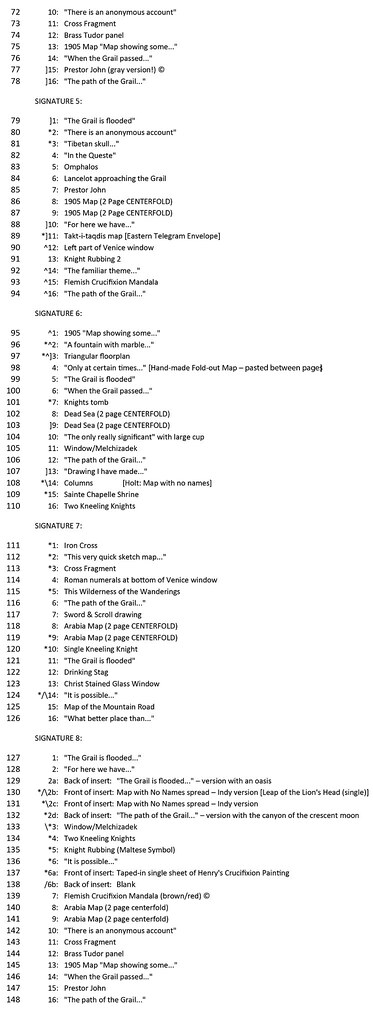
The first step I took was to look through all the websites above and get a page order list which included a list of the inserts. 

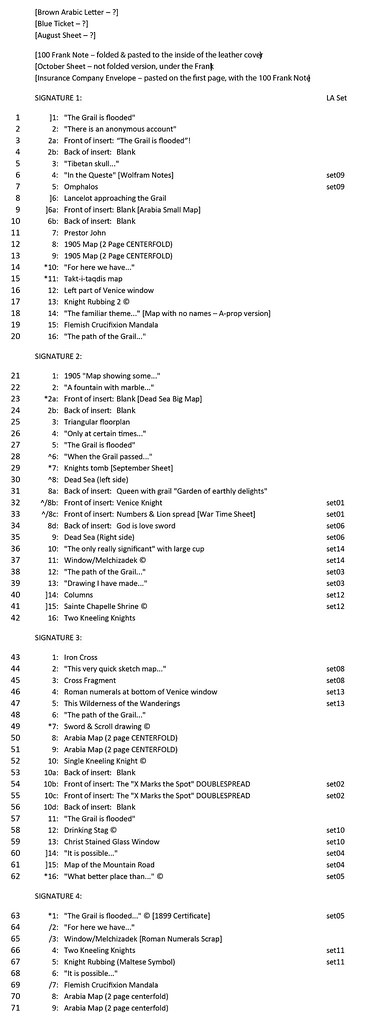
In the below lists there are some pages with "set##" these are official pages from the hero diary and can be found on the zenseekers website.

 As you can see (if you read it all straight off) there are 4 sets of unique Signatures (groups of pages) that have different pages that repeat through the whole diary. 


PAGE ARTWORK

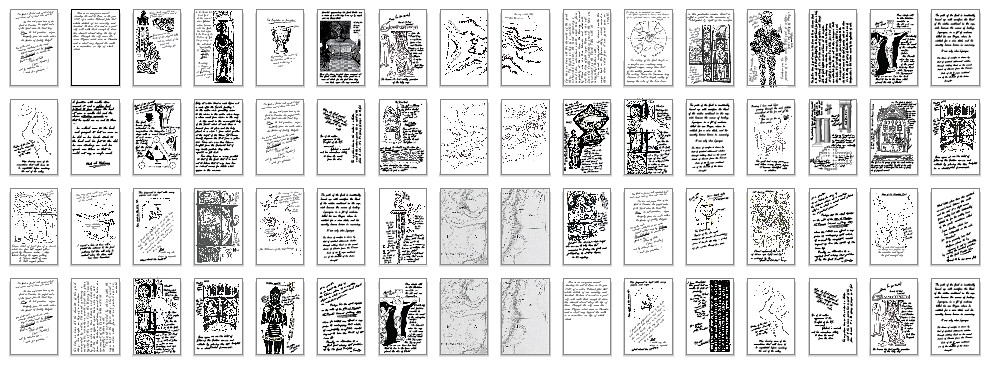
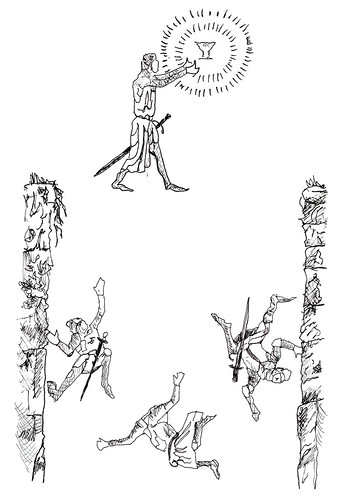
 Above is how i did the first four signatures of my diary.  certain pages are repeated in the first four then the four signatures are repeated through the book. 
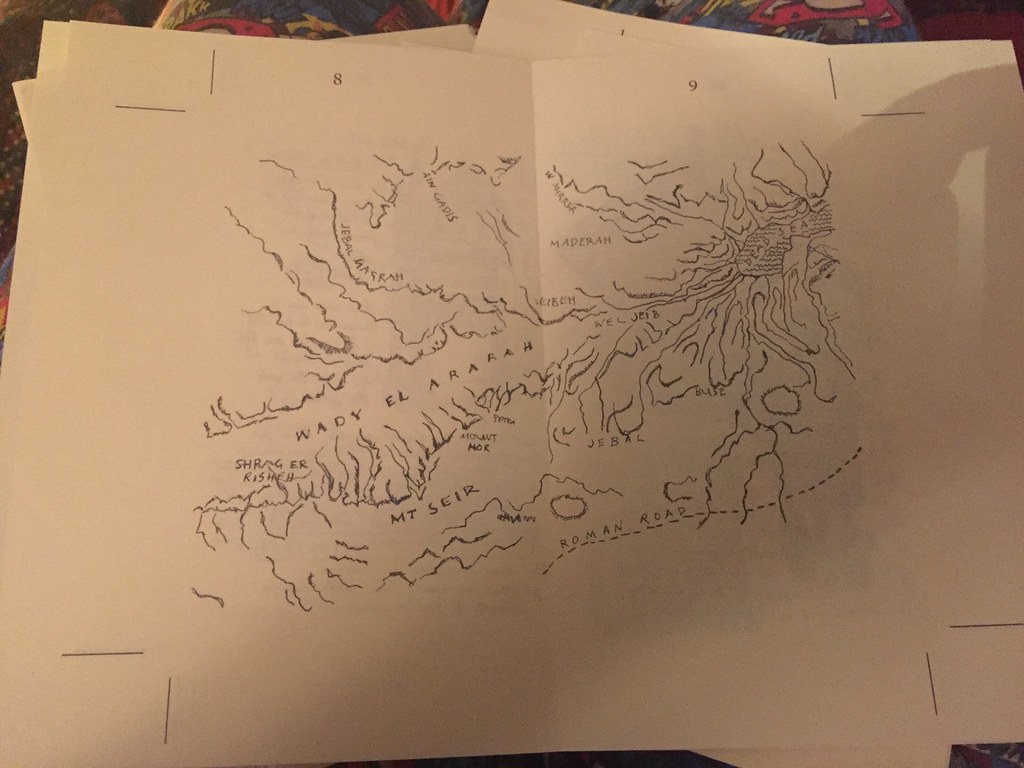
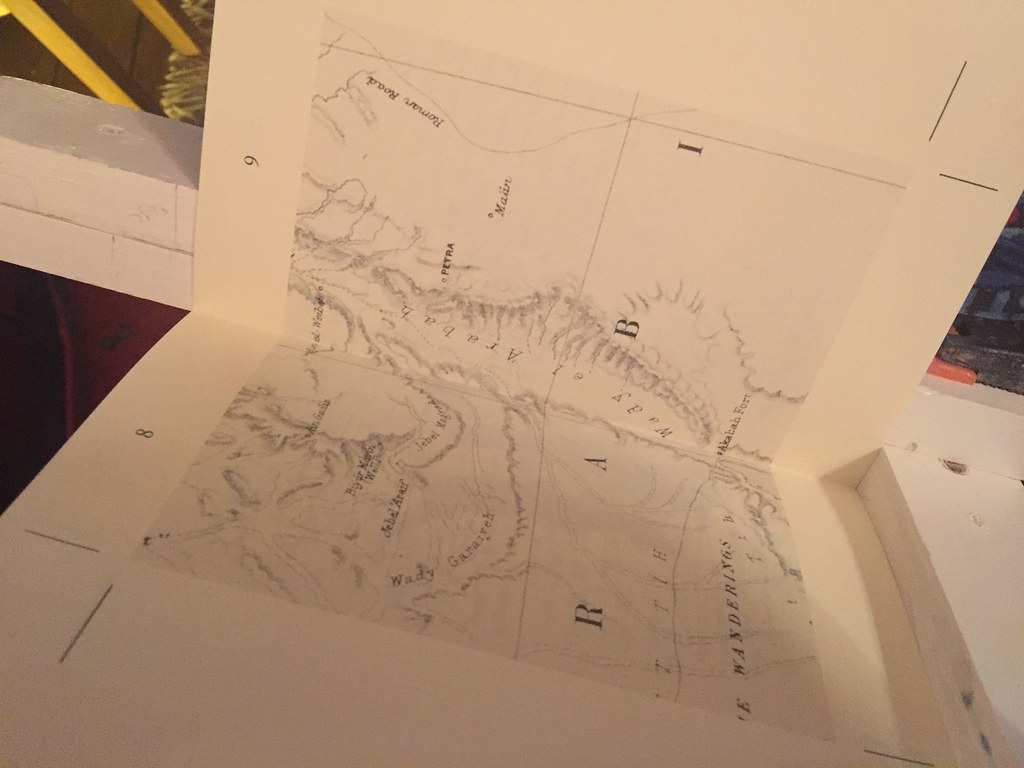
I went through age by page and looked up what the page listing referred to on the links above and if i could find good quality art work i would see if i could use it. if it didn't have a good quality on i would use a low quality one and draw it and scan it myself. a lot of the pages were low quality and i had to redraw or compose them myself. 

The technique i used to recreate the images in the diary was as such : 
  1. I would find a low quality page and size it proportionally to the diary page size.
  2. Project from my laptop using a small projector onto an A4 sheet of paper, one A4 per diary page.
  3. Draw over the projection onto the A4 using different thickness pens to recreate as close as possible what i felt the original page looked like. 
  4. Scan the A4 drawing into the computer. 
  5. Edit the scanned image so it had no background colour so when placed into my layout program you can only see the drawing. 
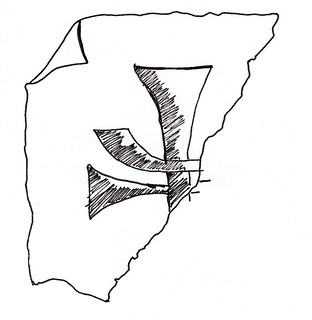
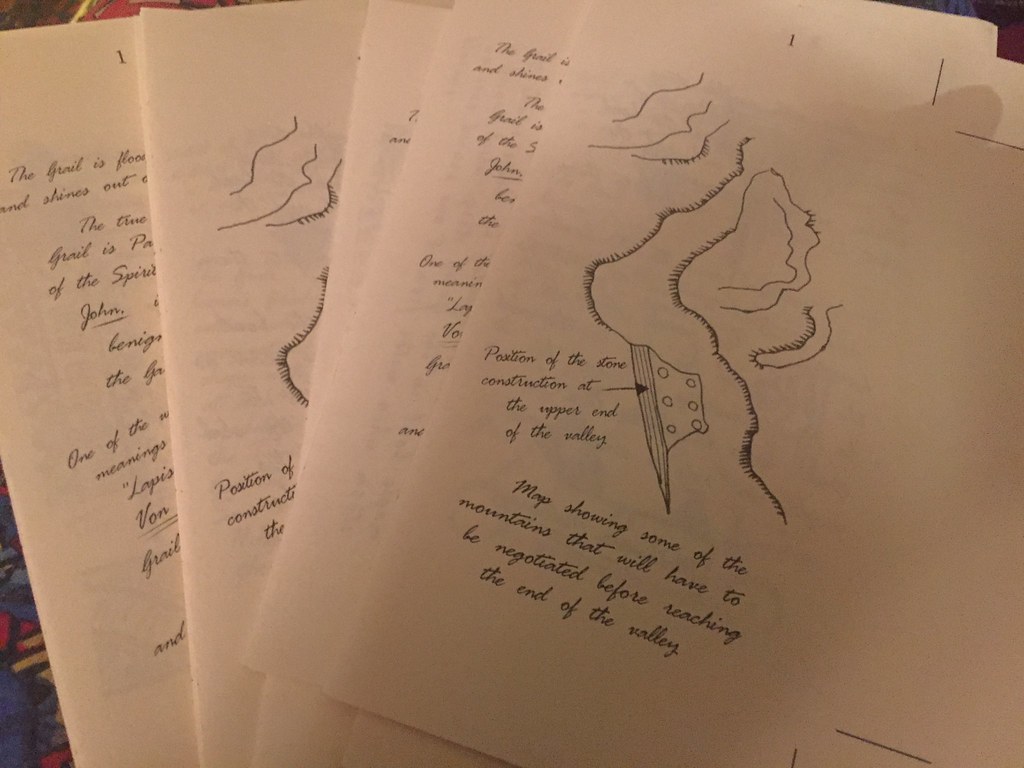
above are a couple of examples. I did tend to do more than i really needed as i found the ones I drew were better than even the high quality ones I found, Also... you know... I drew them which makes it a little more personal .


LAYING OUT THE SIGNATURES
 
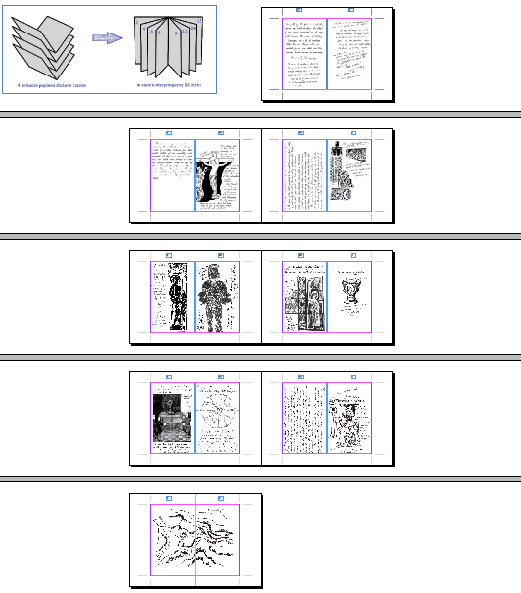
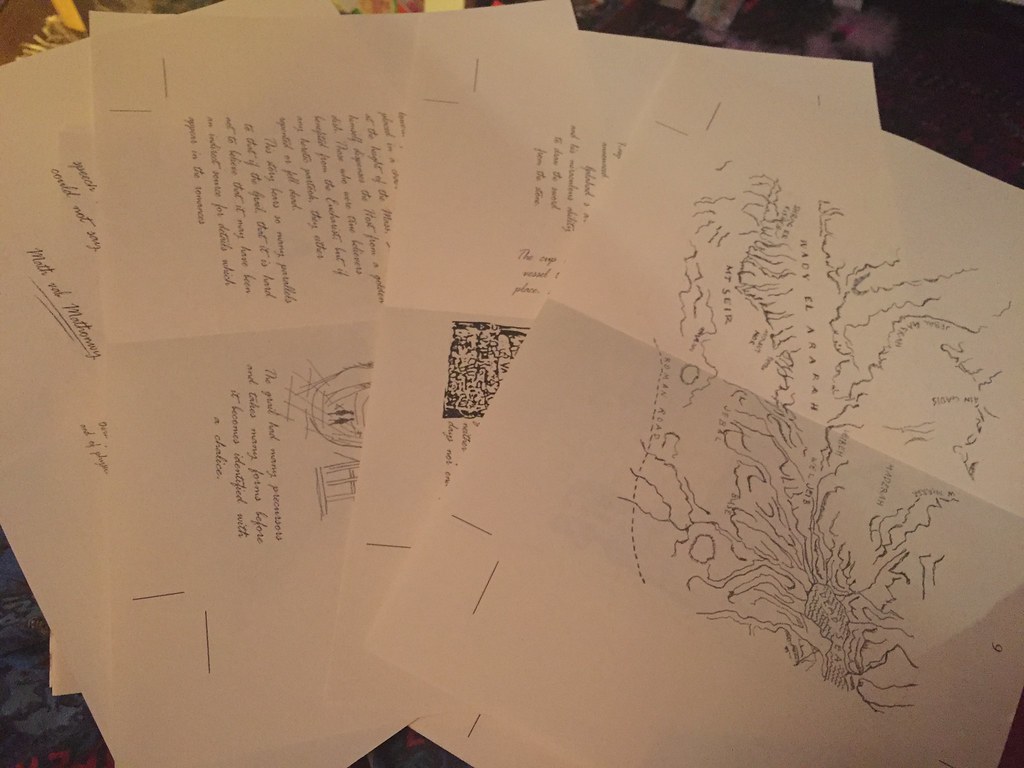
 I used indesign to layout my signatures one by one. The little diagram at the top of the image was a helpful tool to work out which page goes on the back of the next and which is printed on the same page as which. 
page 1 is not next to page 2 
1 is next to 16 and page 2 is printed on the back of page 1, page 15 is next to page 2 and on the back of 16. 
but you have to know where they will print on your printer as when you turn it over to print the second side the orientation changes. unless you have a fancy printer that can print double sided, mine couldn't, i had to do it manually. 


PRINTING PAGES


 Once I had printed all the page sets, four pages of a signature on one sheet of A4 paper, i grouped them and folded them along the centre.
I printed the pages with crop marks out from the edge of the pages so later when i trim them down the crop marks wont be seen. 


BOOK BINDING


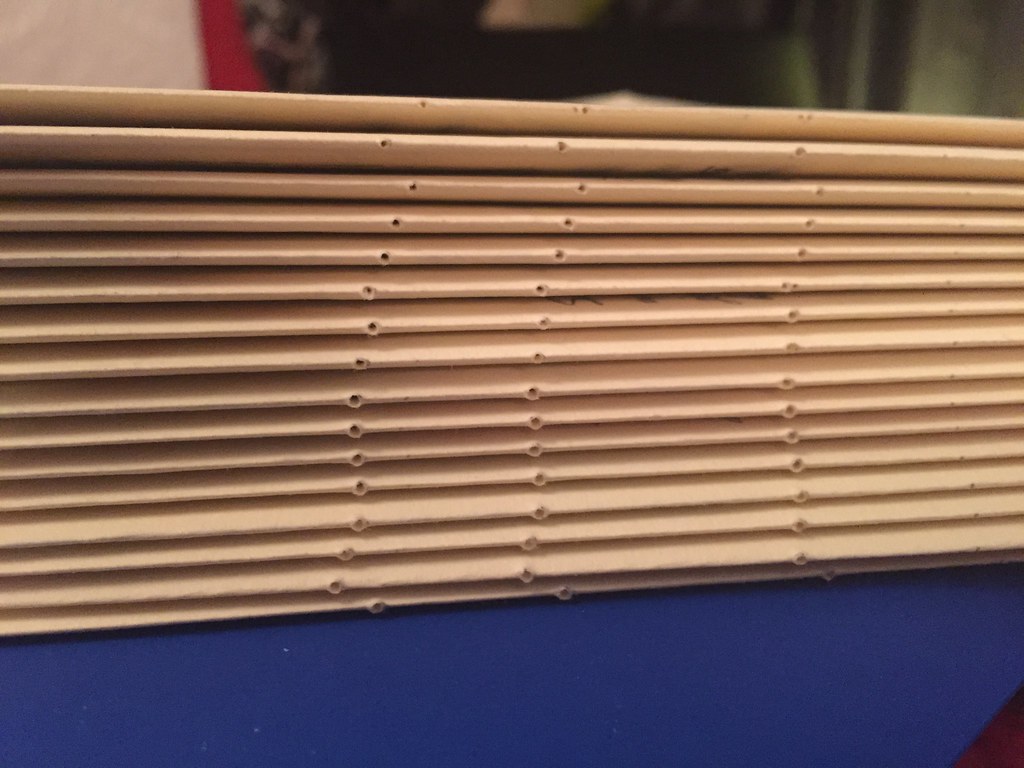
 When the pages are collected into the signatures its time to poke holes in them for the binding stitching. 
I made a block for the pages to sit in and all be in the same place. I used a bit of paper the same length as the pages and marked where I wanted the holes for the stitching to be. laying this inside the pages when they were in the block i pushed a large needle through all the pages from each signature.

  
 All the holes will be threaded together. 
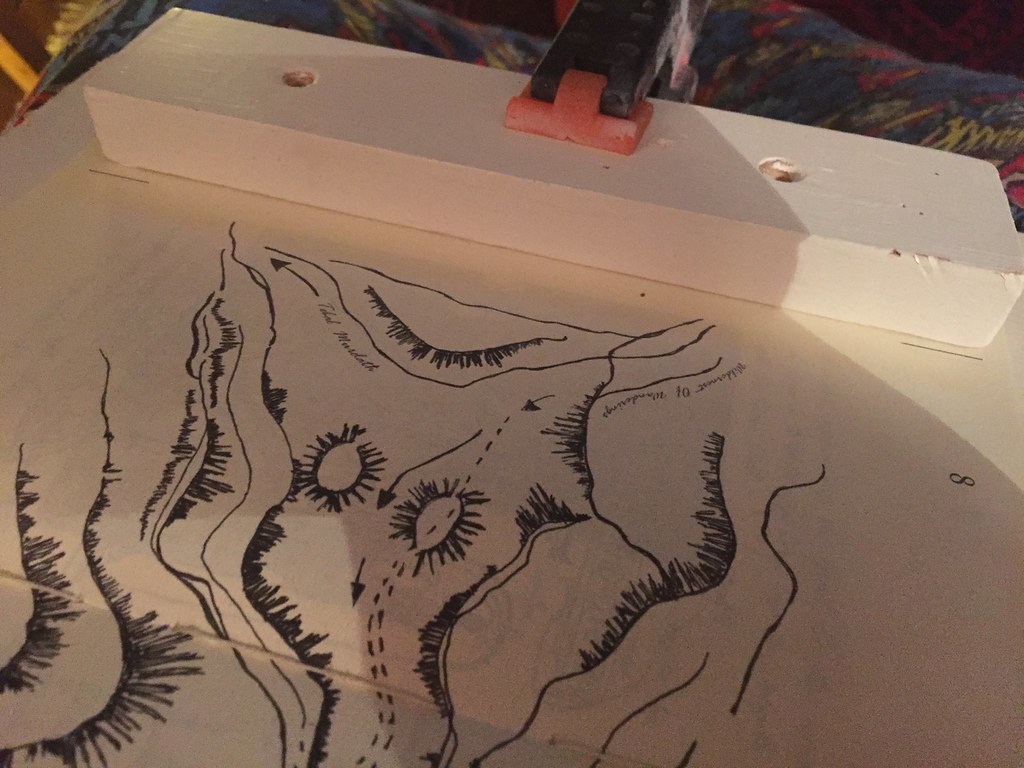
keeping them in order i clamped the first signature down so the pages wouldn't shift as I stitch them. 

I will say this: I AM NOT A BOOK BINDER. this is how i did it, winging it as i went with what i had and could get a hold of without leaving the house. so some of this may be wrong, But it worked for me.  

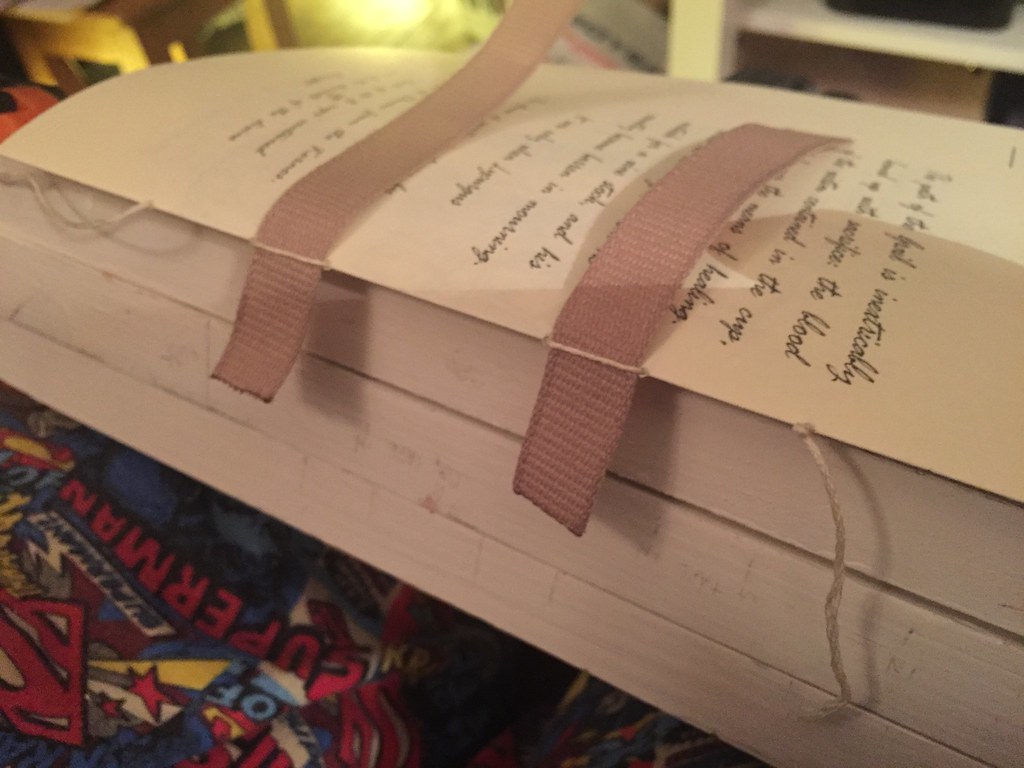
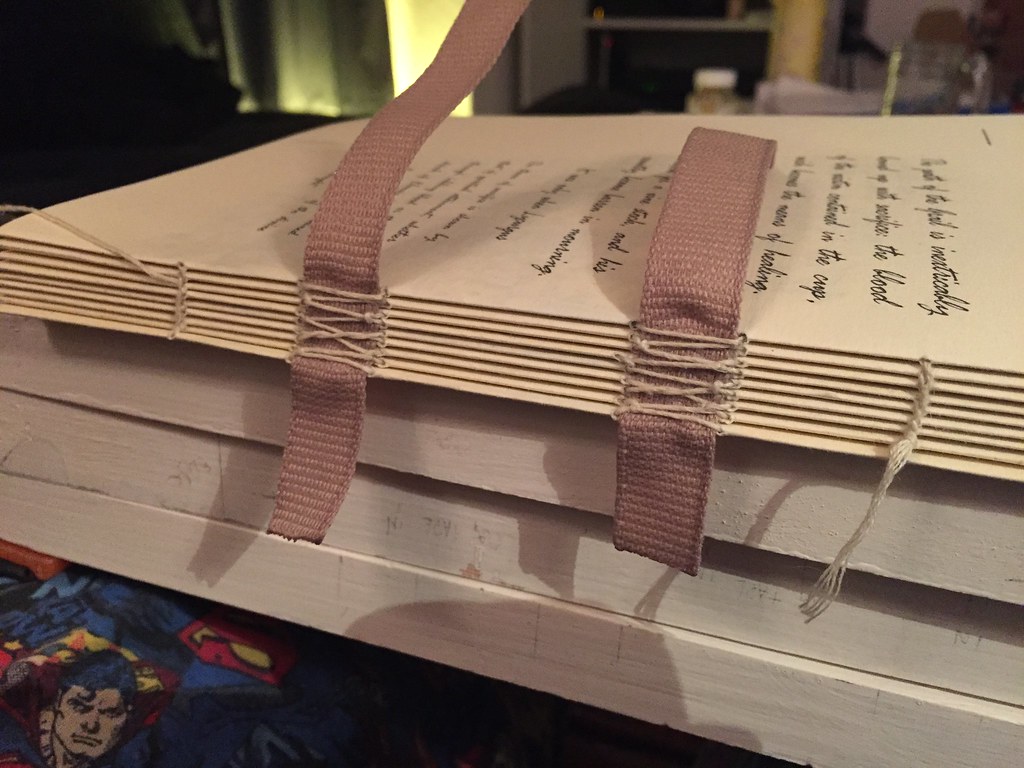
I used a section of stitched ribbon type stuff (i forget the name) to use to back the stitching so it would have more strength.

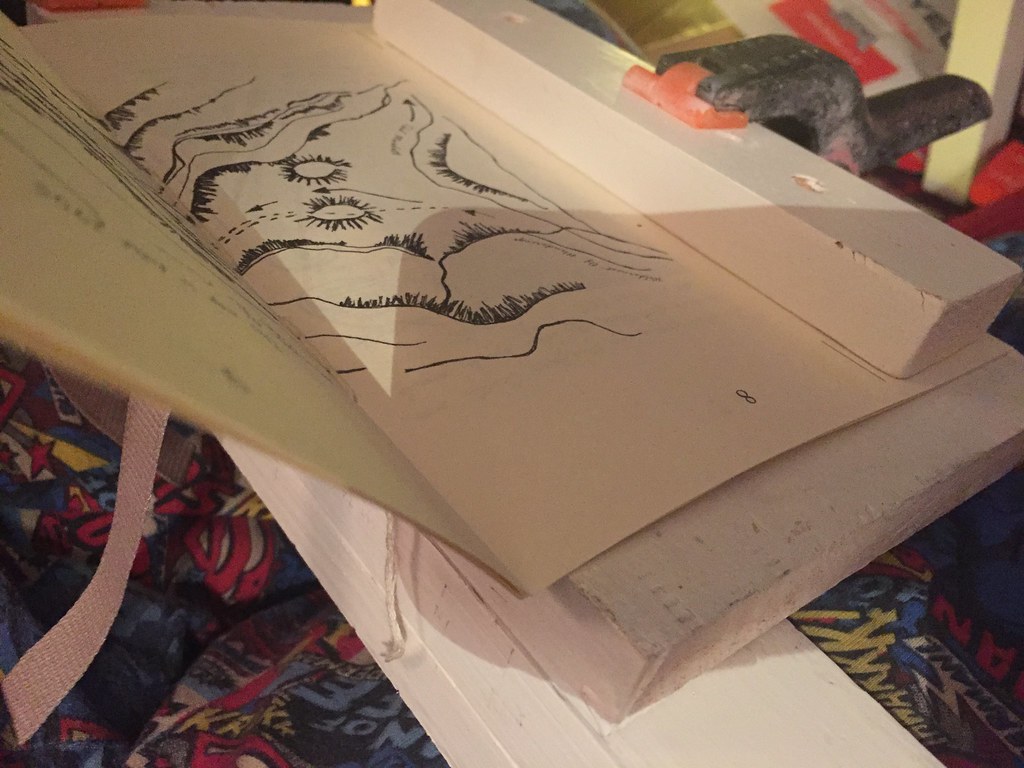
Once I had stitched along the first signature i place the second one on top and clamped it in place and stitched it in the other direction. as i got to the ribbon i tied it to the signature below to keep them tight together.

This picture was taken much later but i need it to show that i glued a strip of bandage/fabric along the stitching to act as a flexible spine and to hold the signatures together. 

I forgot to take photos during this process. it was clamped with two bits of wood to keep it tight and then i glued the fabric along the spine and let it dry. i used pva glue as it stays flexible when dry. 


TRIMMING THE PAGES


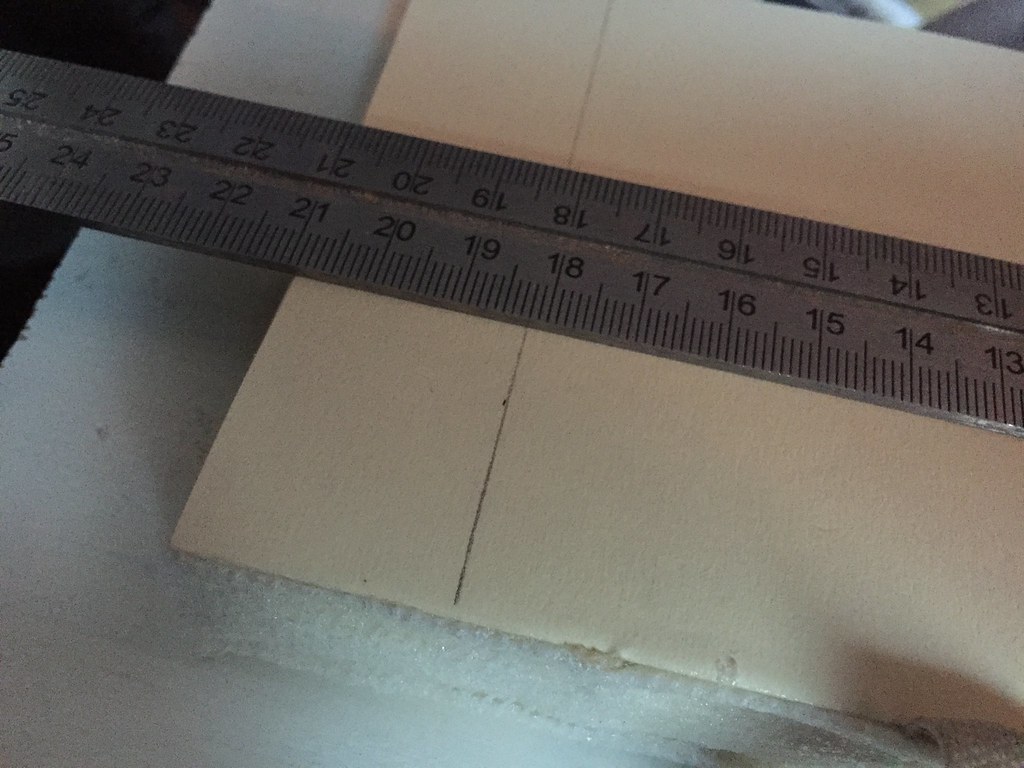
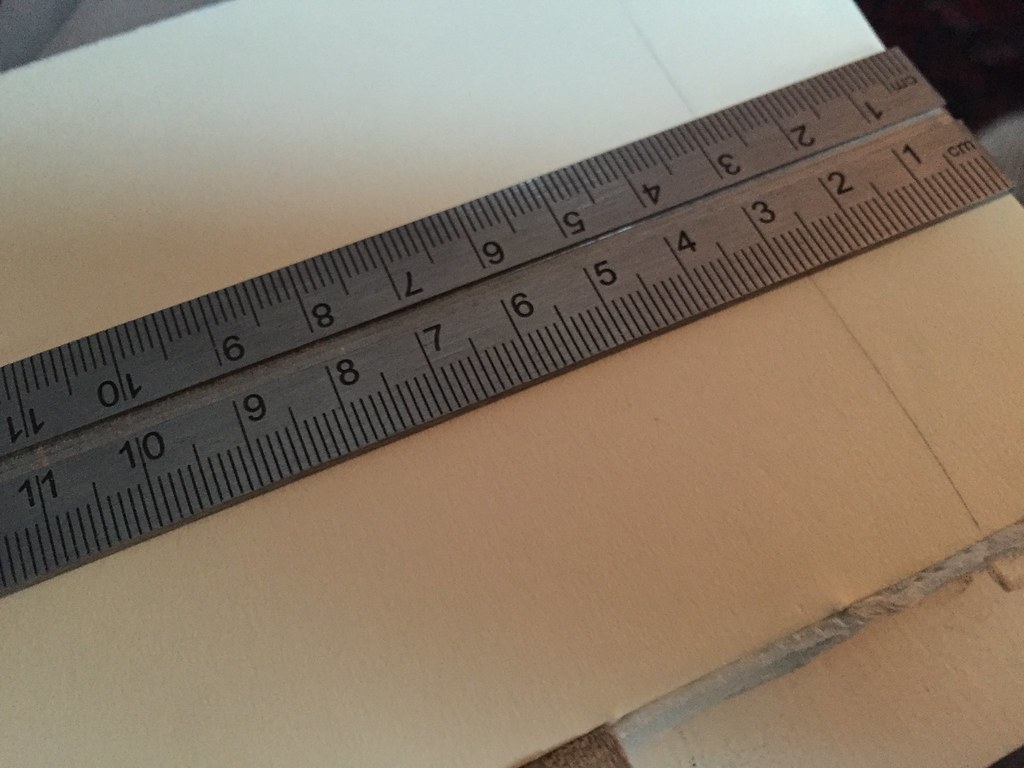
I measured and marked out the page size on the outer pages, using the crop marks. 

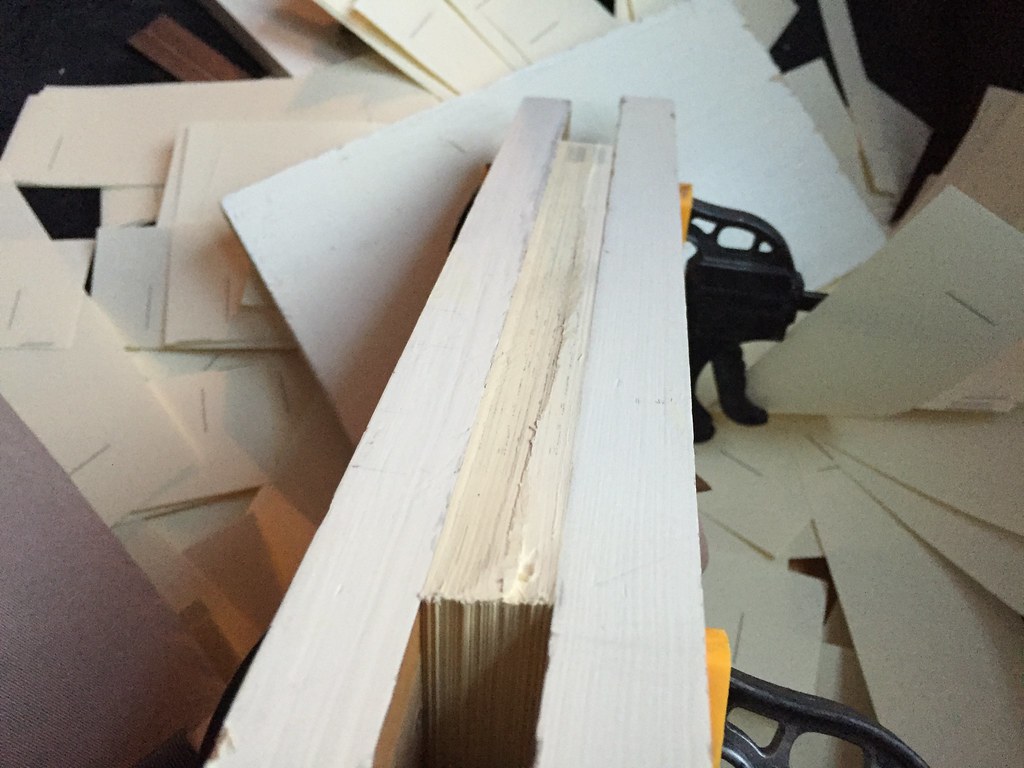
Using two lengths of wood I clamped the pages of the book as tight as I could, so when trimming them to size they don't move.

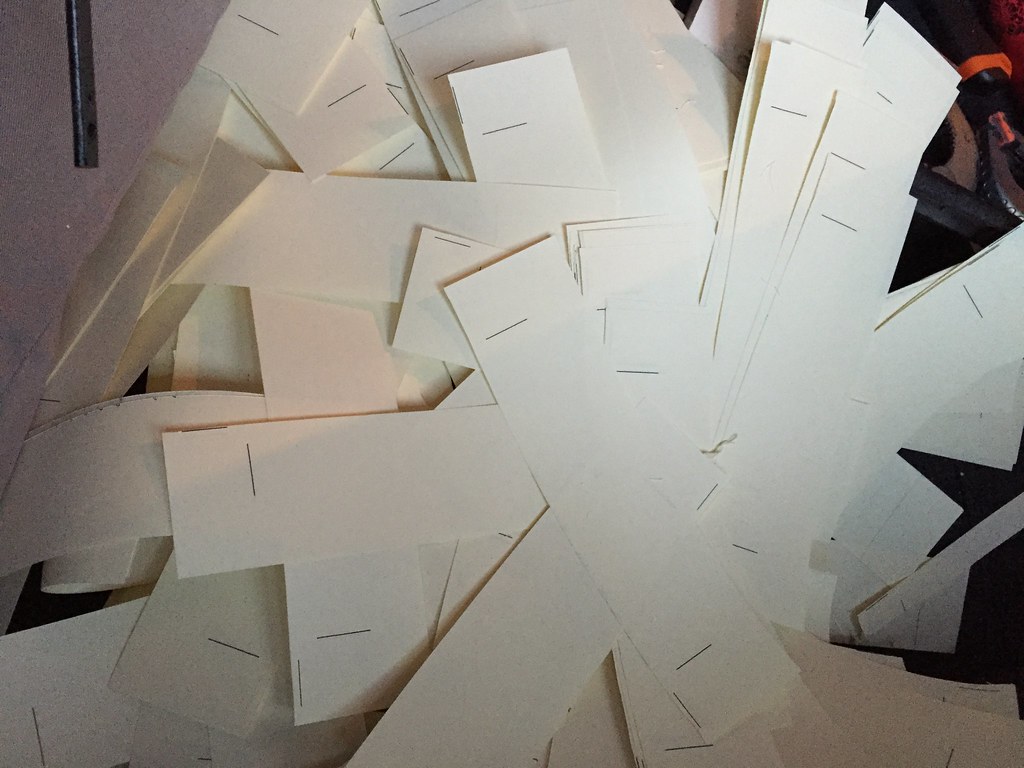
It took a long tome to cut through all the pages, and it made a lot of mess :)


MAKING THE INSERTS

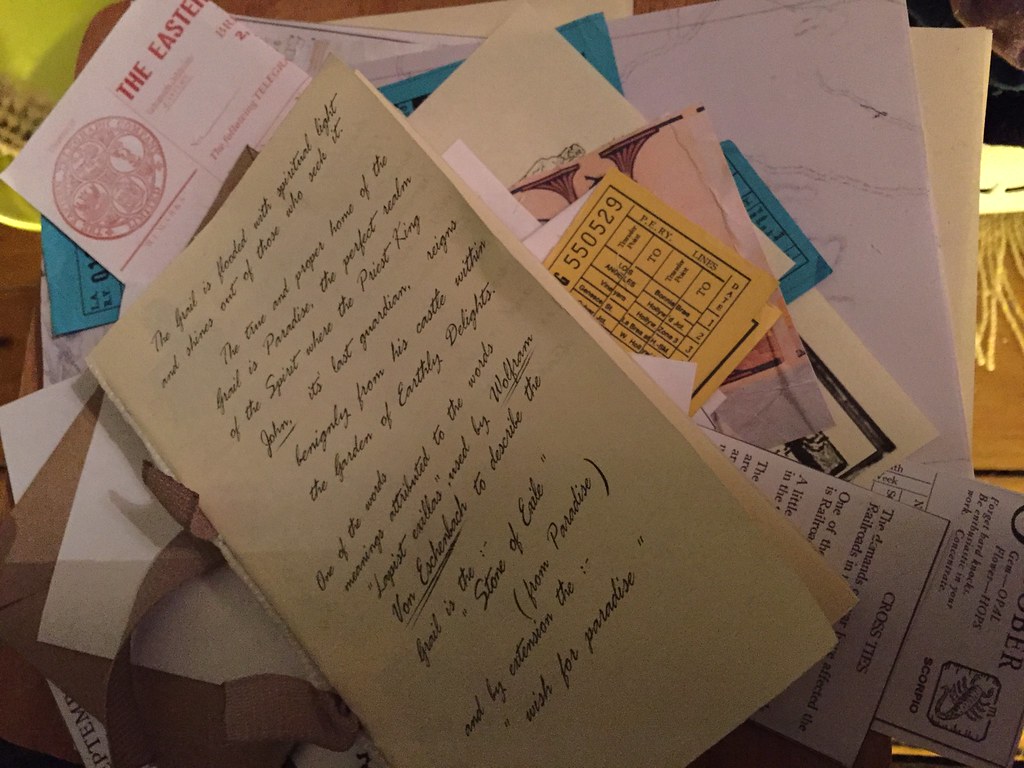
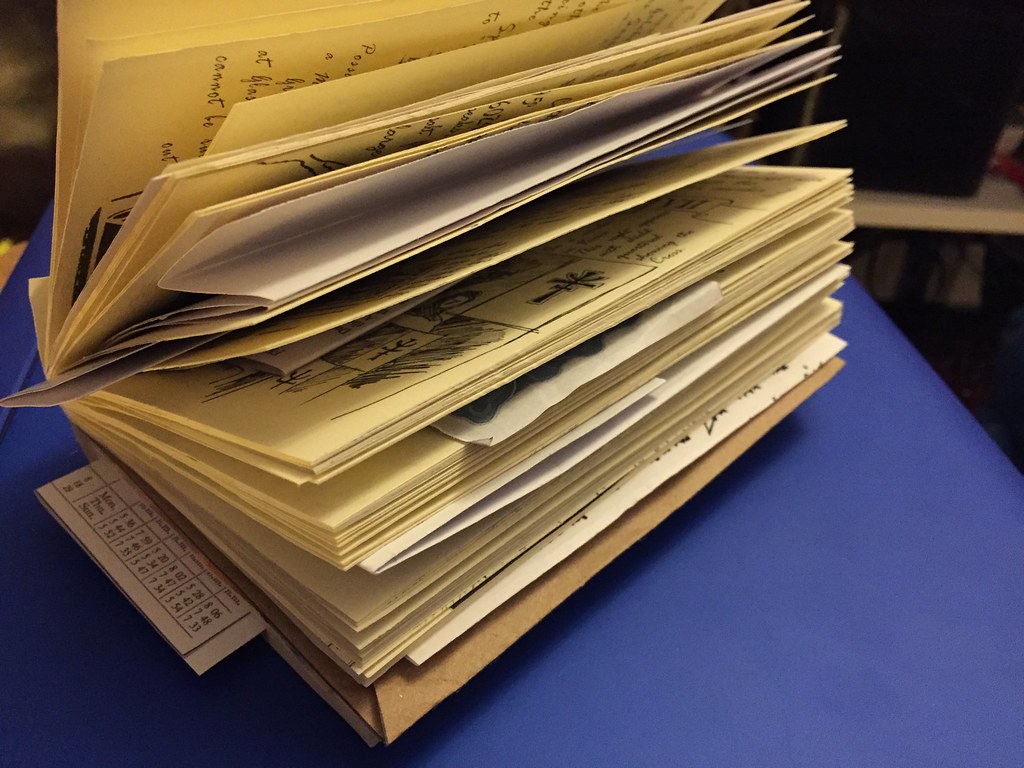
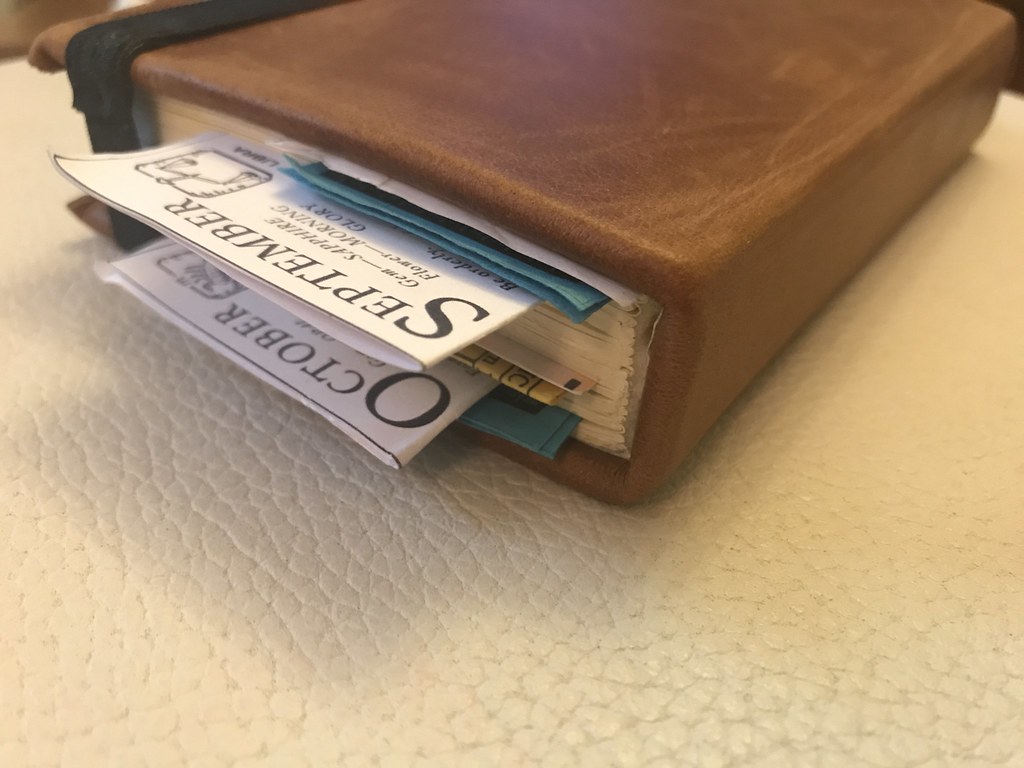
I forgot to take photos of the inserts on their own so this photo of them under the book will have to suffice.
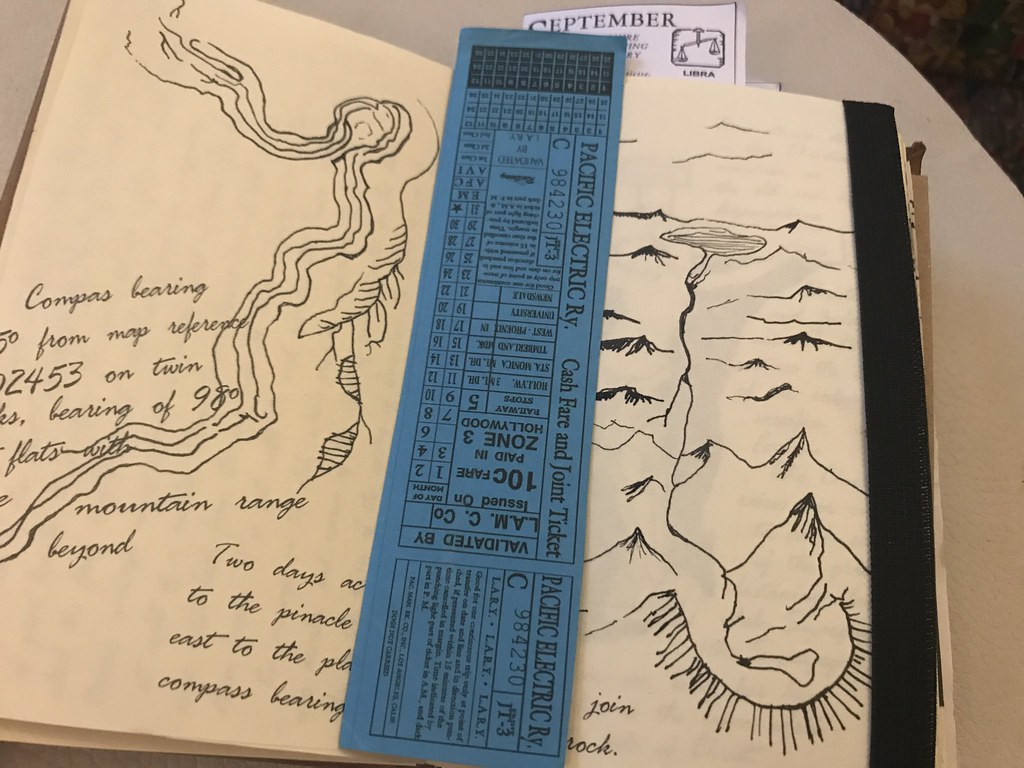
 I printed the inserts on different types and colours of paper: thick paper, thin paper, thin card and coloured cards for the tickets. There is a brown envelope which i printed the details for it onto brown packing paper. 
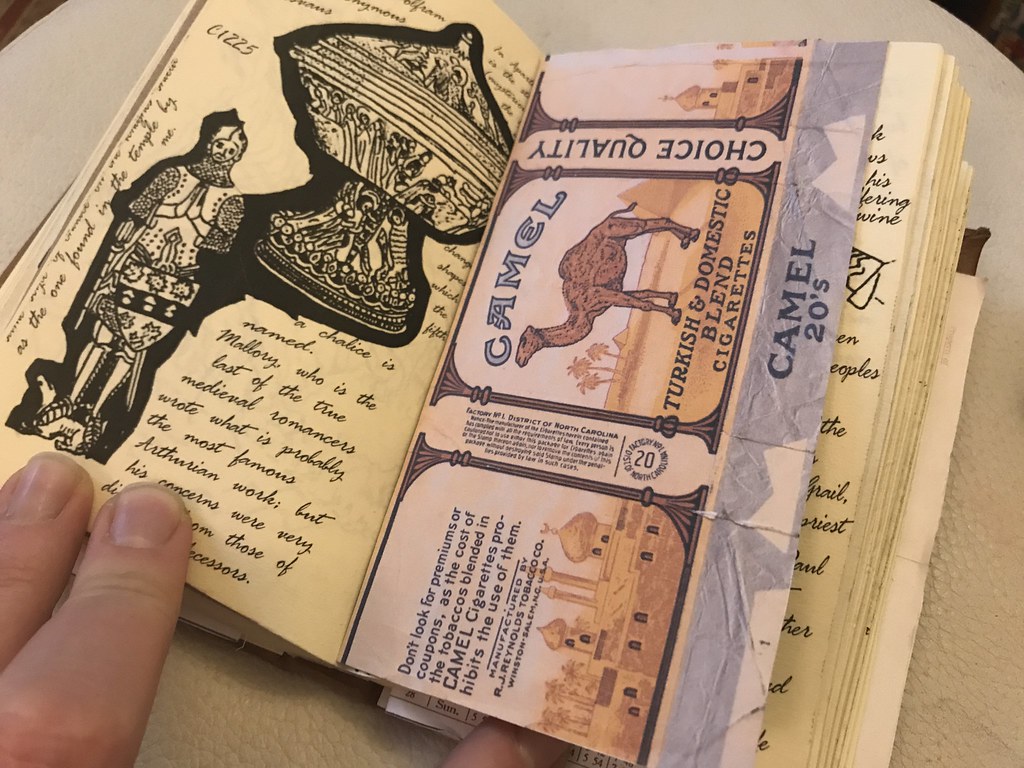
The camel cigarette package was printed double sides onto white card, the front was printed with the cigarette label and the inside was a crumpled brown paper design so it looked like a used packet.


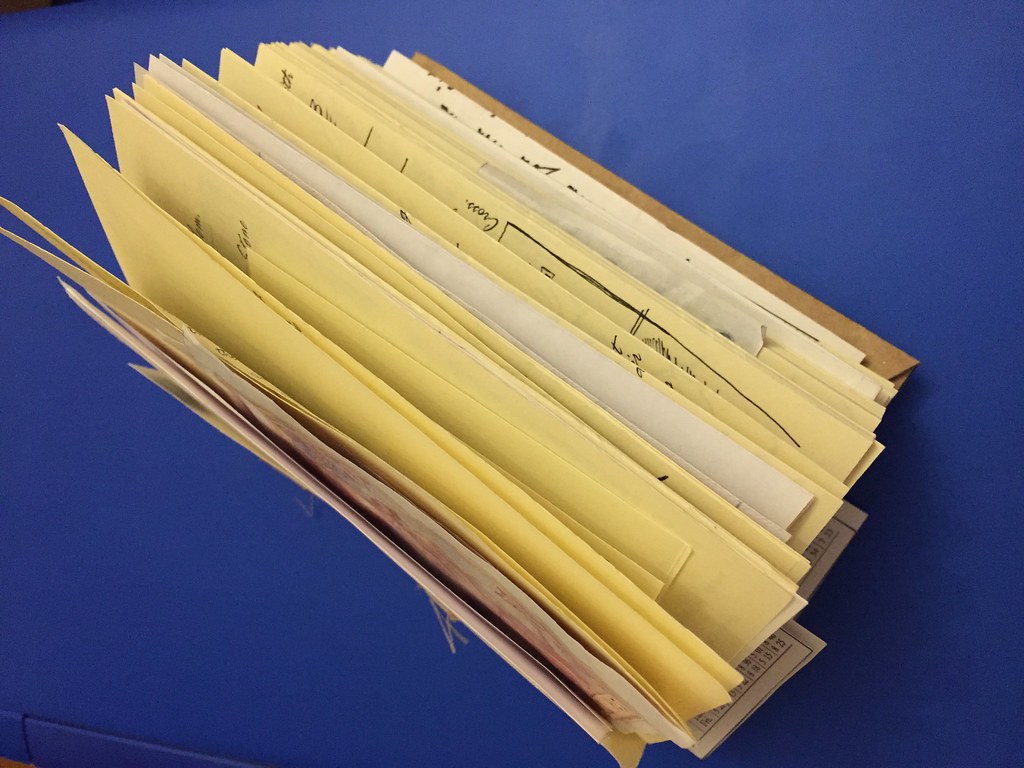
I went through the diary and placed the inserts in the diary according to the page list found on the websites listed at the top of the post.


BOOK COVER BINDING

I forgot to take photos of the process of making the cover. so this picture and an image i found on the Internet will have to suffice.

I used some leather i purchased of Ebay, the seller said it was from an old sofa, so it was worn and scuffed which was perfect for the cover of the Diary.

I used thin plastic for the cover boards instead of cardboard but that doesn't make much difference. 
I scratched and scuffed one side of the plastic board so that the shiny plastic will adhere to the underside of the leather. 
the two front cover boards were cut to just slightly larger than the page size of the diary. the spine board was cut to match the size of the height of the thickness of the book when bound and inserts inserted. 
using the diagram and trial and error worked out the placement of the boards on the leather i glued them in position and weighed them down until they were dry. I then scratched and scuffed an inch border around the cover boards so the folded leather would adhere to the inside of the cover boards. 

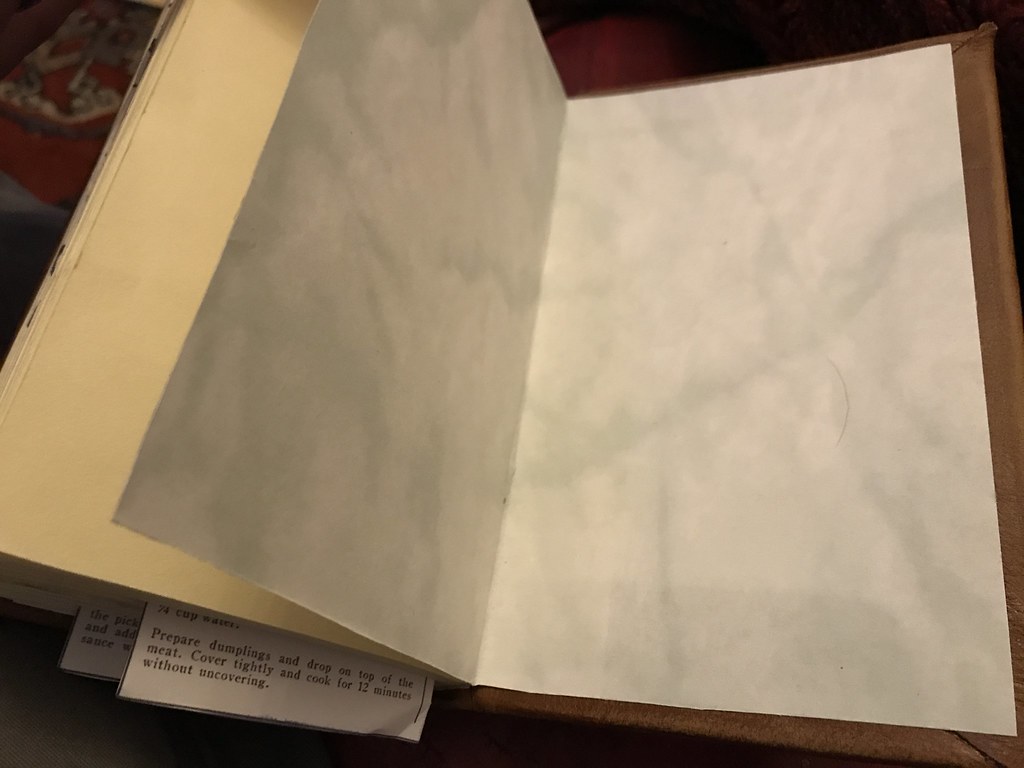
Attaching the cover to the bound book was easy. I printed a sheet of marbled paper out to act as "flysheets" these are used to start and finish the book. In the image above i glued the left side of the sheet to the inside of the book cover and the right hand side is glued to the last page of the book. The front is done in the same way, the spine is not glued in and is left floating so it can move when opening the book. 


FINISHING THE PAGES
 

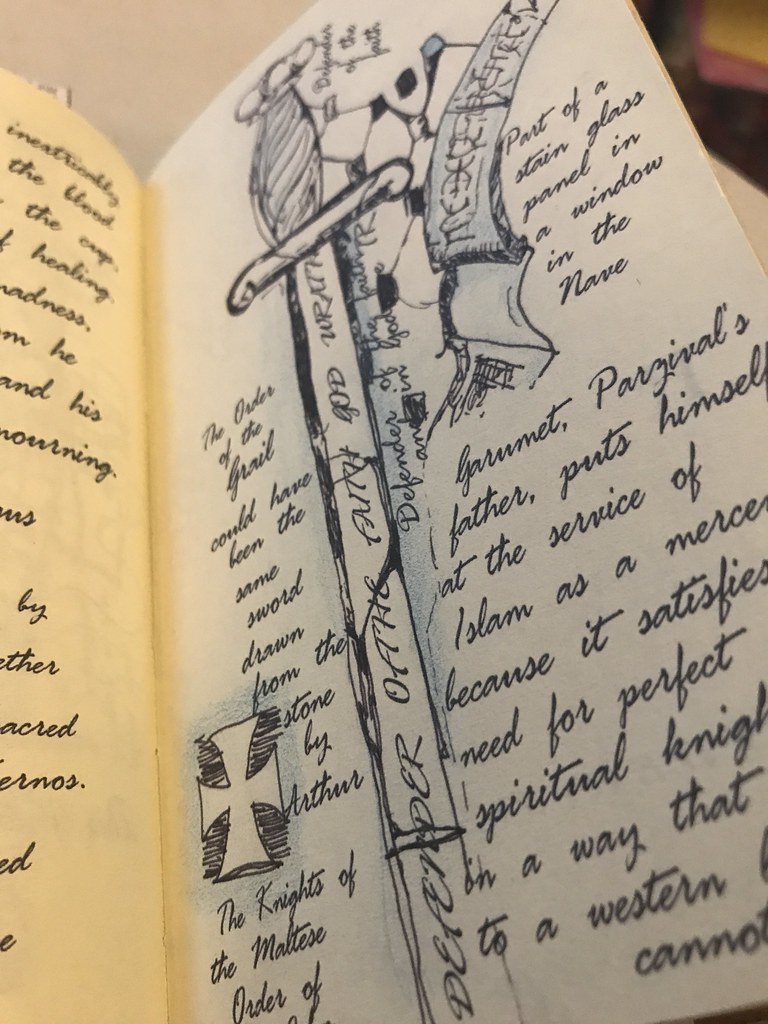
Some of the art work on the pages needed a colour accent. I used some coloured pencils (others use water colour paints)
Above is the blue accent around the sword artwork. 


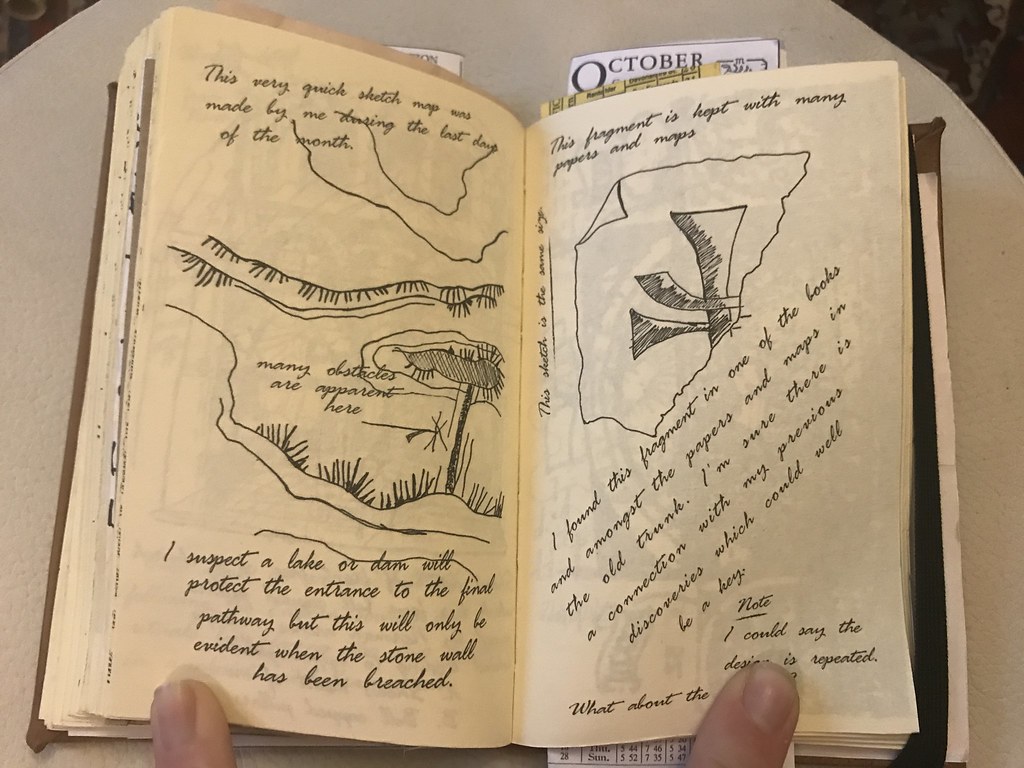
FINISHED BOOK


Once the Grail Diary is finished the only problem i can think of is that i don't know which page spread to display the Diary on. 


Thank you for reading (or looking at the pictures.) how i made my Grail Diary. If you have any questions about how i made my Diary please ask questions and i will try and answer them.


*The holy trilogy movies as stated in Ready Player One by Ernest Cline. Star Wars, Back to the Future, Indiana Jones, Lord of the Rings, and the Matrix