Custom Star Wars Carded figures.
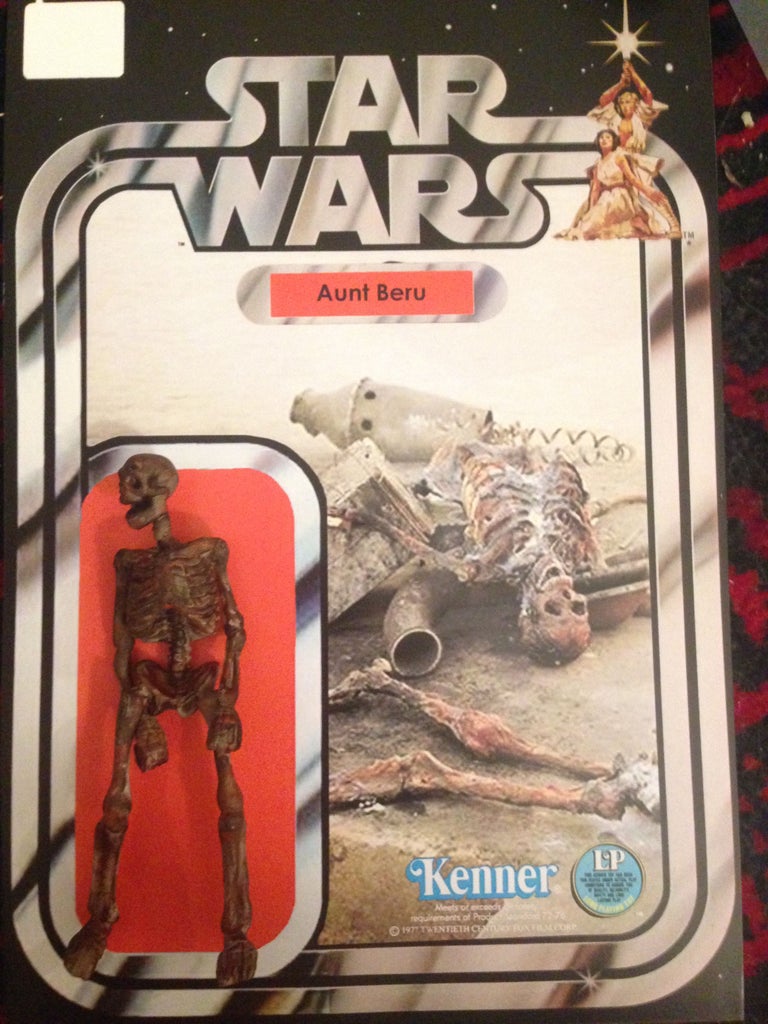
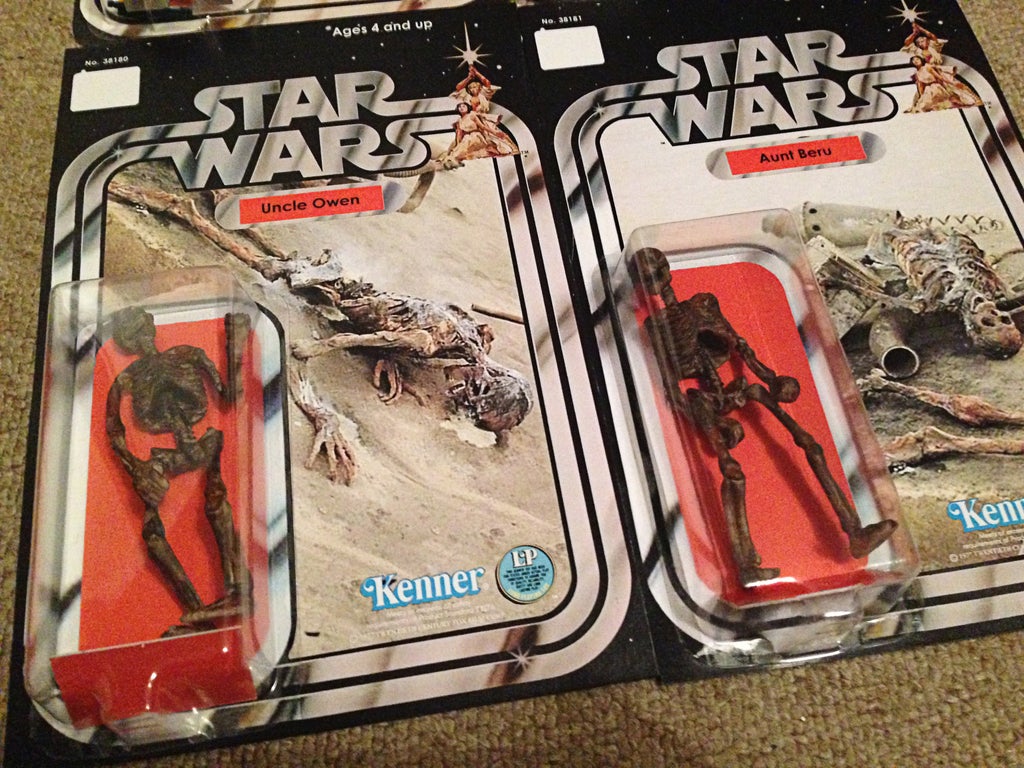
Uncle Owen and Aunt Beru
As some of you reading this might know, I'm a little bit fond of the film franchise Star Wars.
I love the toys that were produced for the original films and have collected them i recent years (after my childhood collection went as dust to the wind in many house moves) i have been collecting the original figures, I'm not too bothered about the condition as long as they aren't broken in some way.
I have made a display case for the little fellas, I had the pleasure to meet David Prowse and Jeremy Bulloch last year, knowing i was going to meet them i wanted to get something unique for them to sign for my collection so i looked into Re-carding my vintage Darth Vader and Boba Fett figures. and doing so with the re-card kit i thought it would be fun to make some custom figures from the films using similar techniques.
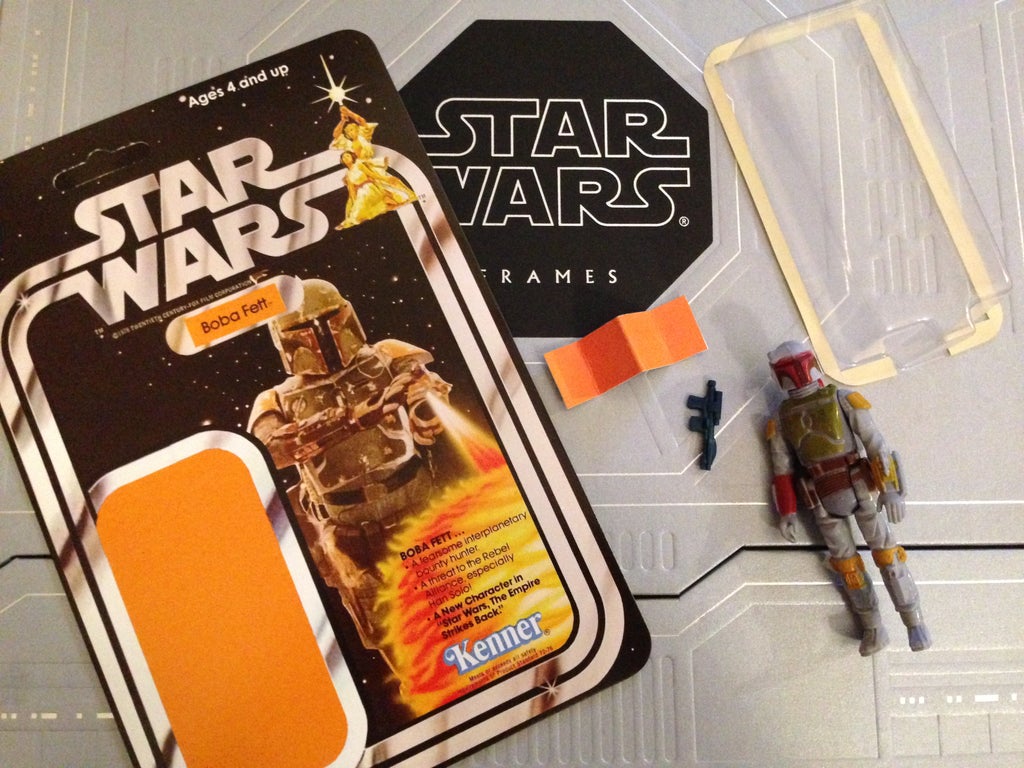
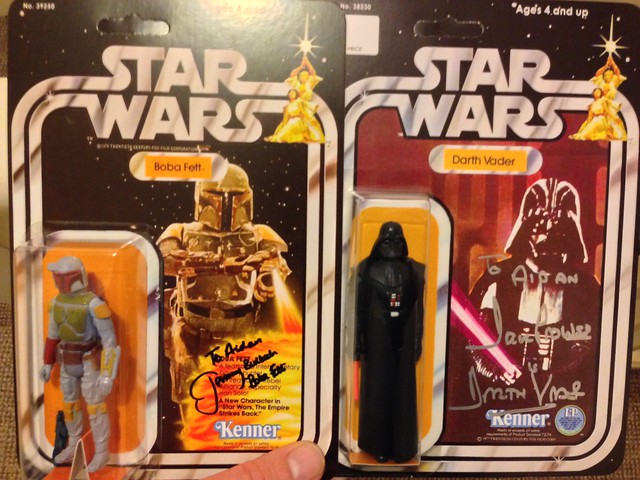
Re-carded Original kenner figures signed by Jeremy Bulloch and David Prowse.
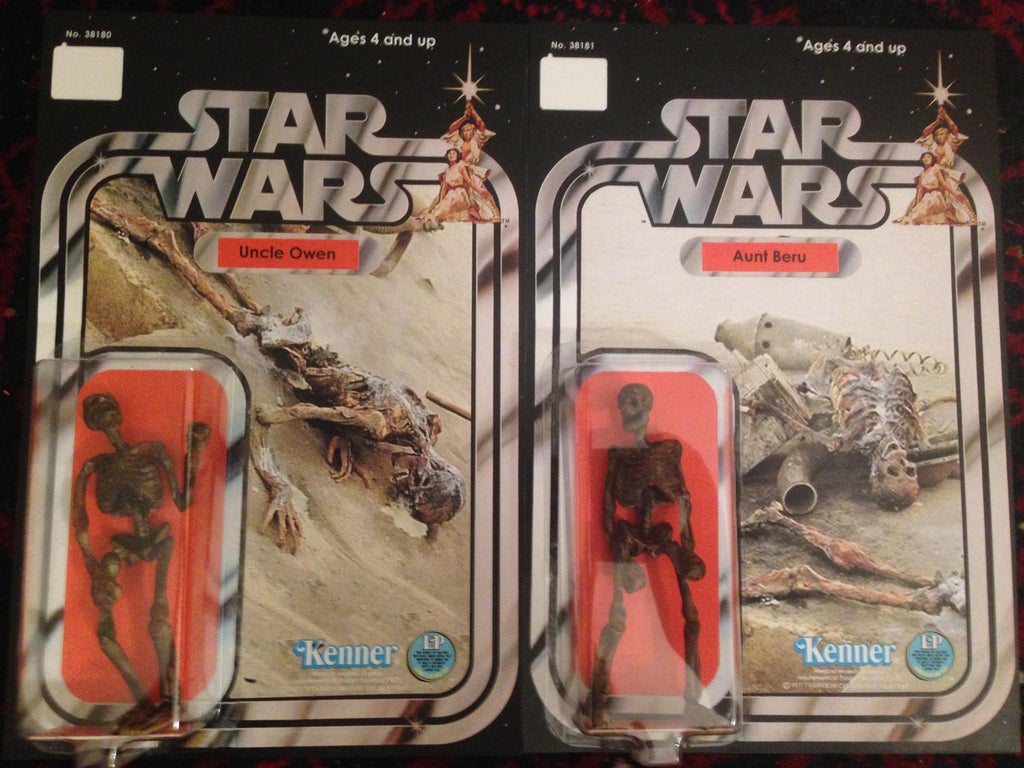
Custom made Lars figures.
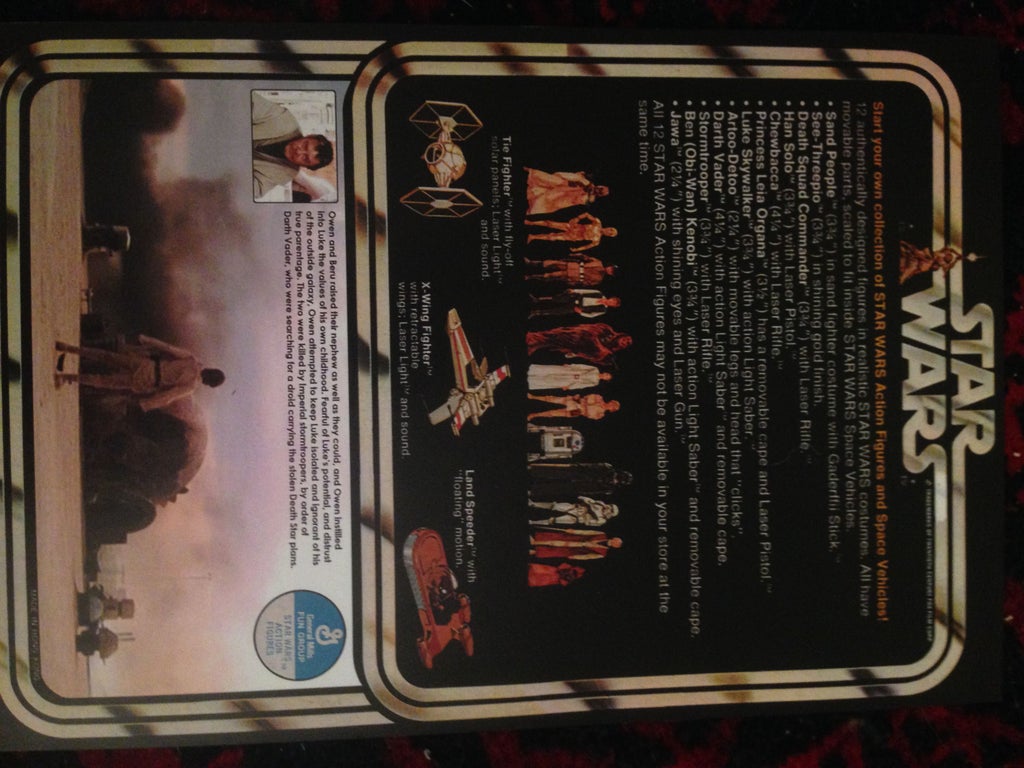
The first step i took was to do some googling of card backs to make the custom ones as authentic looking as possible.
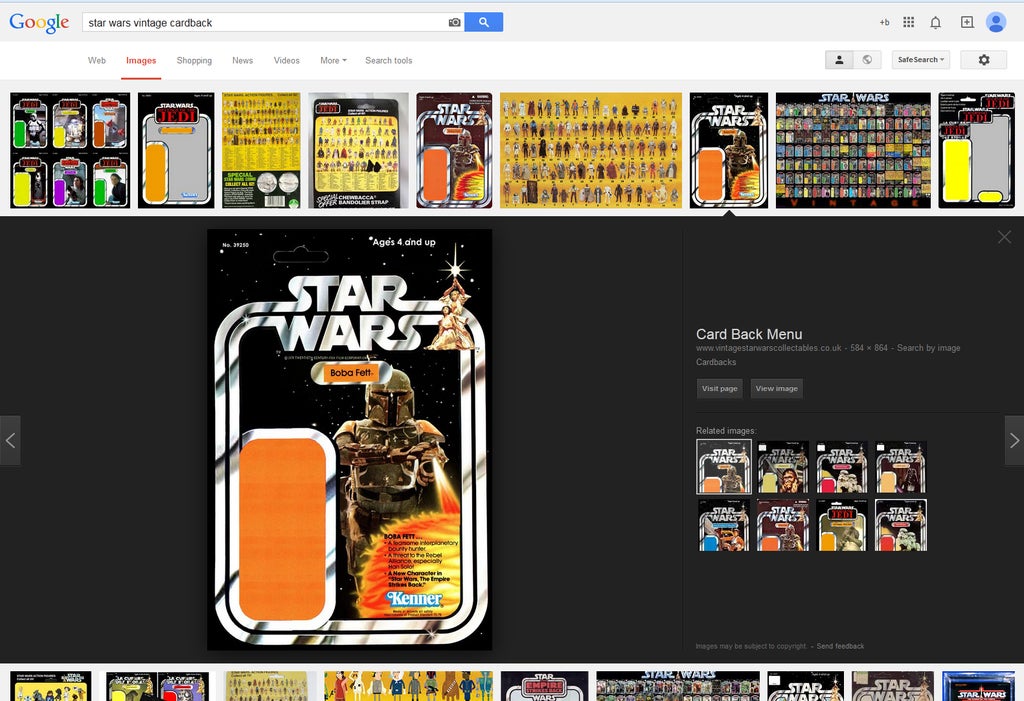
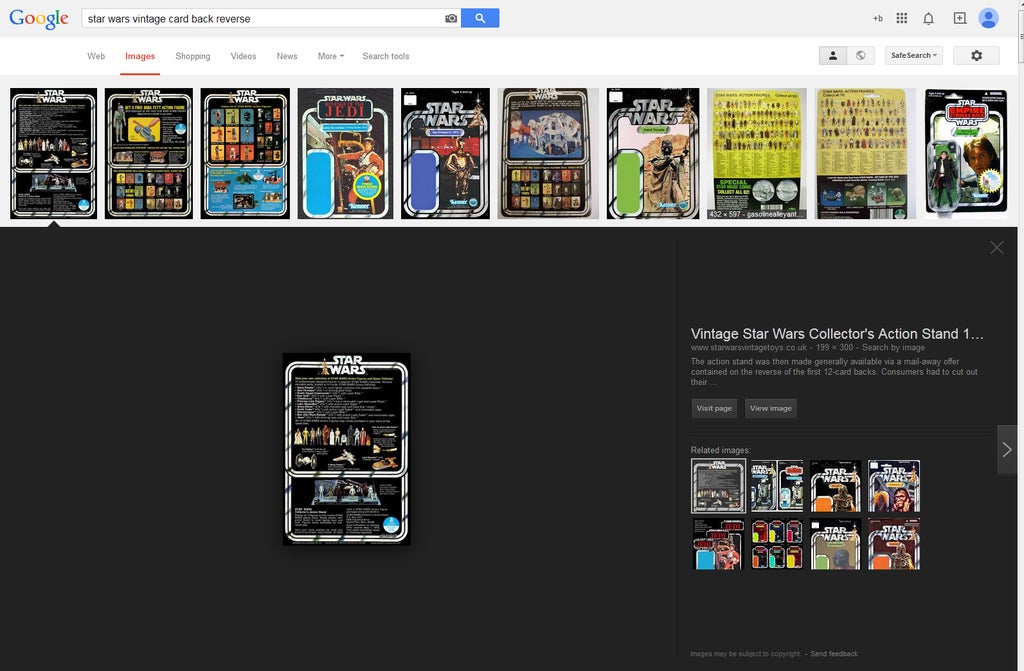
I found the highest quality images on the googles.
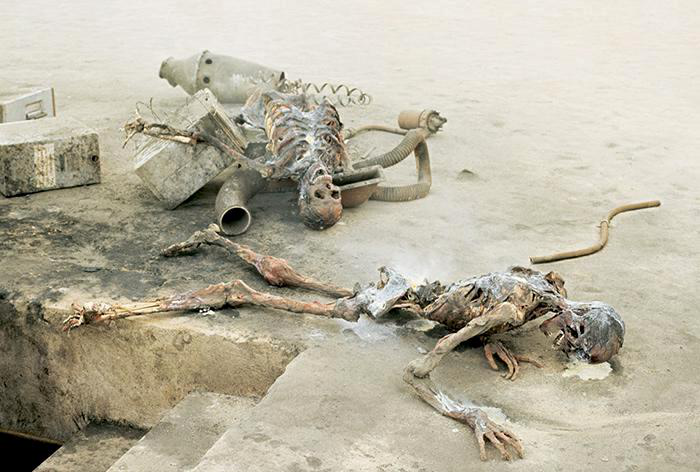
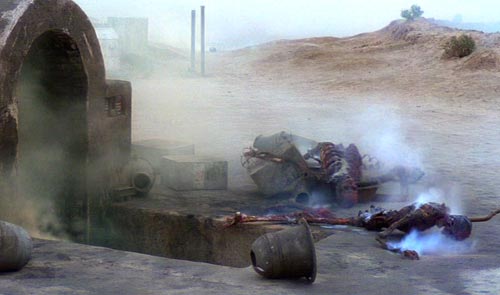
I also searched for screen grabs of the scene when luck comes back to the Lars homestead to see the burning skeletons.
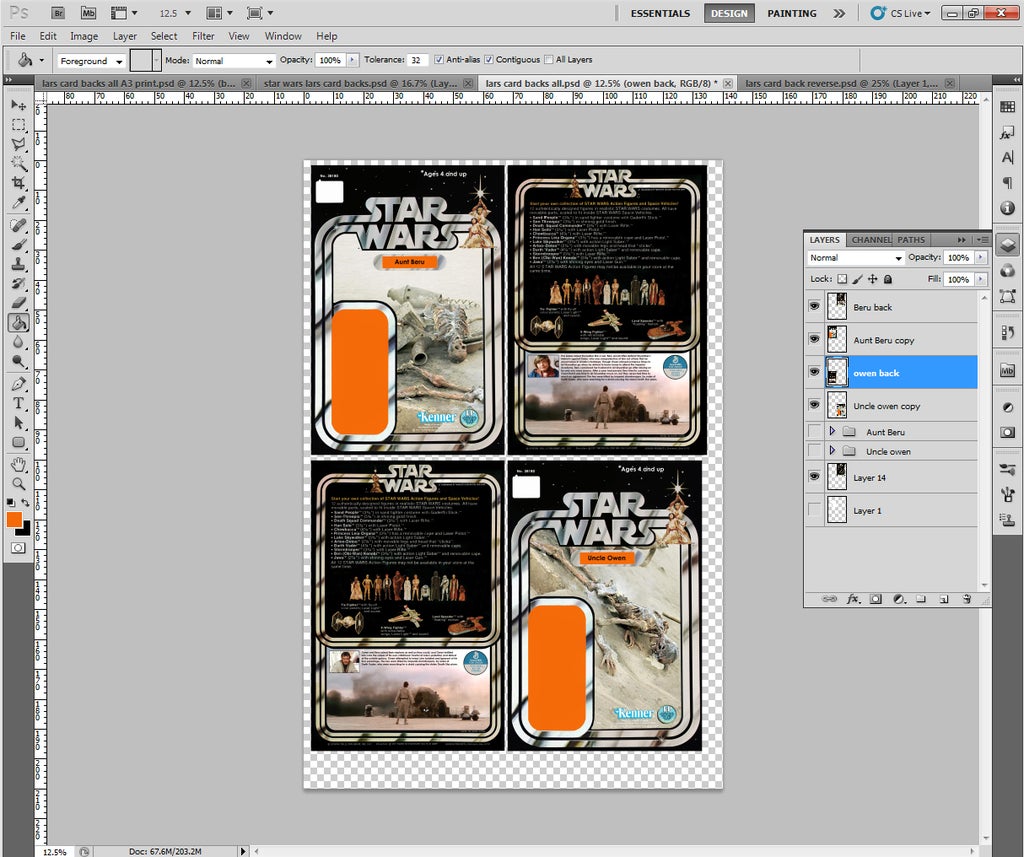

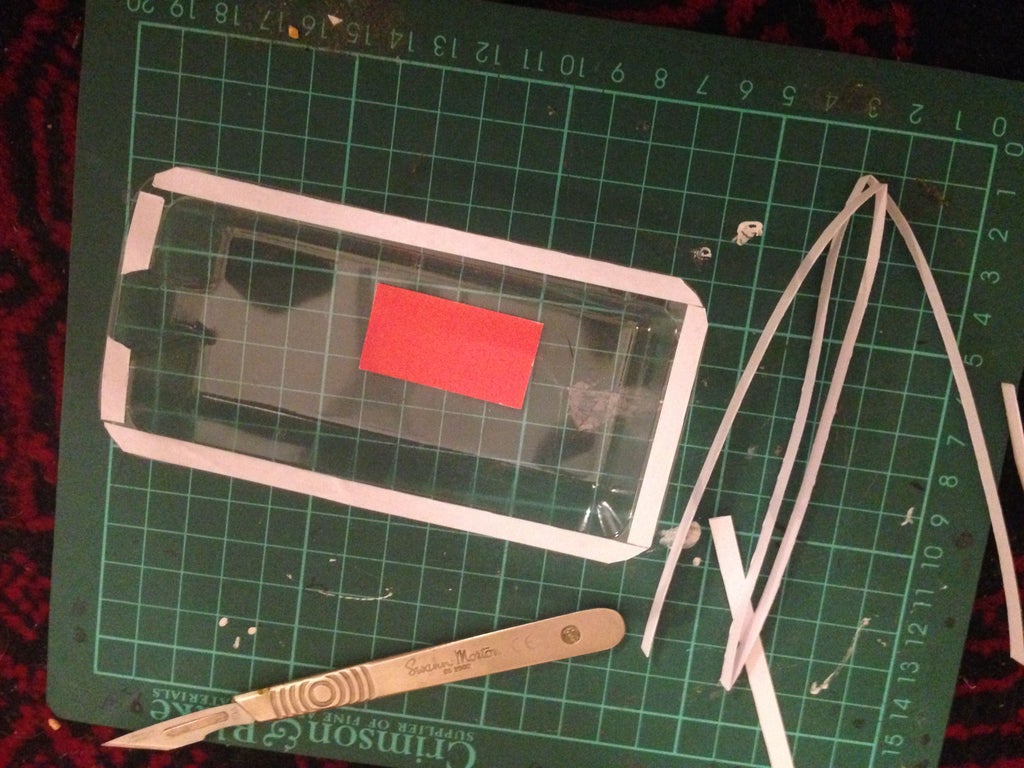
After printing them i glued them to some thin Card, i started with the back side of the cards and then cut it out and aligned the front half and stuck it down, then i trimmed all the excess paper away from the card.
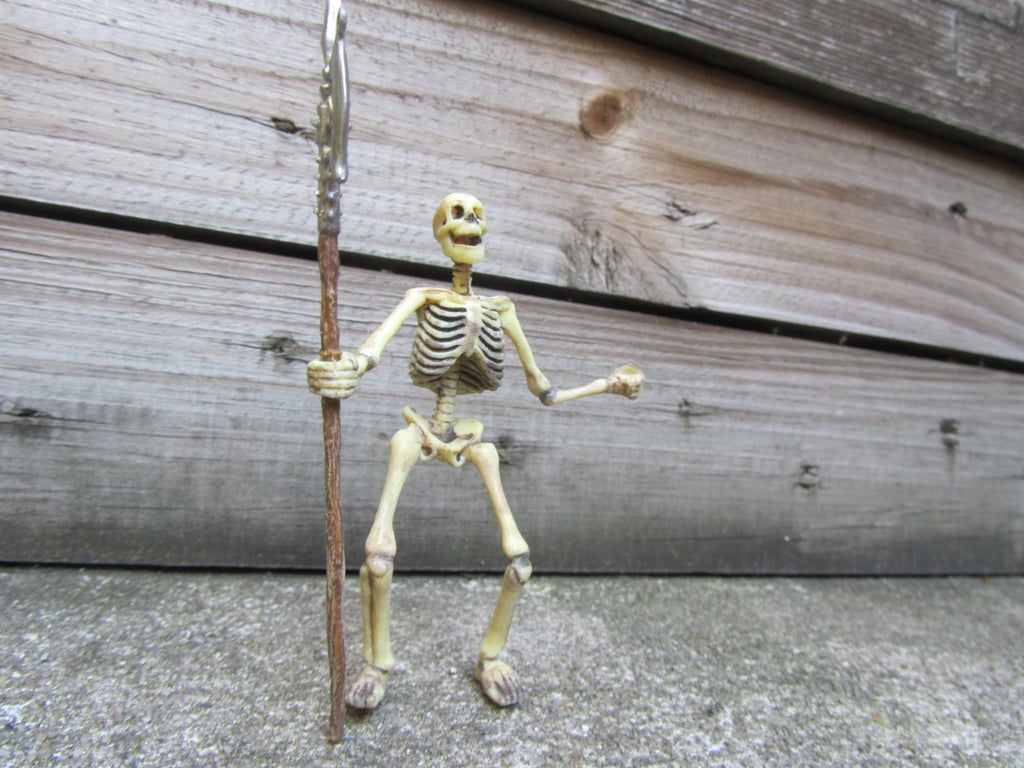
To make the figures i purchased two "fantasy skeletons" from a local toy shop. These figures are great as they are almost exactly the same size as the vintage kenner figures.
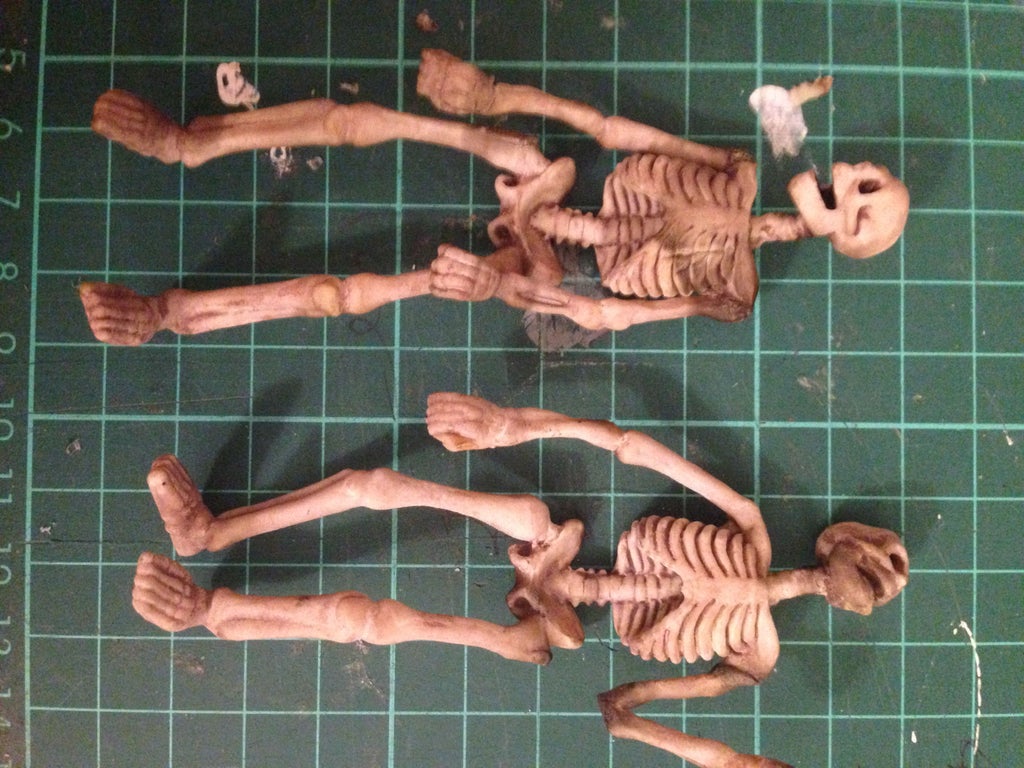
The singeing and melting of the plastic from the lighter doesn't matter as I'm going to paint them anyway.
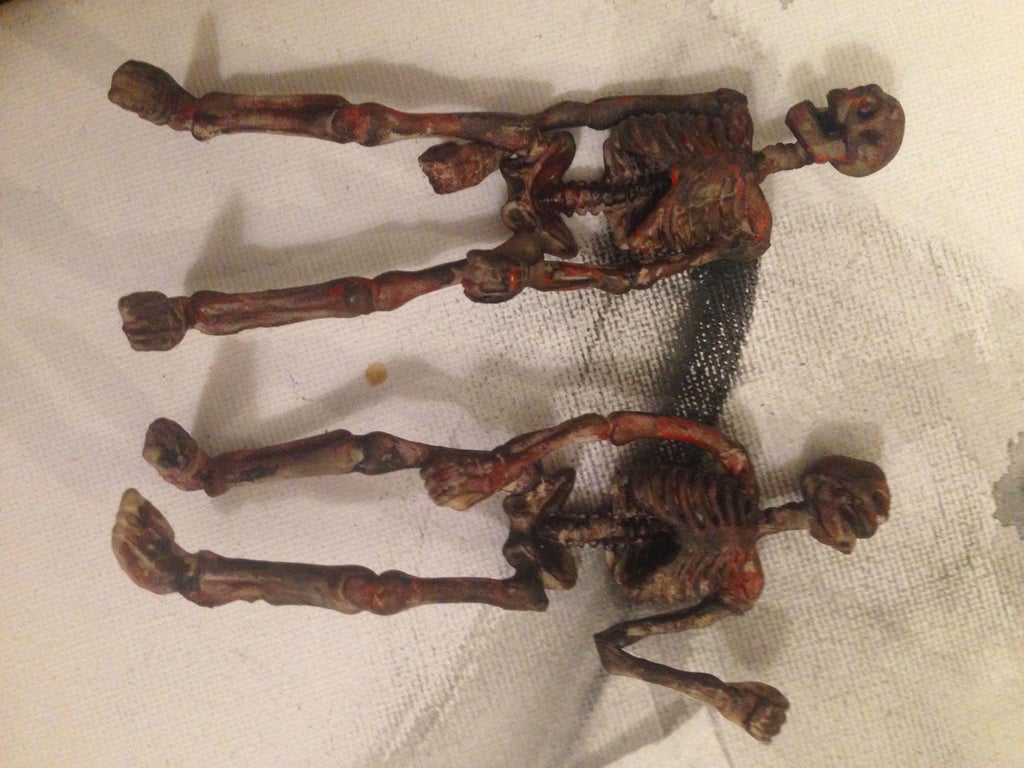
Once the glue had dried and the plastic had cooled i used acrylic paint to darken the skeletons down to make them look like they had been burned by some evil stormtroopers. once the layers of brown and dark red paint had dried i gave it a little coat of bright red to make them look a little bloody.
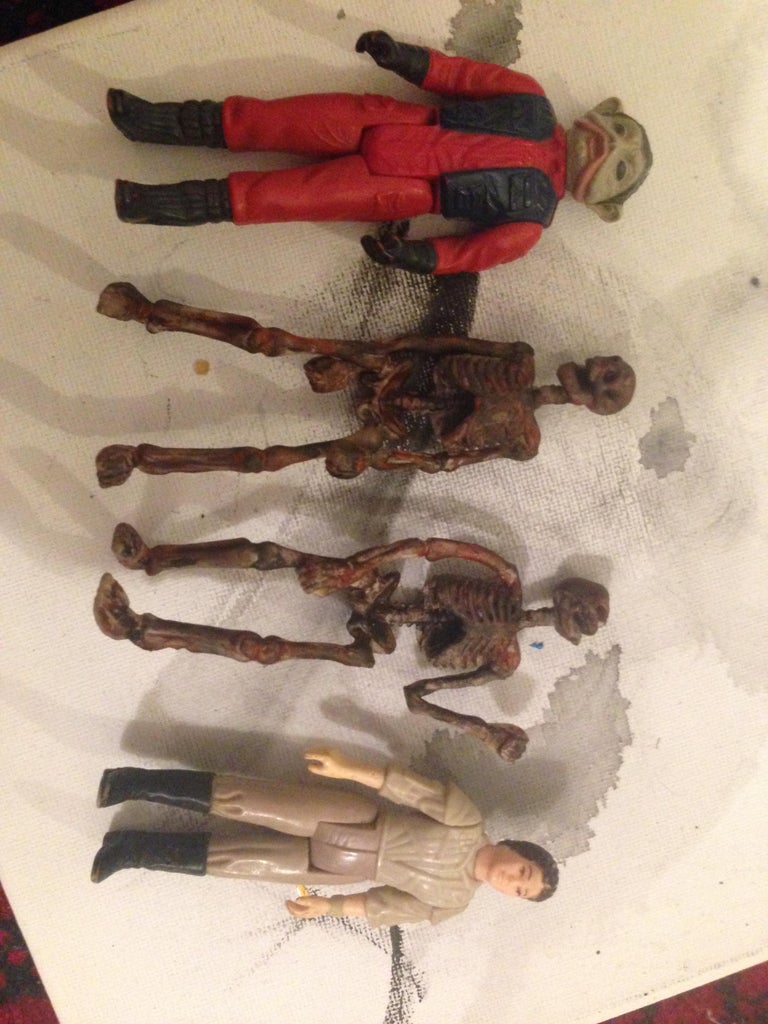
The figures are almost exactly the same size as the original kenner toys.
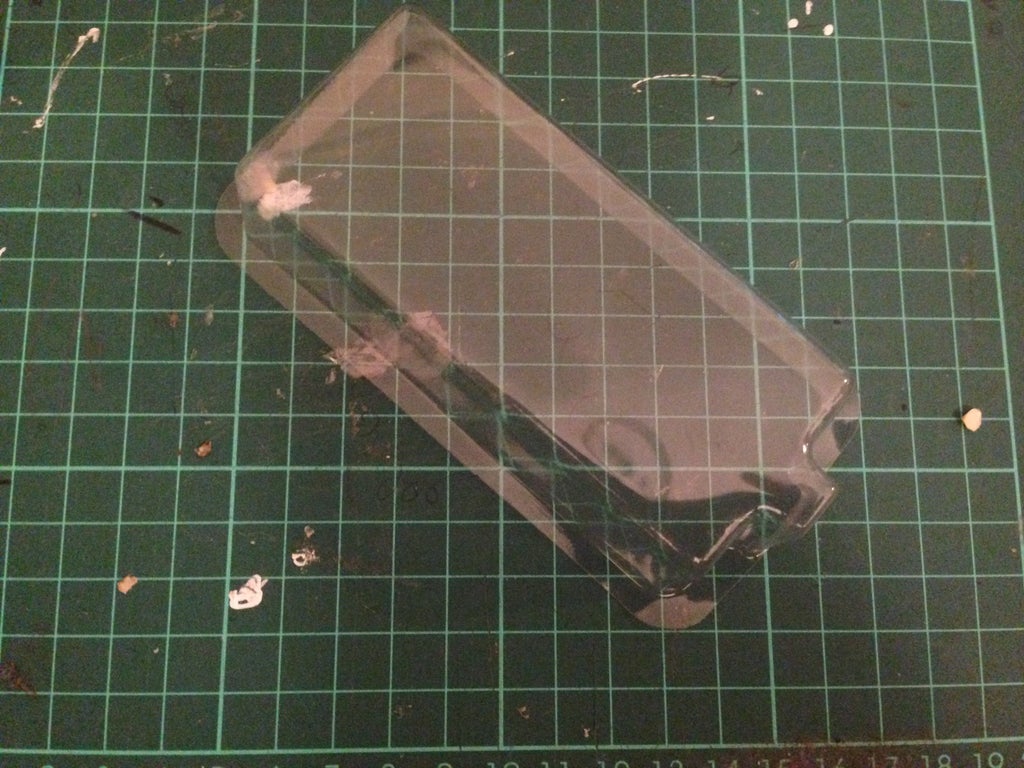
I Purchased Two blisters from the same seller that i got the re-card kits from for Darth and Boba. He sells on ebay and sells loads of reproduction stuff for people to complete figures and retard etc.
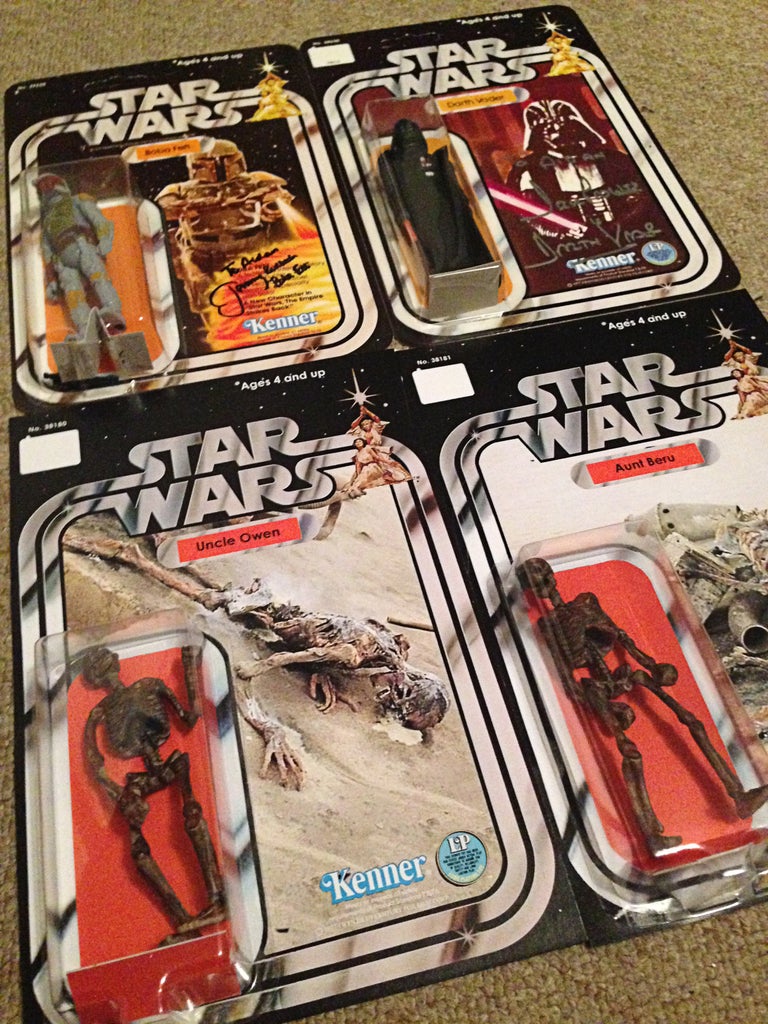
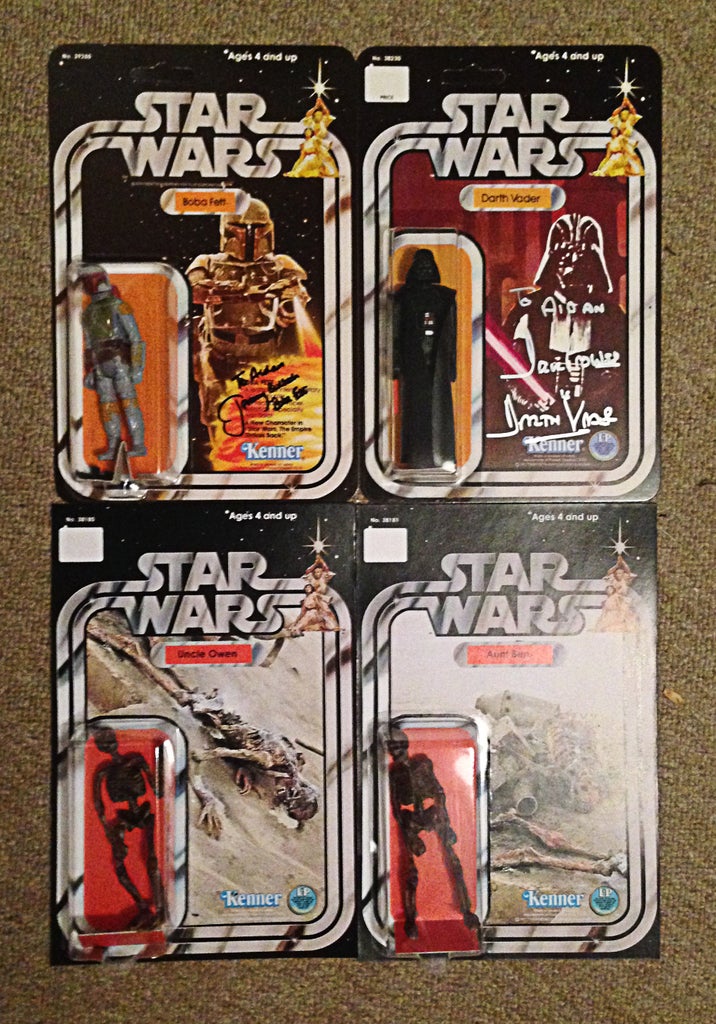
Side by side comparison to the re-carded vintage figures and my custom made figures.