
I was waiting for supplies for another project (coming up later) so after seeing the film Prometheus i thought the little projection data cube, that was used to project the old dude near the start of the film, would be a fun little project to do while i wait.
Then i began to try and work out how big the cube would need to be.


using the images of the finger pressing the button i worked out the buttons would be around 20mm square.
i did this by drawing squares and putting my finger on them.

So knowing the size of the buttons i could work out that the cube would be 60mm with a 1mm gap between and either side of the buttons so the main cube would be 64mm cubed.
I drew out the cube in illustrator and cut them out on a laser cutter.

i also made a small emitter lens housing for the front of the cube. This was dine but cutting out one of the square and placing two triangles either side and a small rectangle on the top.

I also drew out the three detail buttons on the top of the cube. the two side ones were cut from 1mm styrene and the centre button was etched into 2mm acrylic.

the rest of the cubes small squares were cut from 1mm styrene.
i did a test of how the squares would look on the cube.

The clear cube was sprayed with a glass etch frost spray to make the light diffuse around the box.
I sprayed inside and outside, two coats on each.

Another test of the white squares on the frosted cube.

After the test were done i masked off the whole cube leaving the corners and edges and also the sides of the emitter lens uncovered so that when it is sprayed they will get painted but the main body of the cube will still light up later.

the main cube was painted with plastic primer then a dark grey silver paint.


the small styrene squares are under coated with plastic primer.

Then they were painted with a dark grey silver metallic paint.
all the squares were painted on both sides to make sure they are completely covered.

once the paint had dried i removed the masking tape to reveal the painted edges
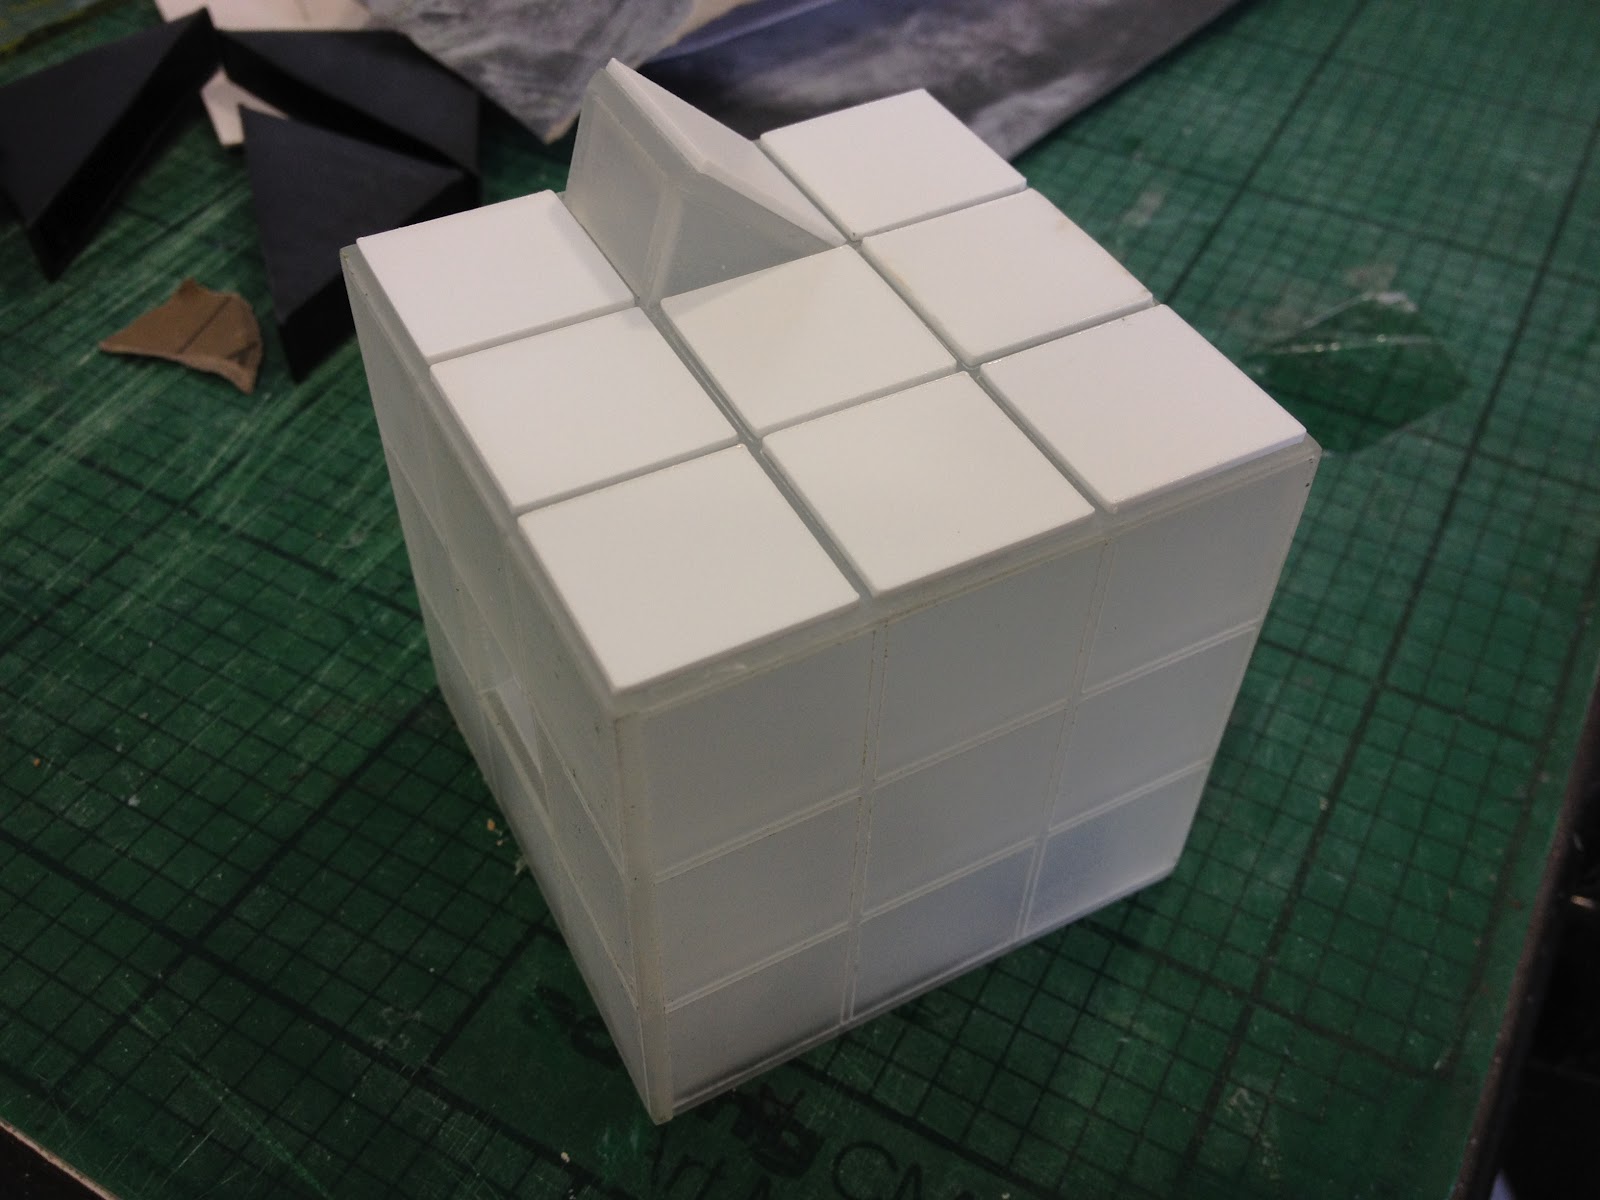
I then began gluing on the top squares of the cube.

once the top section had dried i began on the side panels

Once i had glued on all the squares i painted the top centre square black, and taped it in place just to see what it would look like.

once all the body work ad been done the wiring needed to be done.
I used three 3mm warm orange LEDs, one in the emitter section and one on either side of the box.
i wired all the LEDs to a press on press off switch that is mounted to the back of the centre button on the top.
Then the whole lighting assembly was attached to another square the size of the inside of the main cube, this was to keep the switch in place while it is pressed.
Then the battery is attached and the bottom of the cube is pressed into place.

Then the cube is finished.


The plans for this Prop are for sale. if you want them leave a comment or a message and i will reply with further details about them.
thanks.
This is great , I'll take one ;-)
ReplyDeleteContact me @
D90girl@yahoo.com
Are they still available !?
ReplyDeleteThese were never "available" i made one for myself and did this blog to show others how to make one.
Deleteyou can buy the digital plans on my etsy page if you want to try and make one yourself.
Id like the plans to this. How do I get them_
ReplyDeletefollow the link at the top of the page. that is how one gets hold of the plans.
Delete