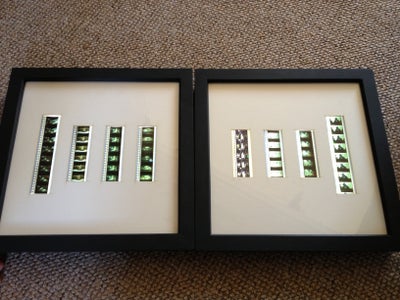
I love star wars and a while back i got a lot of film cells on ebay of the three original star wars films.
I guess these are from the remasters from some times in the mid 1990s.
I got loads and chose 8 of them and backed them onto a piece of card and used to have them on a shelf.
I guess these are from the remasters from some times in the mid 1990s.
I got loads and chose 8 of them and backed them onto a piece of card and used to have them on a shelf.
They weren't getting looked at as much as
i really wanted, so recently i decided to see if i could make something
more cool and useful.
This is how i went about making some film cell light boxes.
This is how i went about making some film cell light boxes.
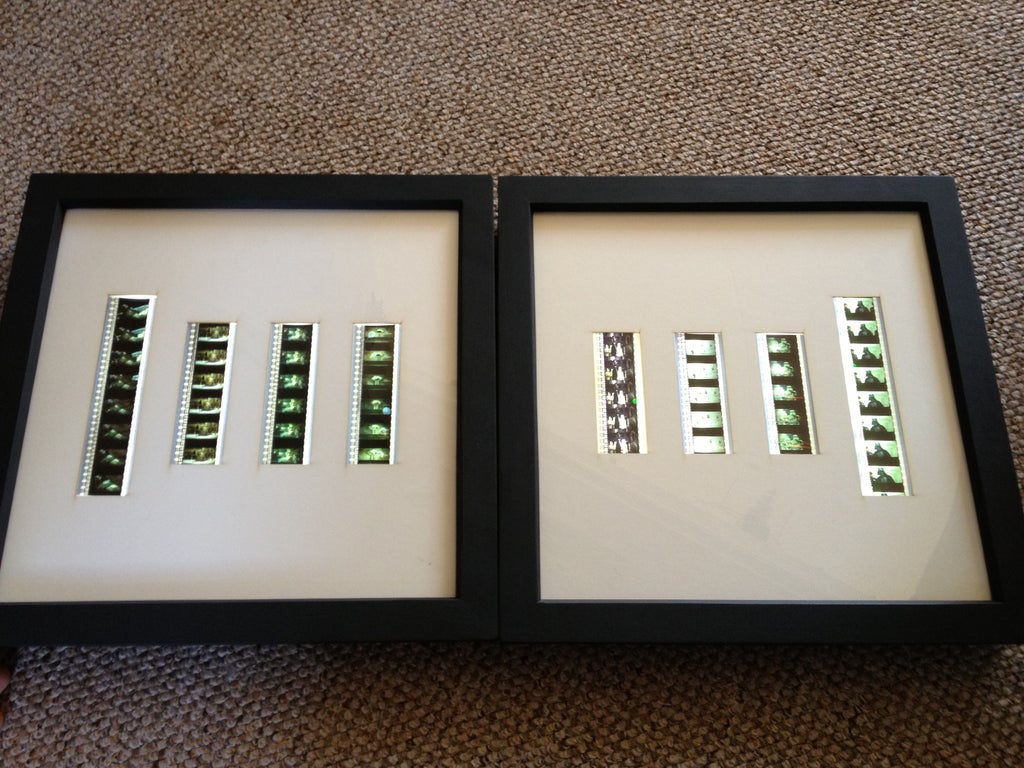
I started with the film cells.
Using my ipad as a back light i looked through the cells that i had to choose the ones i wanted.
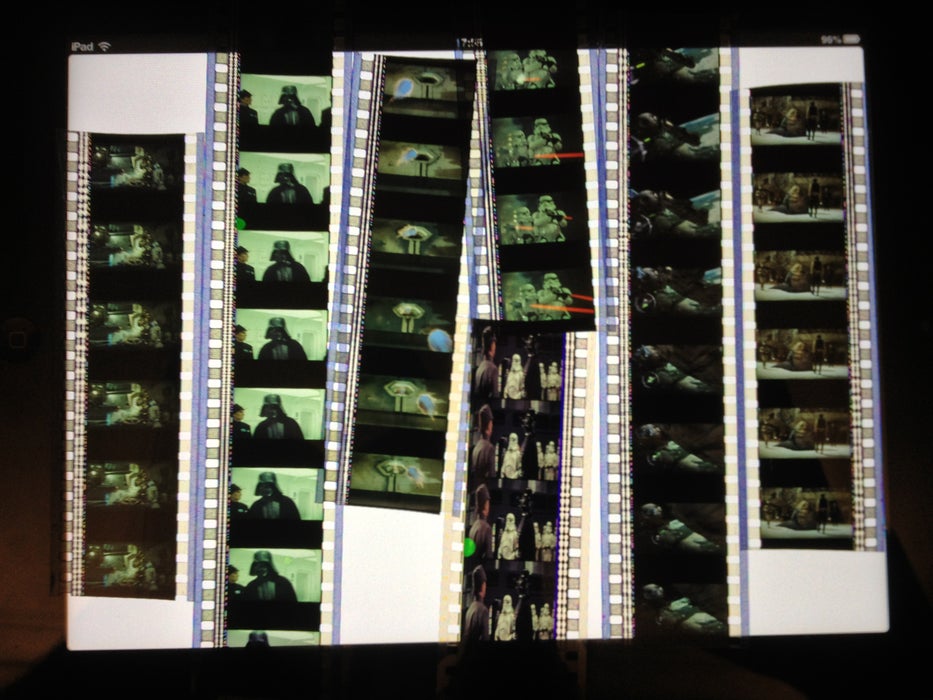
After i had chosen my favorites i started to work out how to go about displaying them.
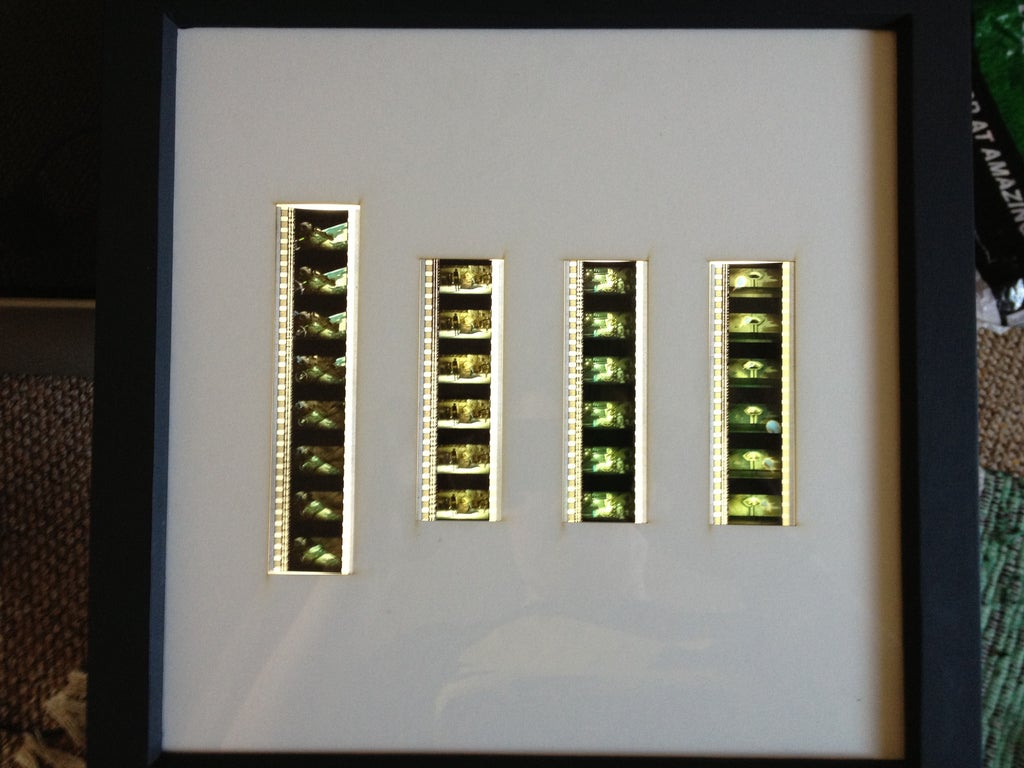
I measured all the film cells and found that i had six of one side and two slightly longer.
I could have made all the display mounts the same size and just crop out the top and bottom of the longer one, choosing my favorite cells from the long sets, but i decided to show all of the long cells.
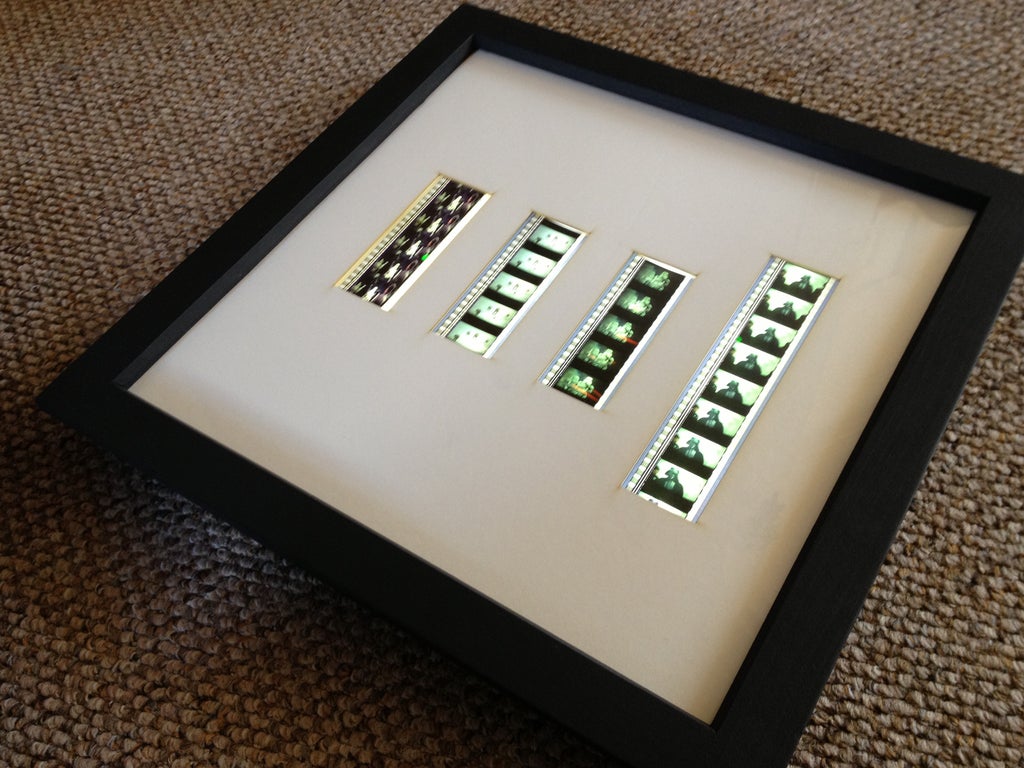
After measuring them i drew them out and got a frame. The frame i got (i got two of them) was a deep shadow box style photo frame and was 12inch square.
The reason i got a deep frame shadow box was so whatever lighting i put behind the film cells would have space to diffuse and spread out and illuminate the film cells correctly.
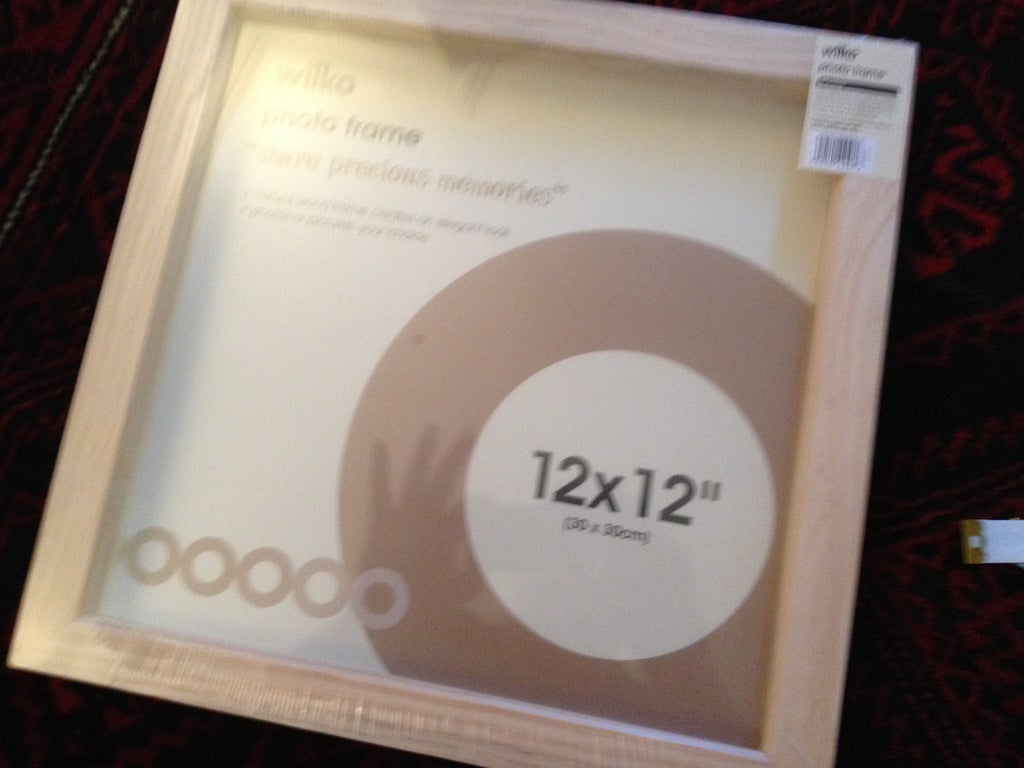
After getting the frame i got some card to fit in the frame.
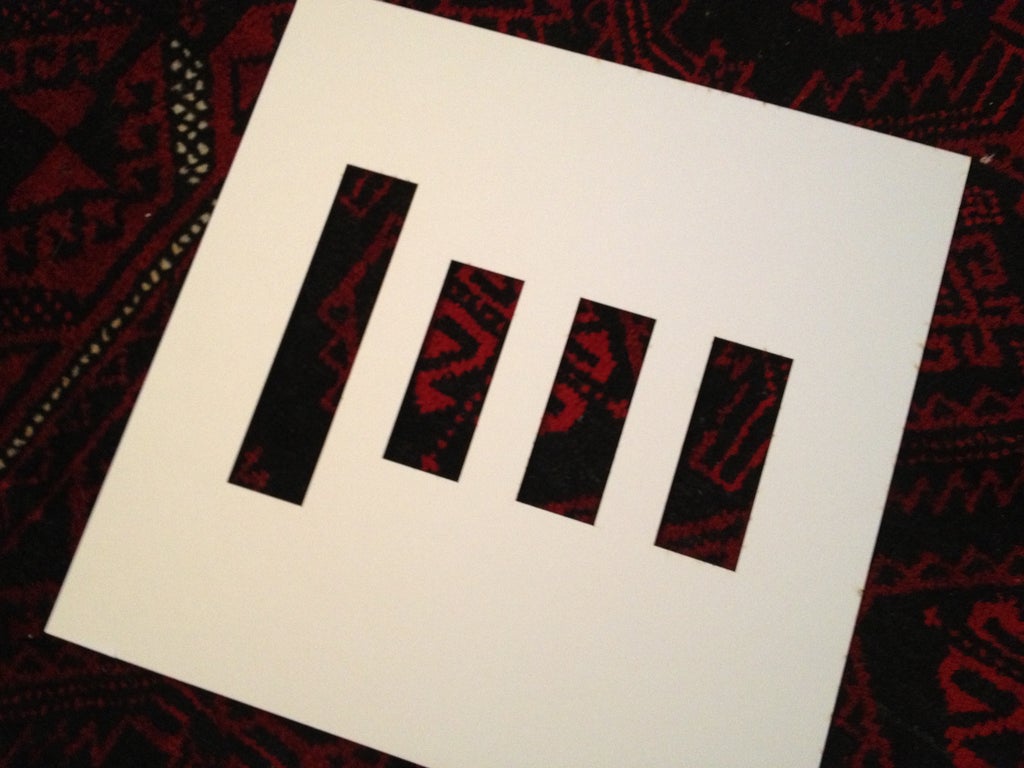
I cut out the holes for four of the film cells. There will be four cells in each frame.
I divided the cells in to two groups, one for the rebels and the light side and the other group for the dark side and the imperial fleet.
To mark out where to put the lights to illuminate the cells, i put the card into the frame and left the glass out so i could draw directly through the holes in the card onto the back board of the frame.
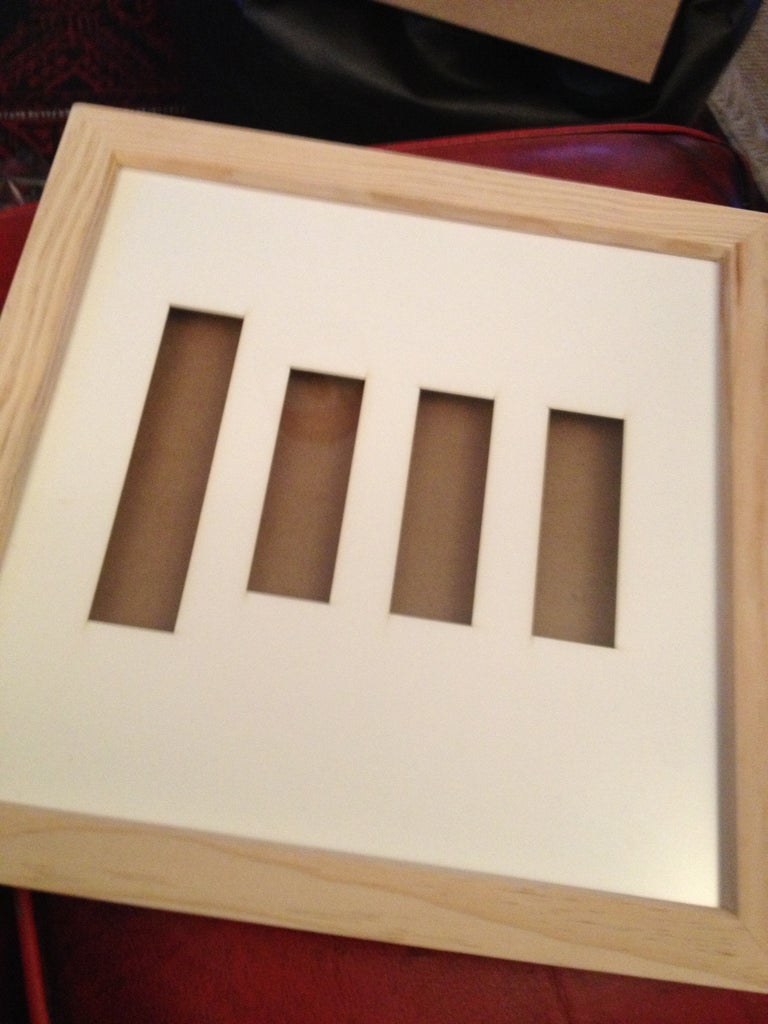
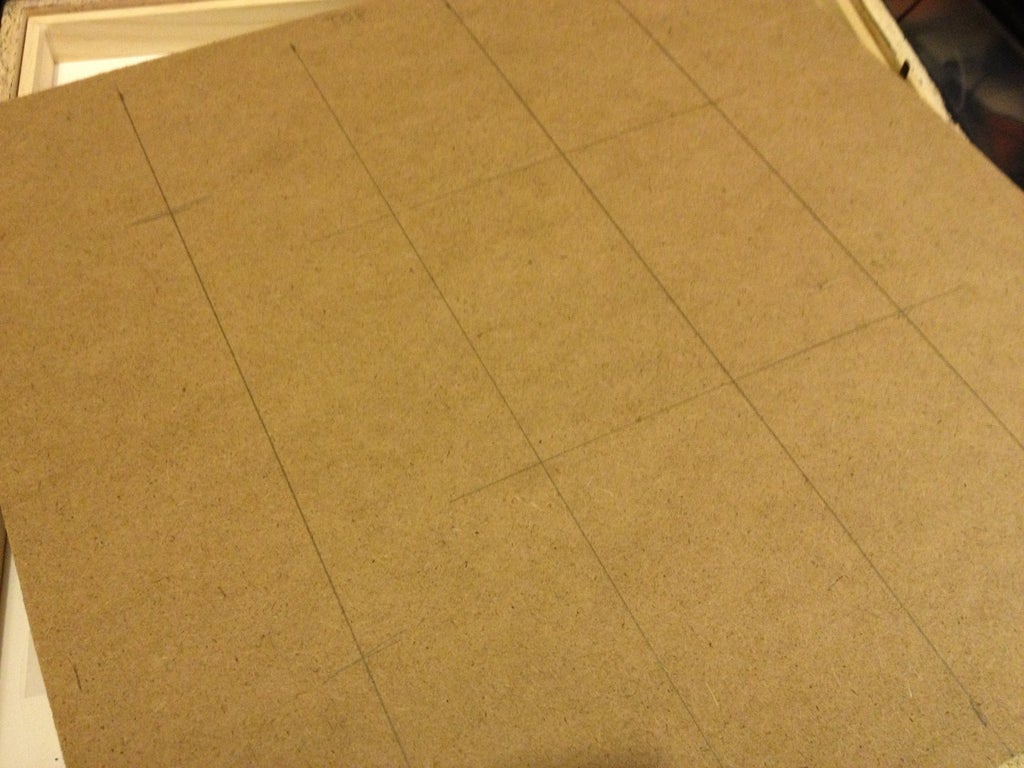
Once i had drawn through the holes i marked a middle line for the LED strip.
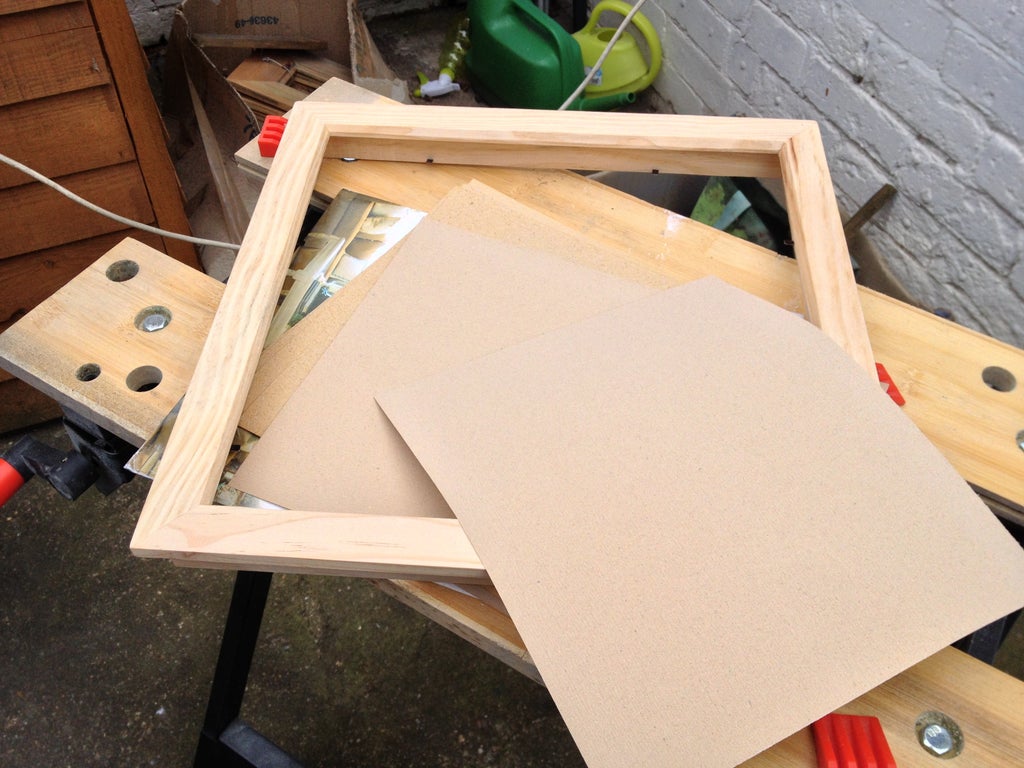
I sanded each frame down to make it nice and smooth
Then i painted them a nice mat black.
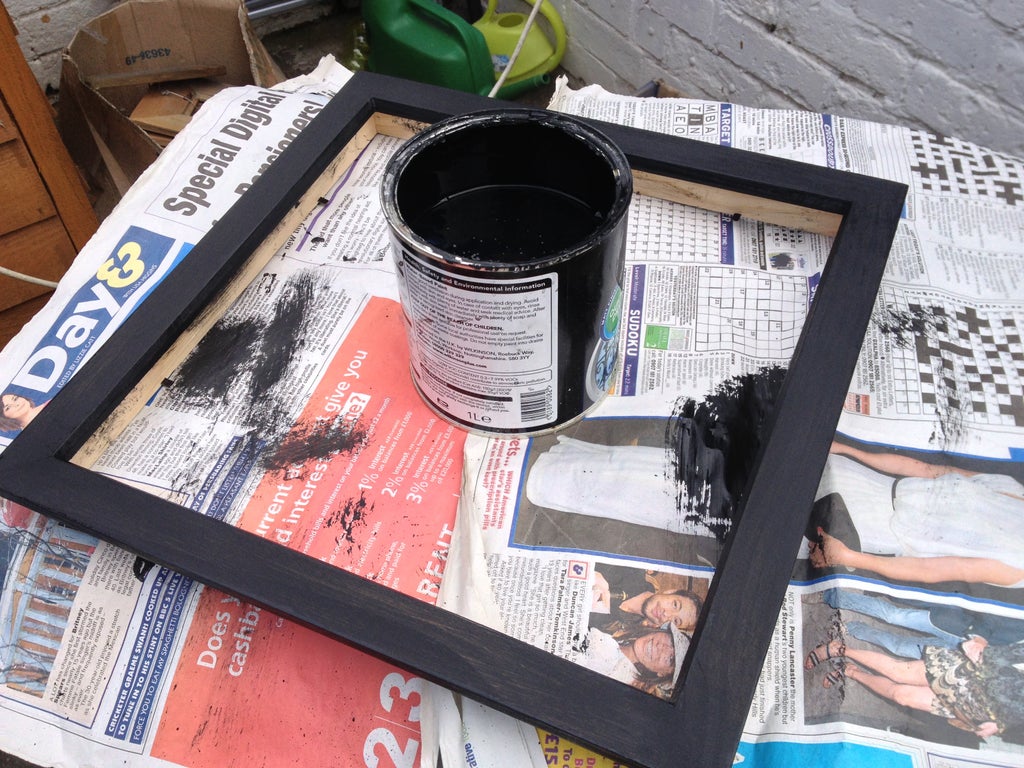
While the frames were drying i started on the lighting.
The LED strip i got had places for you
to cut it every set of 3 LEDs so i cut the strip to the closest (but
always longer) length to the holes cut for the film cells.
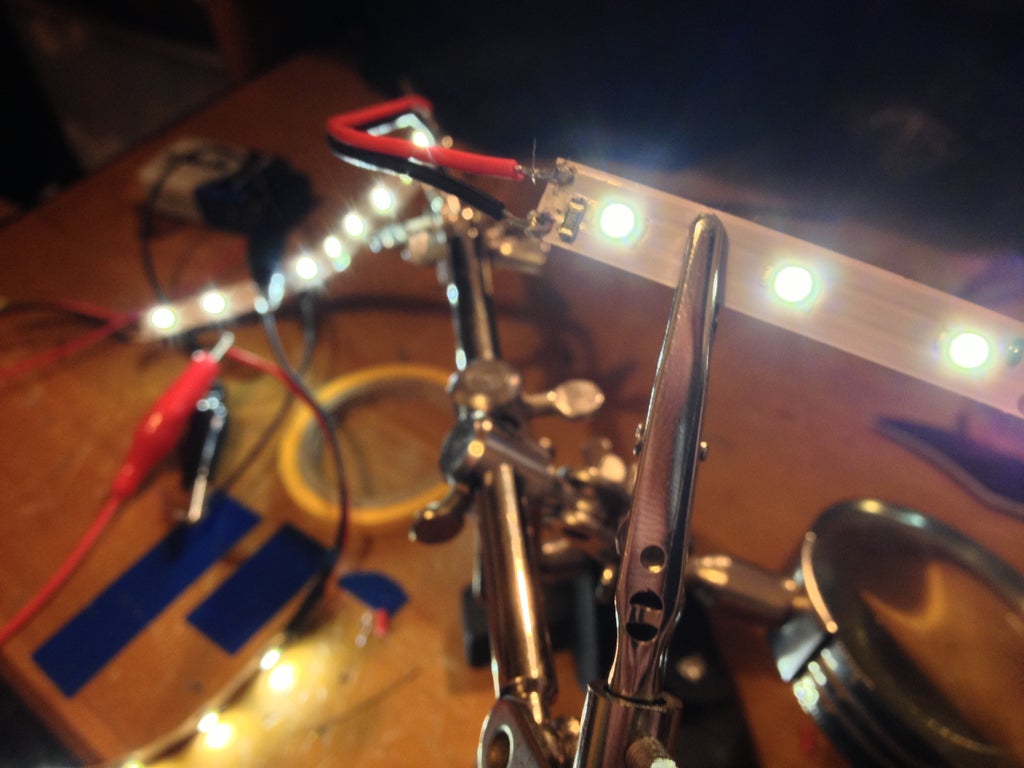
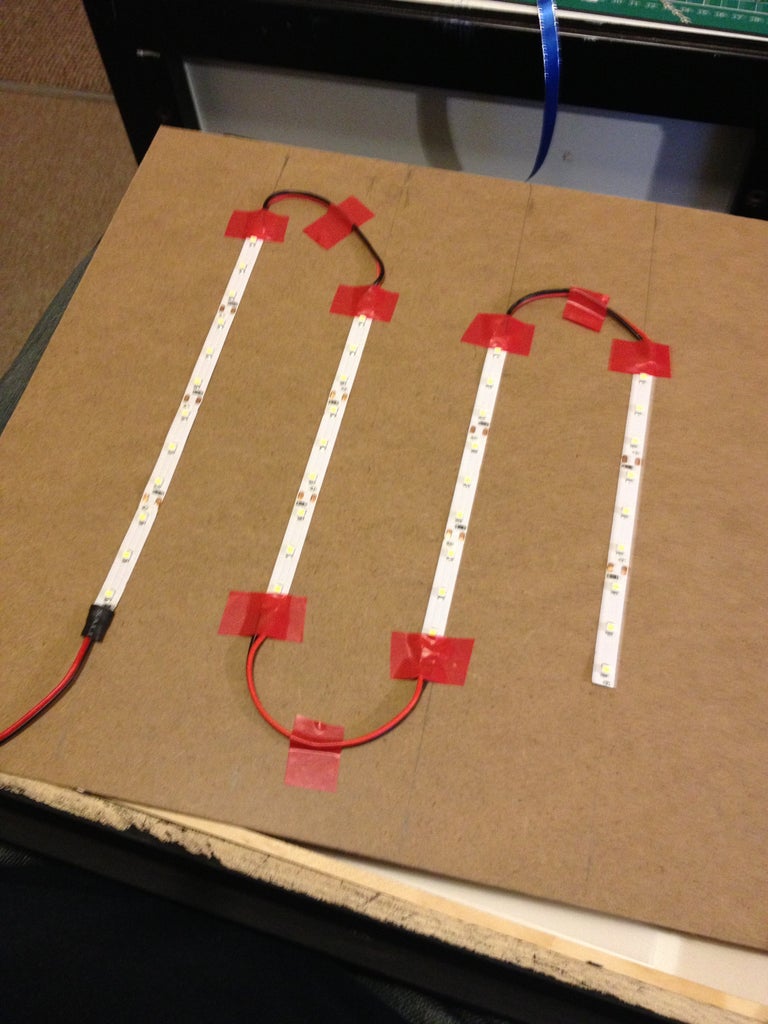
After
Wiring the four strips together following the positive and negative
markings on the LED strips, i glued and taped them into place on the
frame back board.
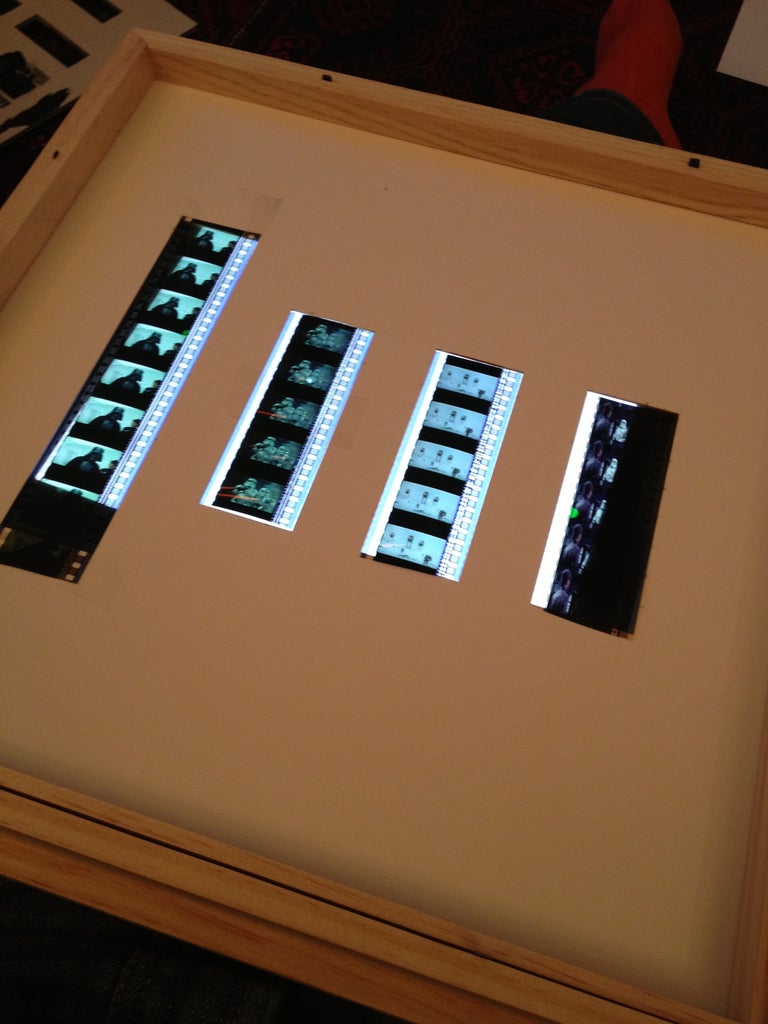
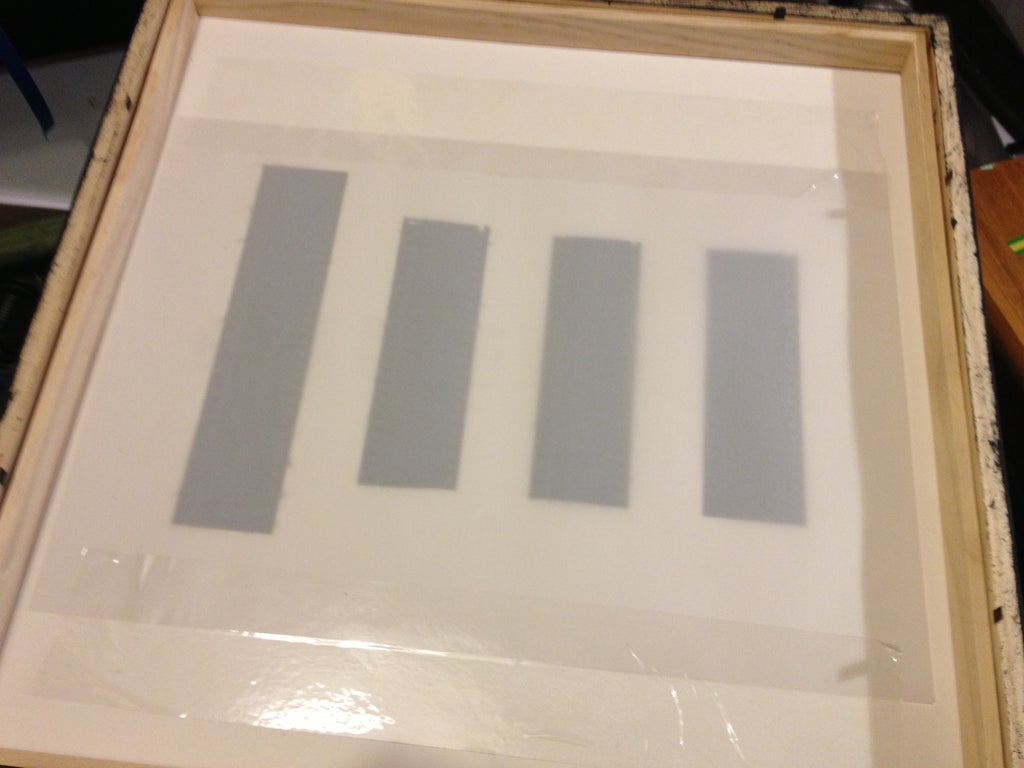
To fix the Film strips onto the back of the picture frame card mount i cut very thin (narrow) strips of clear tape and taped them to the very edge of the film strips. Also on some of the strips that extended more above and below the tops of the holes i used more tape to hold the film strips in place.
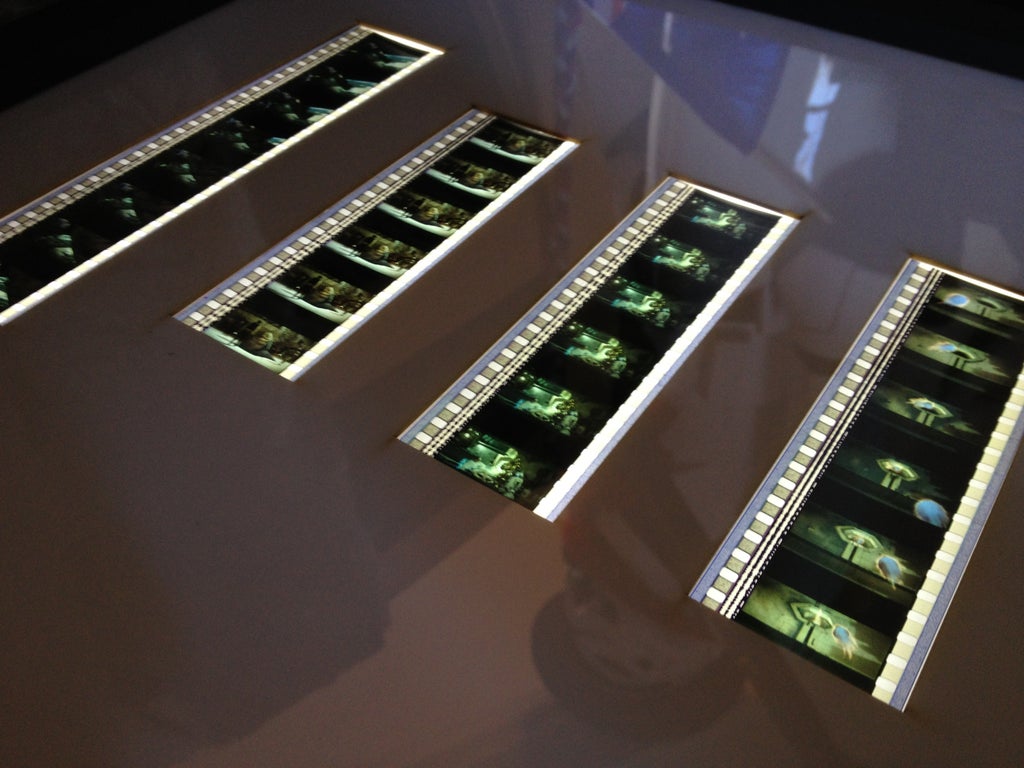
Once i had them in place i then taped a sheet of Layout paper (pretty much tracing paper but just a little thicker) to diffuse the light from the LED strips.
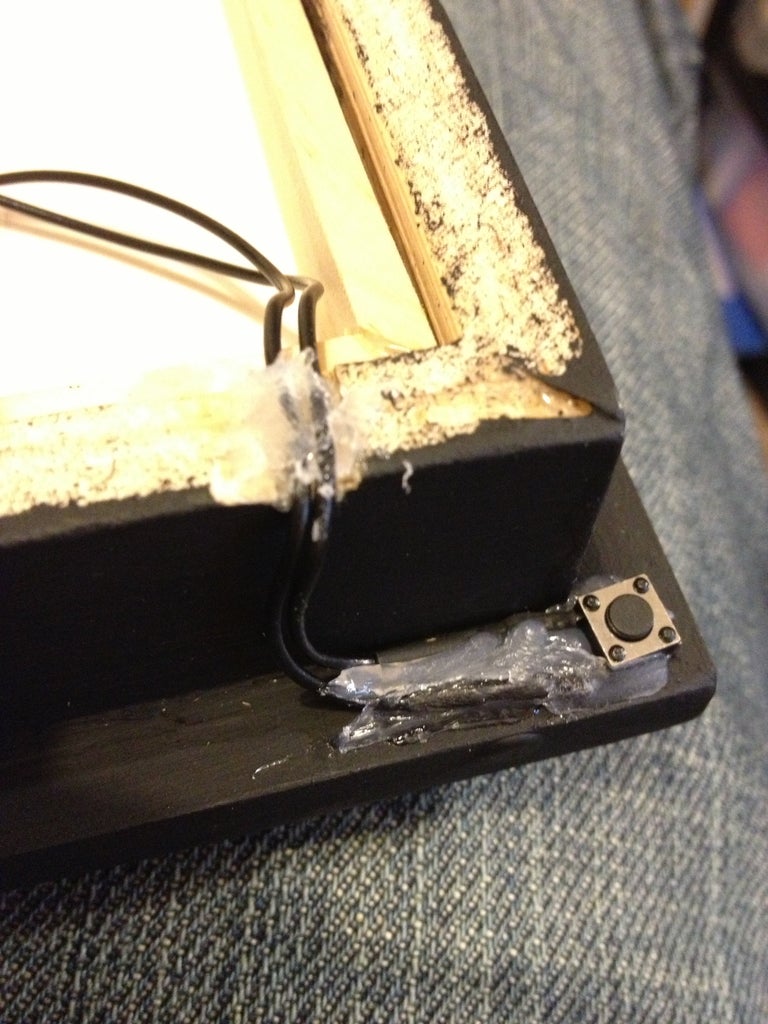
Once i had every thing set and fixed in place i added a small press button on the reverse bottom of the frame to complete the lighting circuit.
I chose a momentary switch so the frame wouldn't always be on and run the battery out, also you have to interact with the frame when you want to view the film cells.
I like it because new people come to our house and ask/look at the frames they have to discover what they look like for them selves.