I unashamedly love the national treasure movies with Nicolas Cage.
I also like the book of secrets as a prop, paper props or book props are always interesting, especially if you see pages of the book.
Ever since making the Grail Diary from Indiana Jones, I have been looking for another book prop to make.
So that is what I set about doing. Below is how I went about making a replica of the book of secrets.

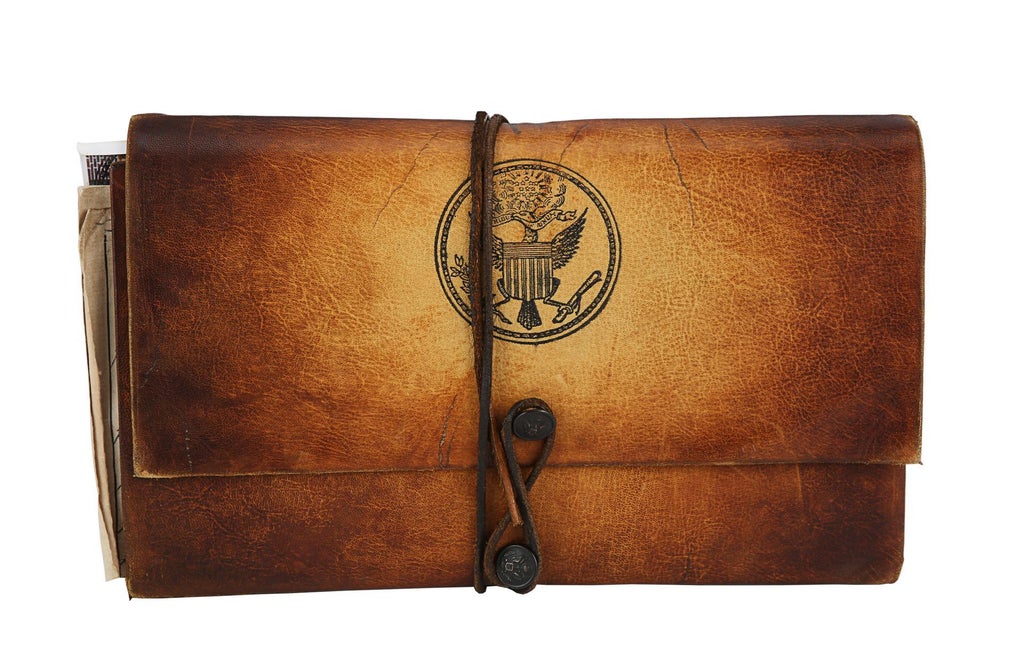
My book of secrets.

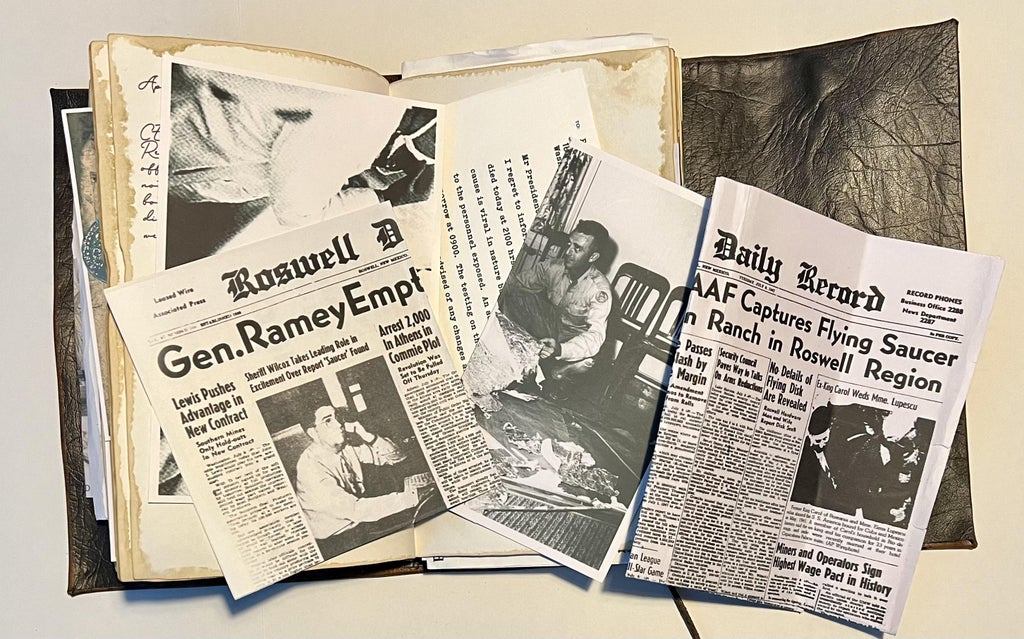
My book includes as many of the hero pages and inserts as I could find during research.
As with all my film prop replicas, research is the first step.
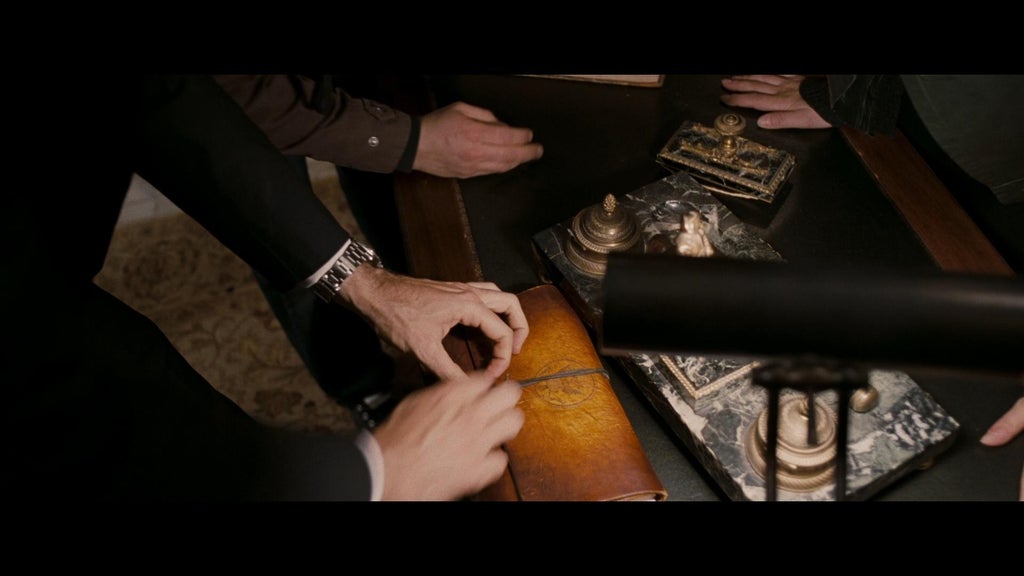
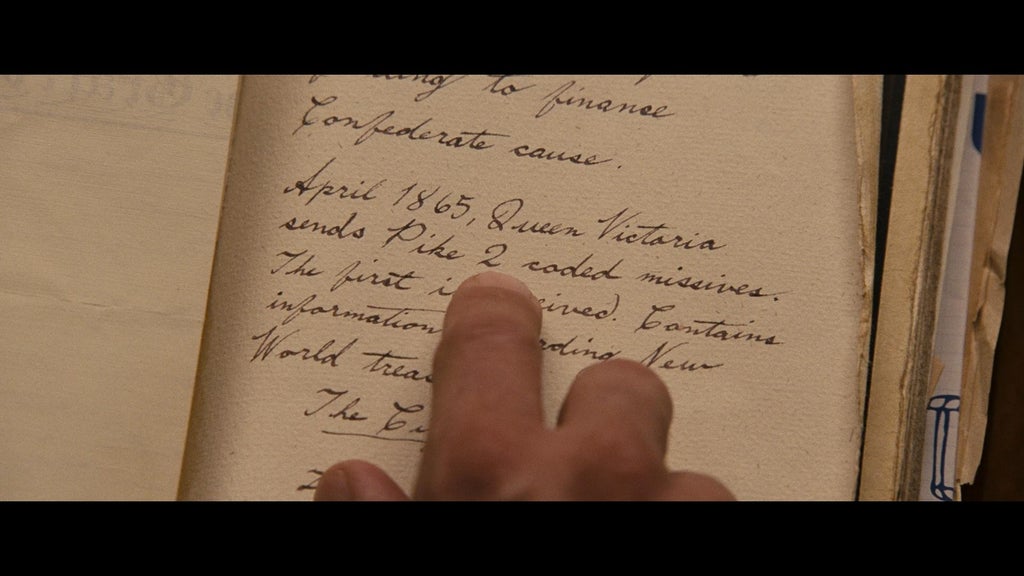
Watching the movie and screen grabbing as many photos of the book.
Pictures including the cover and the pages, especially with items that give scale are very useful.

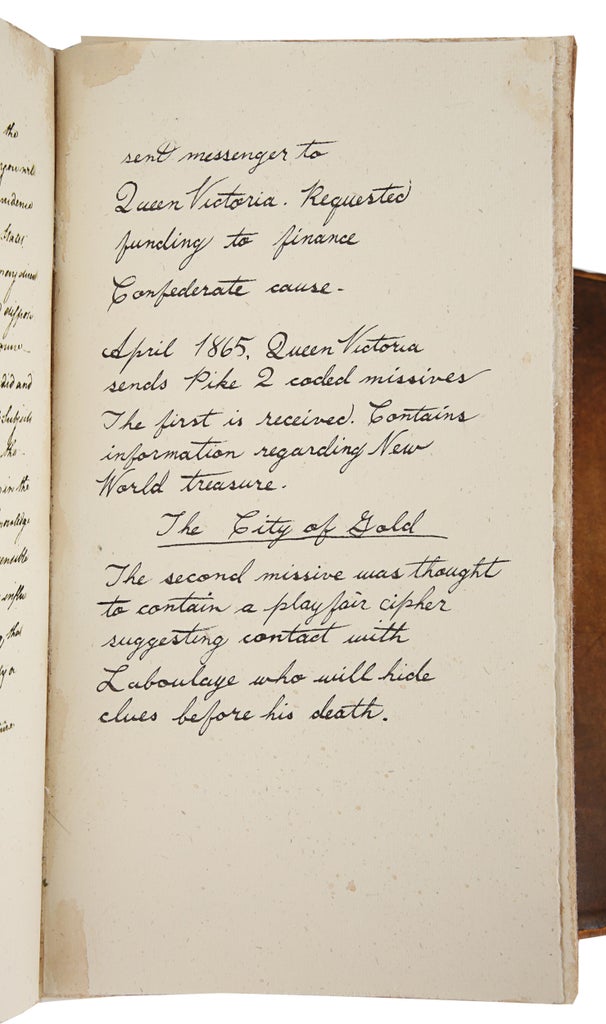
Another place for great photos are auction websites, as they have high resolution photos and also often have dimensions in the descriptions of the item.
The photos below are from propstore.com they are a fantastic resource for photos and details.

There is also a lot of information to be found on the PRF, people are very helpful sharing their own research and will answer questions if you ask nicely.
Adam Savage did a inspection of the prop for an upcoming auction on the youtube channel tested and that was a great insight to the way the prop was made and the inserts used.
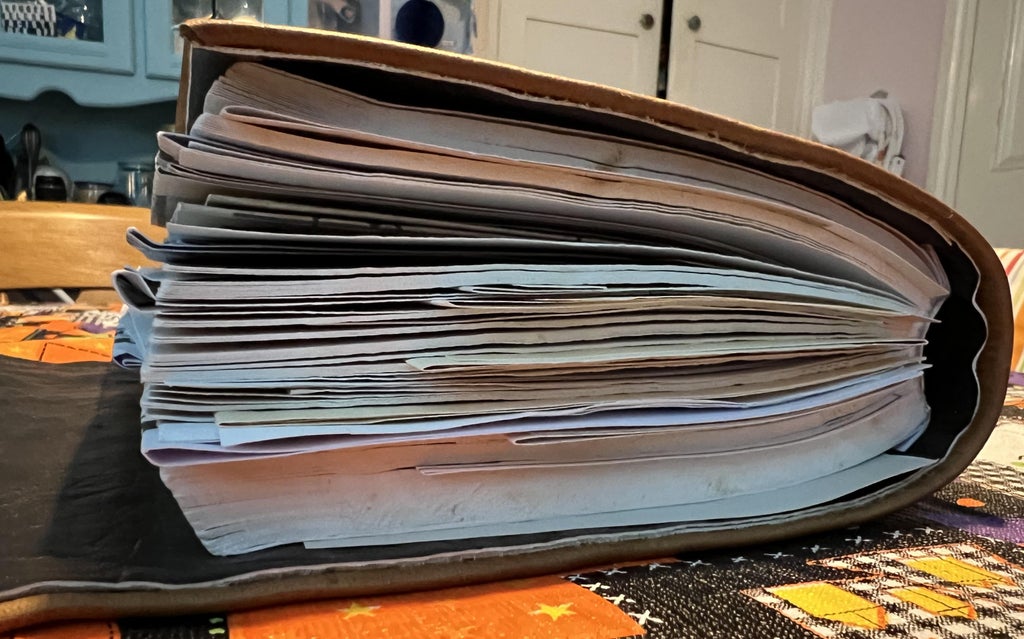
Using the research and information from the Prop Store listing I got the size of my pages and the thickness of the book.
My pages are 10inch by 6inch (254mm x 152.4mm) this is slightly smaller than the listing size of the front cover.
Using the thickness I did some guess work on page maths to get how many pages the book would need.
I worked out that my book would have 14 signatures. Each signature would have 5 sheets of paper making each signature 20 pages. The book will have 280 pages.

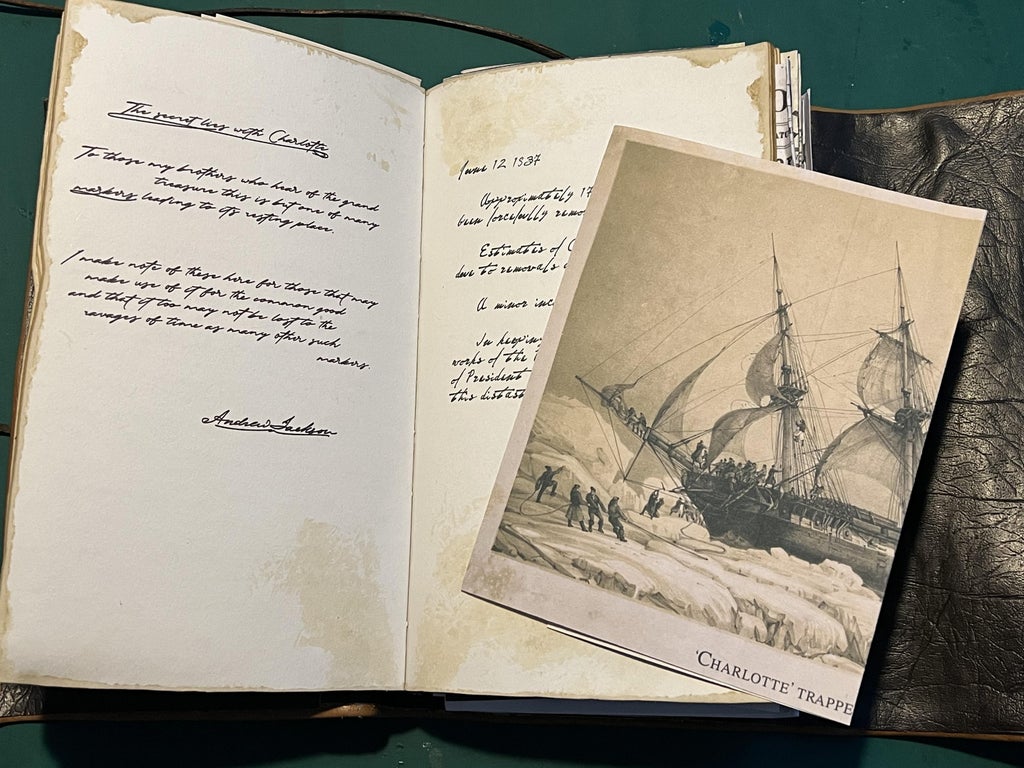
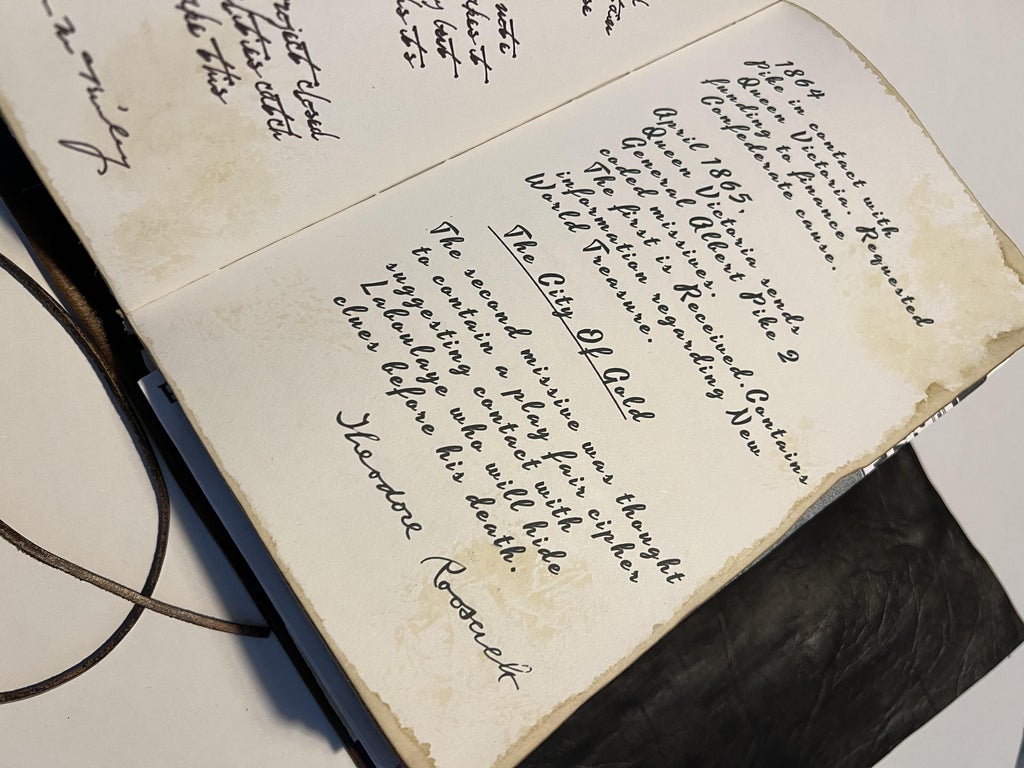
After I had found a fair amount of hero page screen grabs and placements with in the book i started replicating the pages I had found.

The first page of the book is featured in the movie so that's where I started.
Using the other screen grabs and research i made the main pages.
Using free font search engines I found fonts that matched examples of a lot of the presidents of americas handwriting. Also wikipedia has a large selection of signatures of presidents.

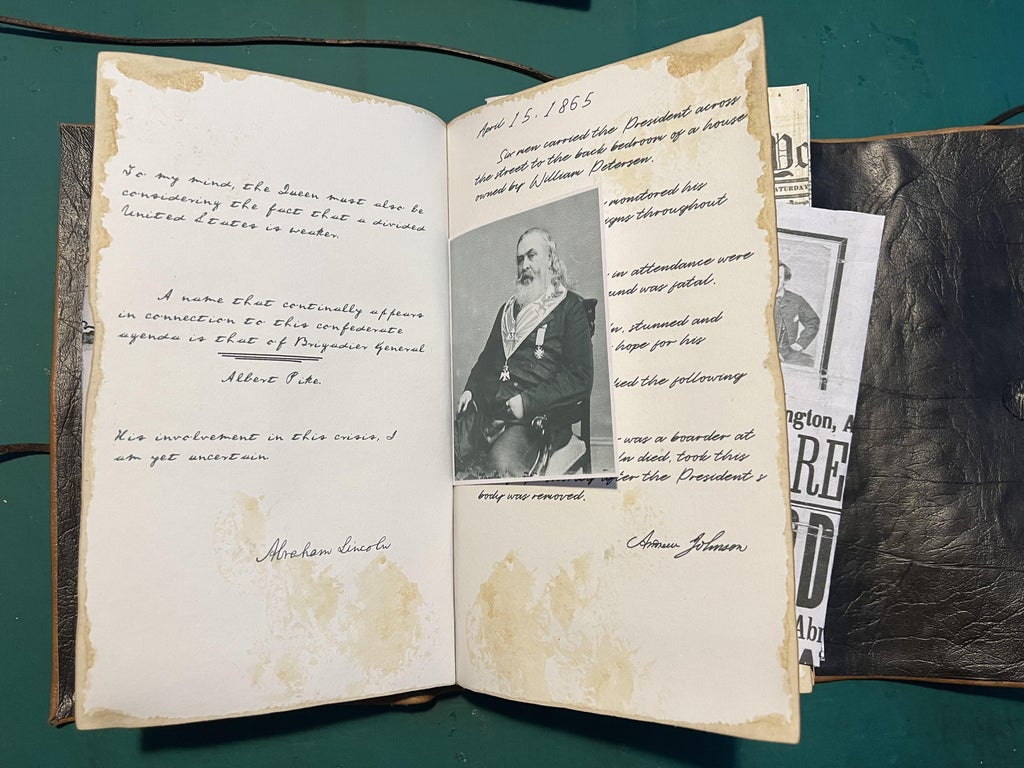
I did a page layout for the book in order and placed the pages from the movie in the places they would sit roughly in the book then using a list of years the presidents were in office, I searched for notable events or conspiracies that happened during their term of office and made up stories to fill gaps.
Failing that any speeches they gave and put them in as page fillers.
Also using a list of inserts that I found on the RPF i could work out where some events should be placed in the book. as some of the inserts would probably relate to events on the pages, such as the Titanic and the Hindenburg etc. 
The original design process layed out the pages in chronological order, and once they were all designed and i was happy with them I placed them in print order and to work out where they would be in each signature so they ran in correct order.
Using the above image it was made a little easier to do, although my signatures had one more sheet of pages but once I got started it got easier as I went along.
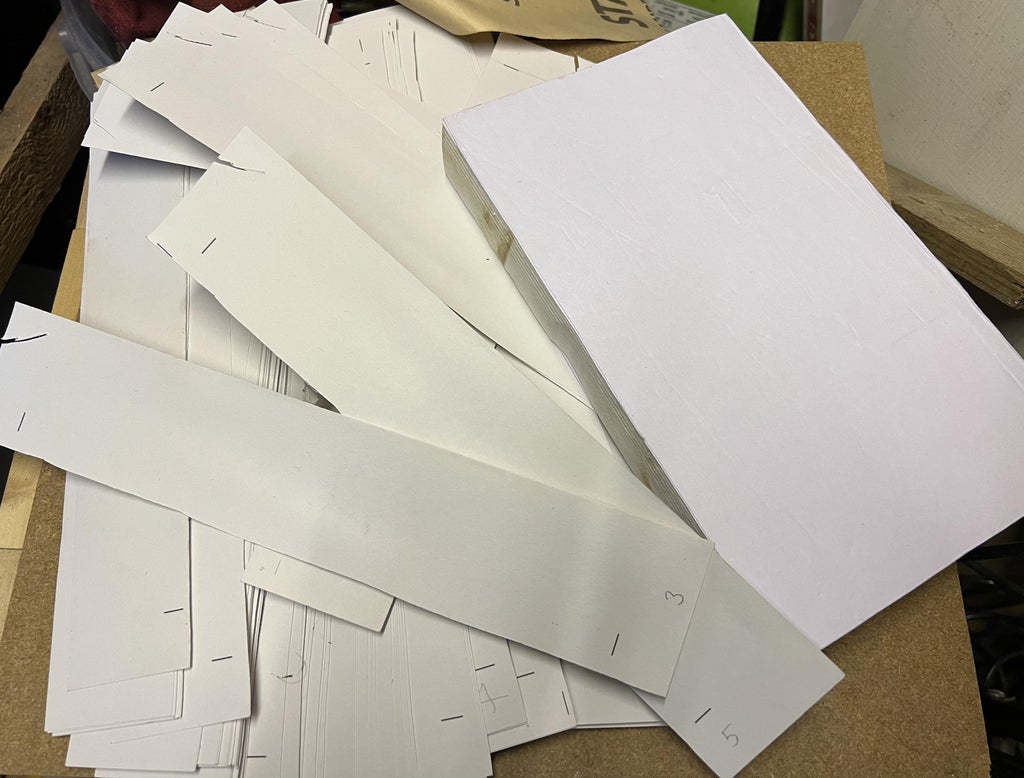
The next step was to print the pages out.
The pages needed to be printed on paper that was larger than 254mm x 304.8mm so i used A3 which is 297mm x 420mm, this way I could use a standard A3 printer.
Using some textured paper to mimic the aged paper used in the prop I printed one sheet and turned it over and printed the next page on the back as my printer doesn't have double sided printing. It was a challenge to keep track of the pages so I wrote page numbers on the sections that would be cut off.


Using the page numbers and the image of the signature layout, I collated the prints in to their signatures and folded them all along the centre reg marks.
The hole layout used for my book binding depends on the thickness of the ribbon used to strengthen the binding.


I had 20mm ribbon for my binding, so the six hole pattern was: hole 1 15mm from the top of the page, 2nd hole 23mm from hole one, 3rd hole 20mm gap for the ribbon, 4th hole 30mm gap, 5th hole 20mm gap for the second ribbon and the 6th hole is 23mm along. Leaving (hopefully) 15mm to the bottom of the page.
I made a paper layout of these measurements and placed that in the centre of each signature and poked holes using a large safety pin, to make a hole large enough for a needle and thread to fit through.

I then stacked the signatures in the order they will be in the book.
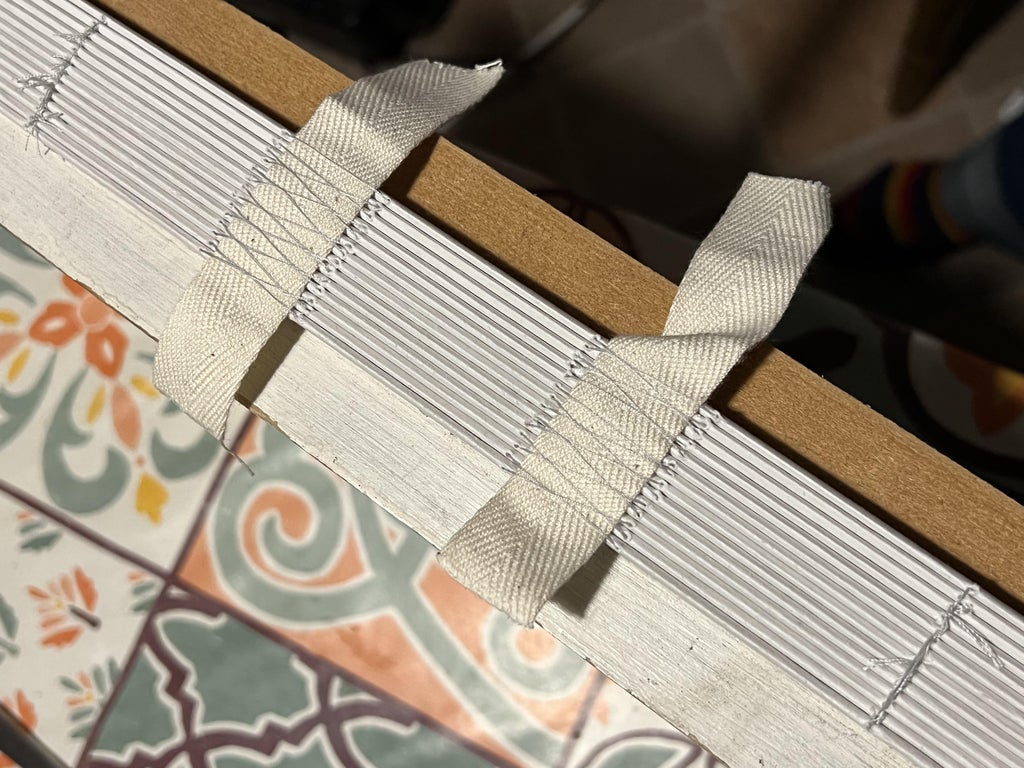

Keeping the signatures in order and lined up, I threaded in from the spine on the first hole on the lowest signature, up inside the pages and back out the second hole and over the canvas ribbon and back into the book, then repeating that for the second set of holes and second canvas ribbon.
working up through the signatures layer by layer trying to keep the threading as tight as possible but not pulling the thread through the paper.

once all the signatures are stitched I clamped the whole book with the spine slightly proud of the wood on each side.
I spread a generous layer of PVA glue onto the spine and put some bandage along the spine then added more glue to soak through the canvas.
Once the glue is dry I trimmed the canvas to the edge of the paper.

Trimming the pages can be done in a couple of ways.
When I was drawing up each page I added crop marks for the size of the page. These allowed me to cut each page to the right size.
One can use a sharp craft knife or scalpel to cut each sheet at the crop mark, Clamping the book together and cutting along a straight edge like a metal ruler is a good way to get the edges lined up best as possible.
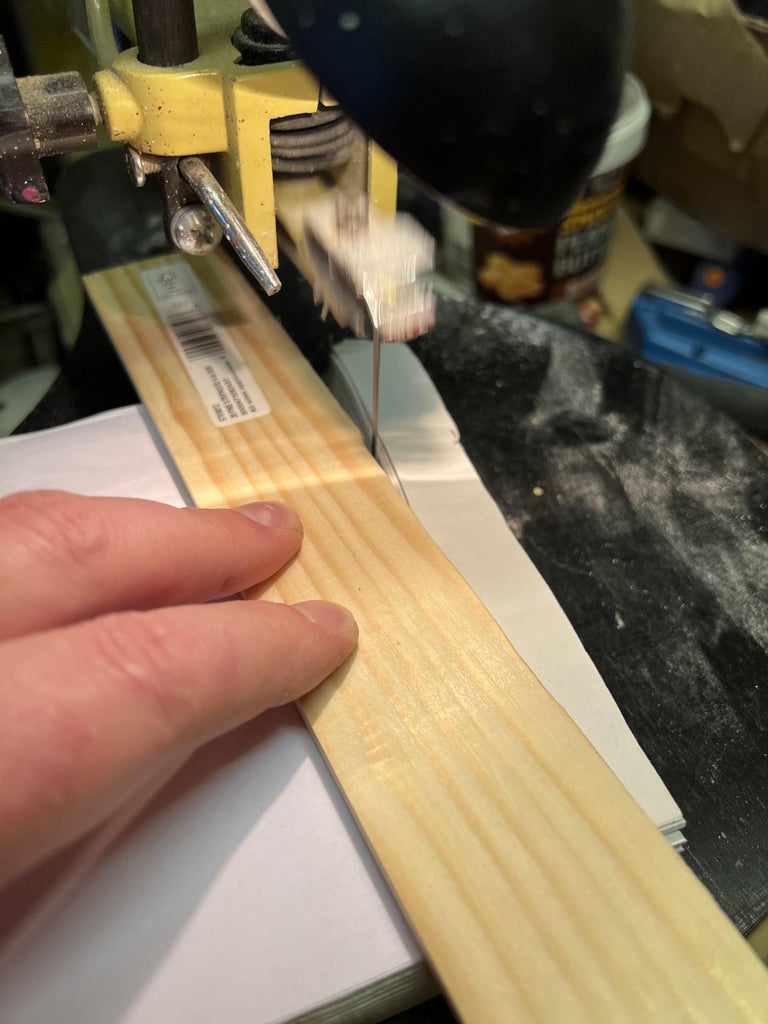
One could also use a bandsaw or scroll saw to cut the edges, this is what I did, Clamping the book flat and tight as possible I cut along a straight edged piece of wood.
I did it this way because I was being lazy and wanted to get the pages cut. I will admit that there are some errors in the cutting and the long edge isn't as straight as I would ultimately like, but you live and learn.
The paper may burn or get marked by the sawing method but that doesn't really matter, as the book is going to get weathered and that will hide most marks, or the marks will add to the weathering.
I made a lot of trimmed waste. I recycled all of this paper.
Making the cover was the next task.
The size of the cover, or at least the size of the leather needed, is best worked out once the book insert is completed.
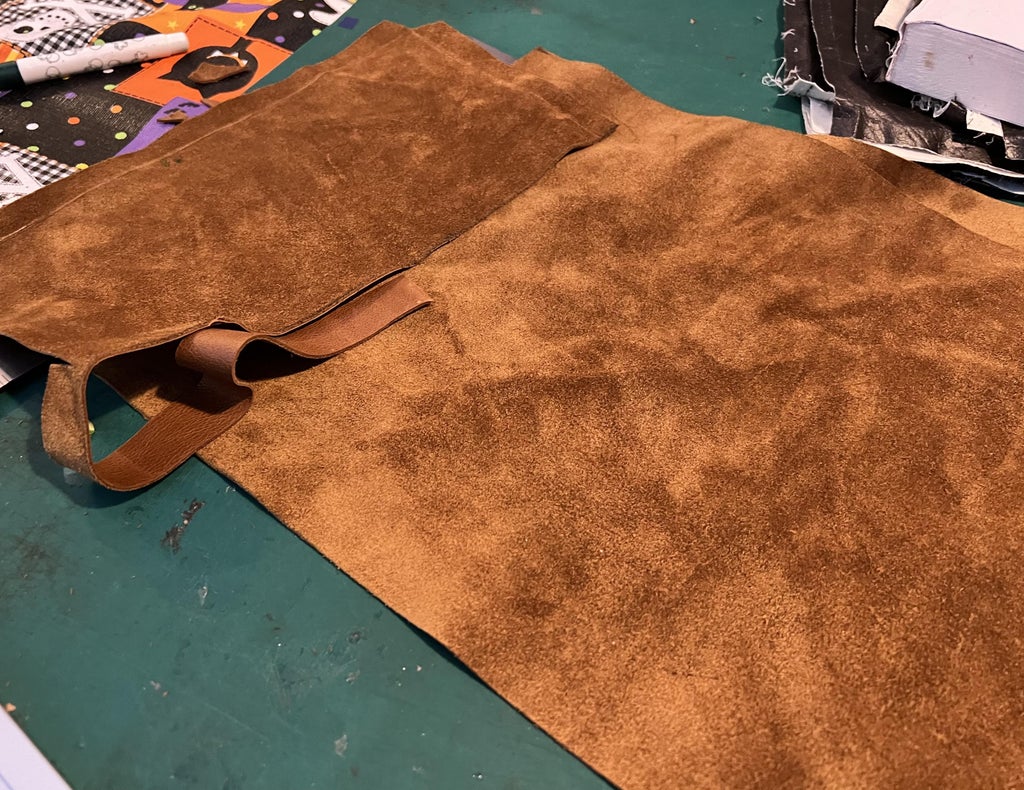
The short length needs to be a slight bit longer than the height of the book.
The long length of the cover needs to wrap around the whole books front, spine, back, front spine and then almost the whole front again.
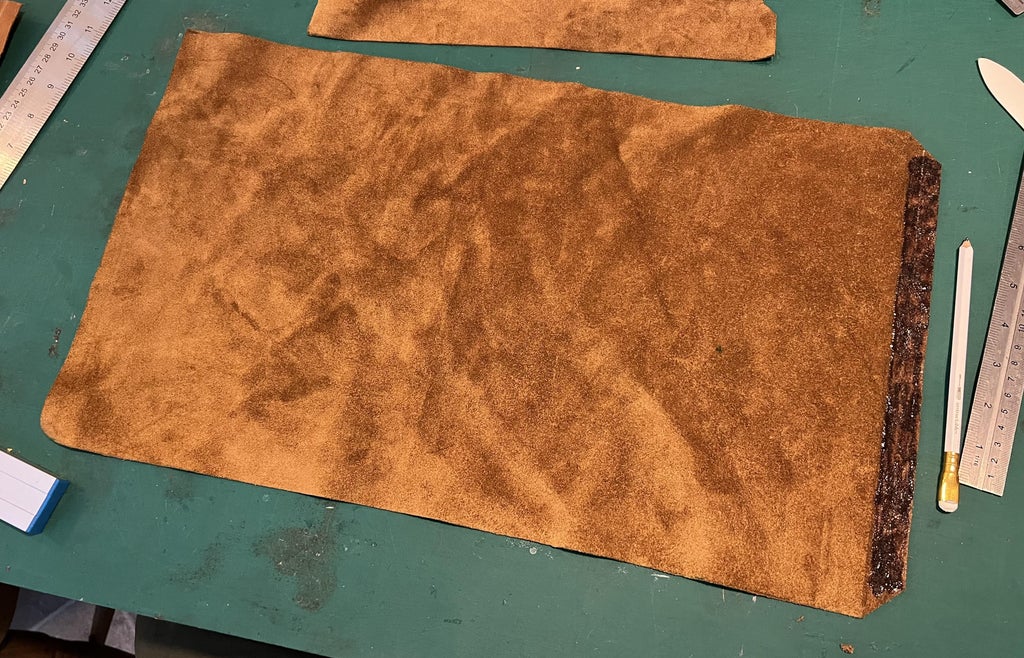
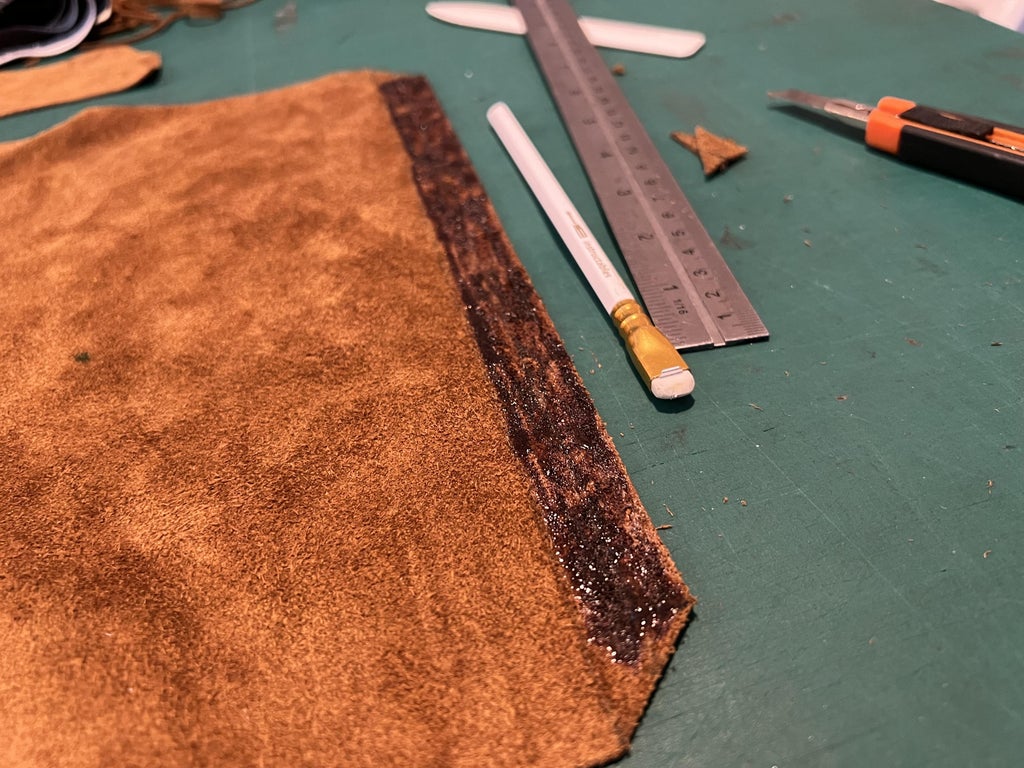
I then added 10mm to each edge ( top, bottom, and each end) of the leather measurements to allow for the amount that will need folding over to create the edge of the cover.
I cut each corner at a 45 degree angle to limit the overlap at the corners.
I did each edge of the leather at a time, by spreading the glue along the folding part and the area its going to be folded onto. Working my way around the cover I glued each side at a time.
The inside of the cover is created by cutting three pieces of leather.
One piece to hold the front of the book, so it will need to be a tiny bit larger than the front page of the book.
One piece to cover the spine area of the cover. This piece is the height of the cover and just wide enough to be covered by the other tow pieces.
One piece to cover the space between the back spine all the way to the edge of the cover wrap.
Hopefully the photos will explain this part, as its hard to put into words.
I glued the spine piece into the cover and after it dried I glued the other parts only along the edges , or where the front and back pages won't be. So the larger part that holds the back page of the book can be glued all the way up to where the page would reach. This stops the inner leather sagging.


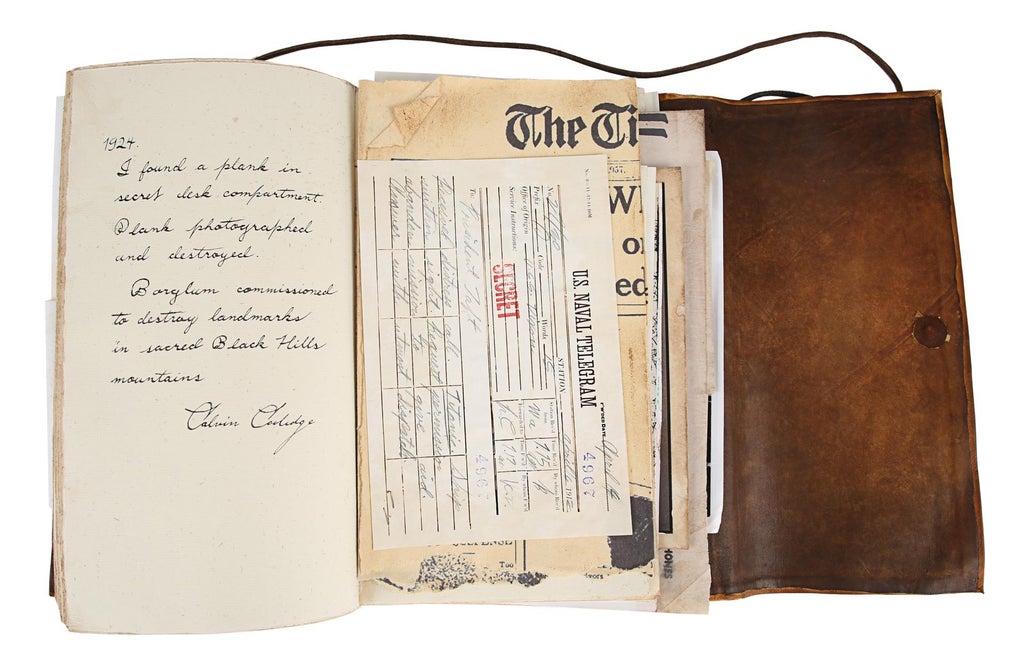
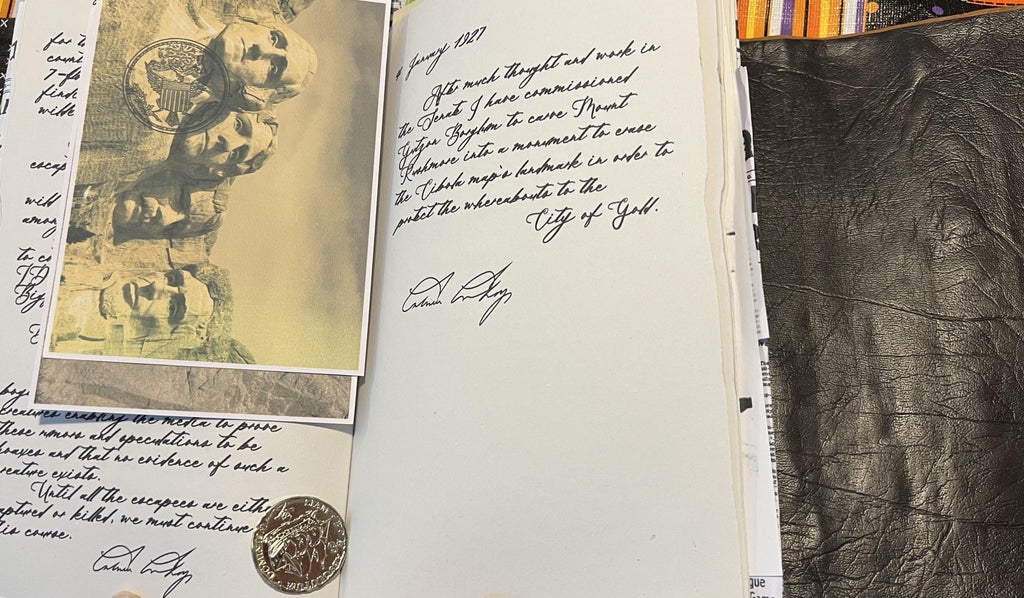
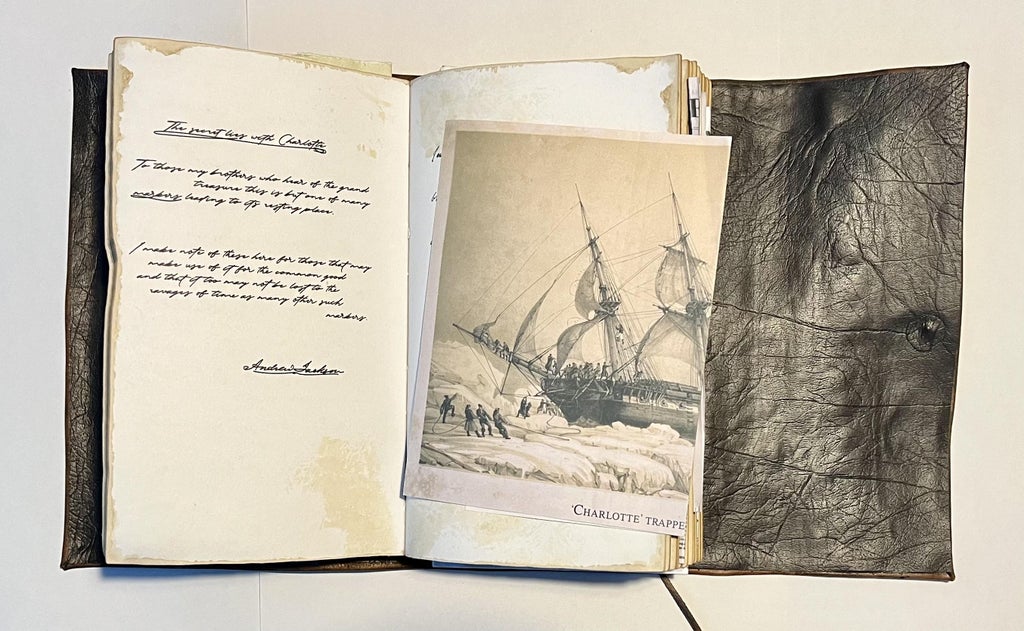
The inserts are one of my favourite parts of this project.
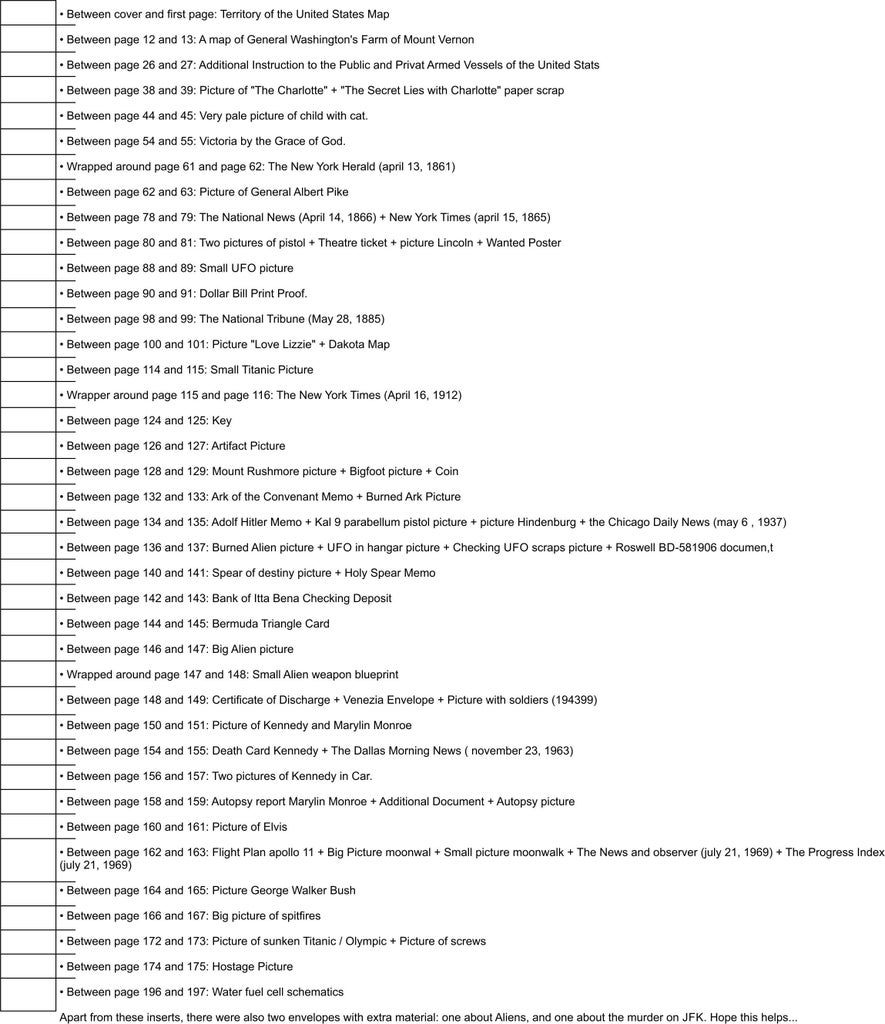
Getting the inserts together is a huge game of google and forums and photo editing.
Using the list of inserts I found online I worked my way down and googled each one, found images and edited them to match what I felt they would look like.


Using Adam Savages Tested video : https://www.youtube.com/watch?v=69JSHw4ERuk
It was a great help to know what the images might look like as, in the video they flip through the book looking at a lot of the inserts and photos.
Also using the auction photos from the Prop Store auctions had some very good photos and some very high resolution images that can almost be printed straight off.
Once I had created one that was good enough to print, I printed it off on suitable paper or card.

Then following the list, and my own writing in the book I put all the inserts in the book in the places that were listed or in between the pages that had the relevant text.
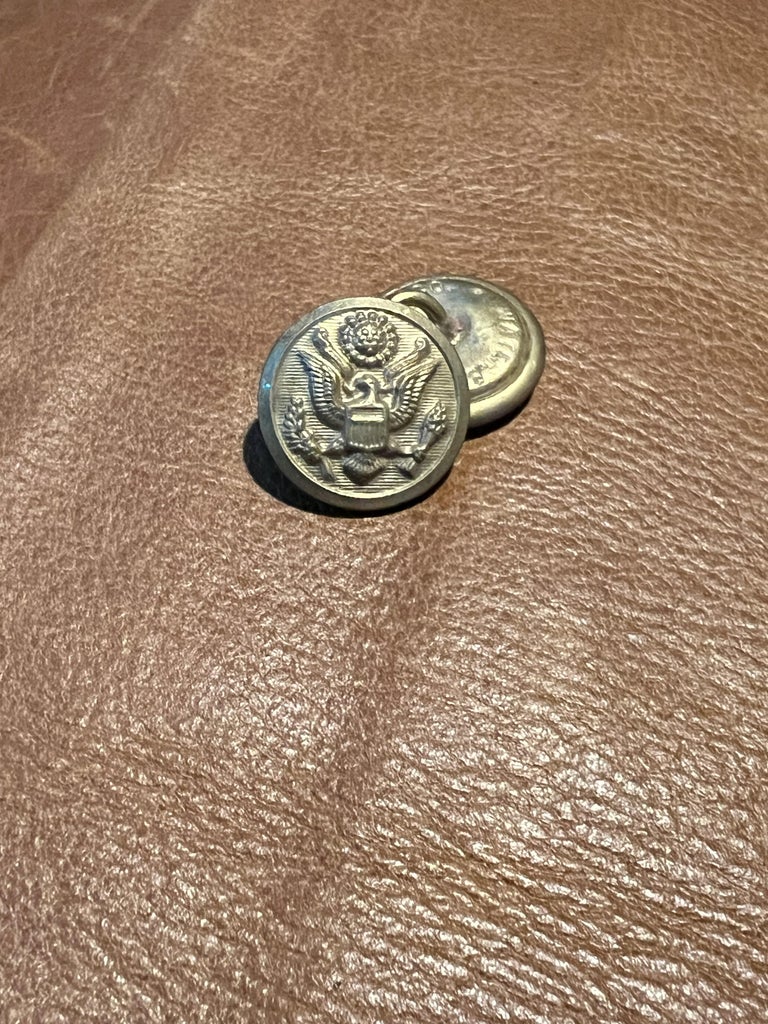
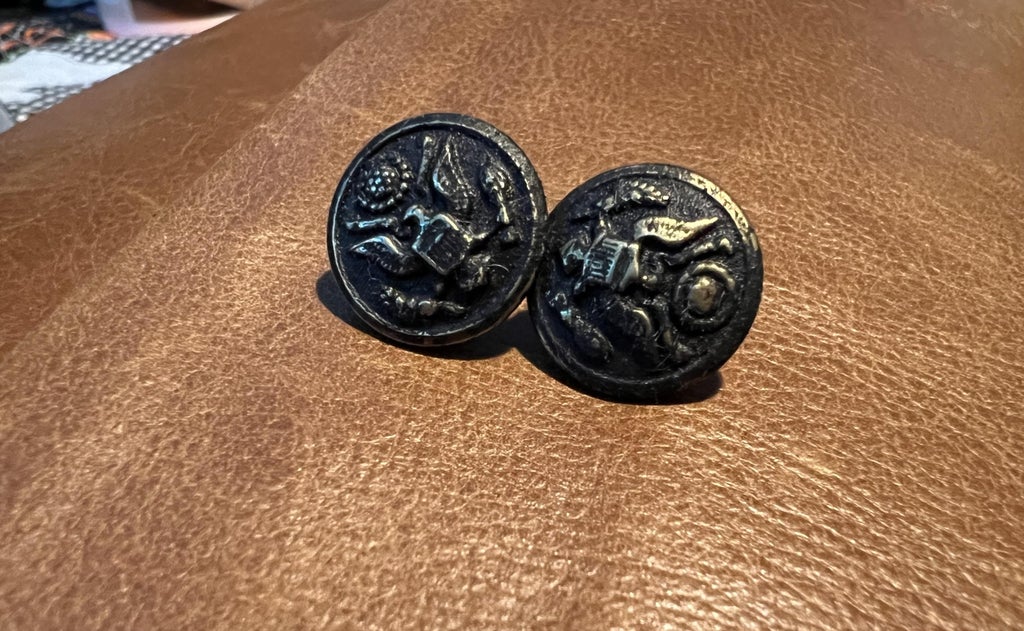
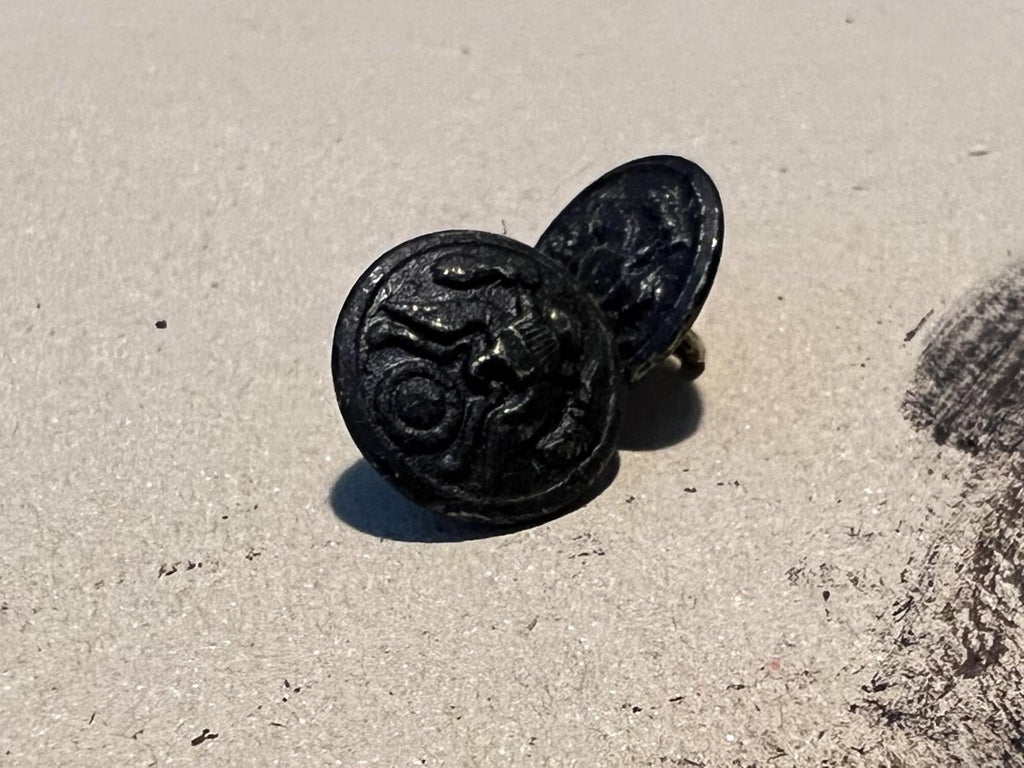
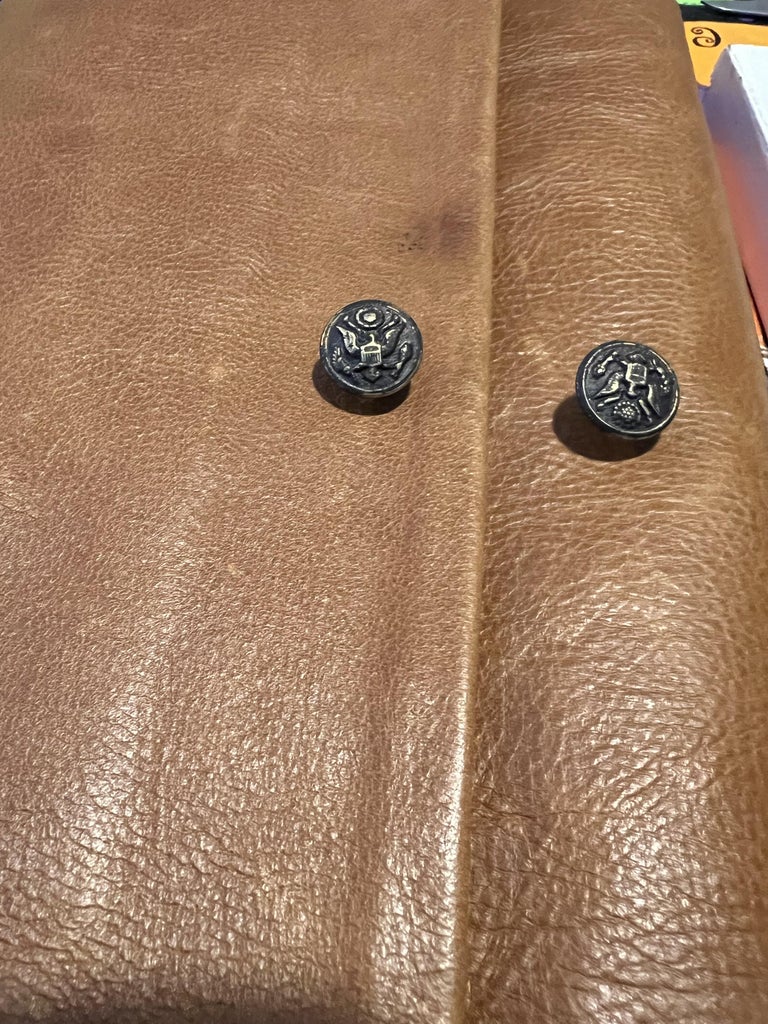
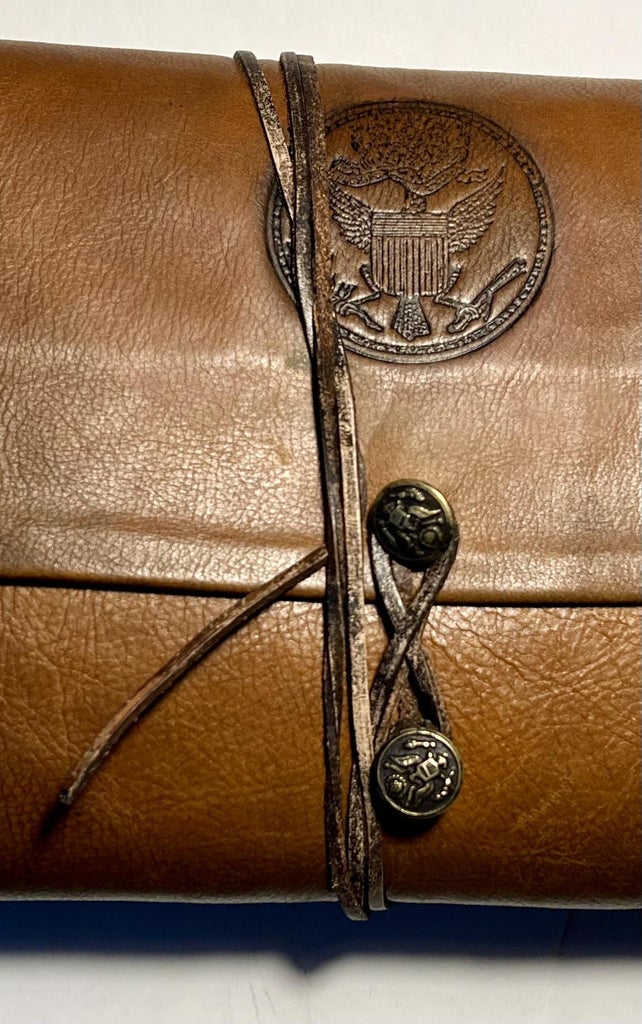
The buttons on the cover that are used to bind the book closed are Waterbury Button Co. USA military buttons. And there are two sizes 16mm and a larger one around 25mm. Using screen grabs and looking at the photos of the real props I worked out that it was the 16mm button that was used. But I may be wrong. They looked correct on my cover so I went with that size.

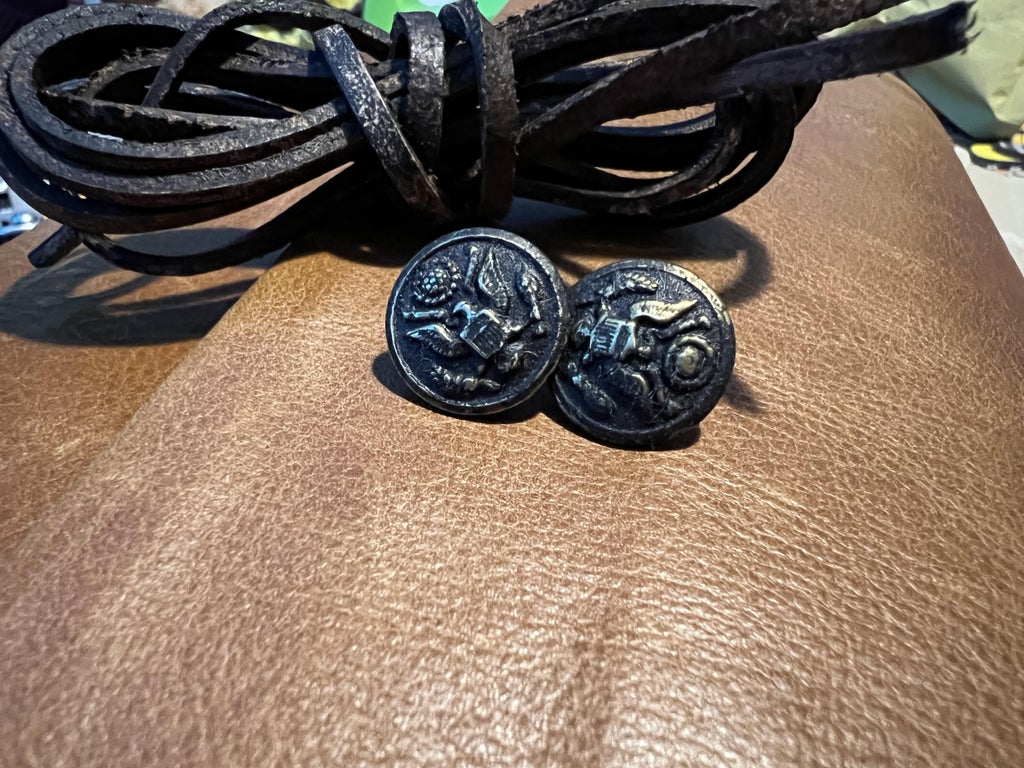
I weathered the buttons with acrylic paint and black shoe polish, and anything else I could find that would make them look dirty and aged.
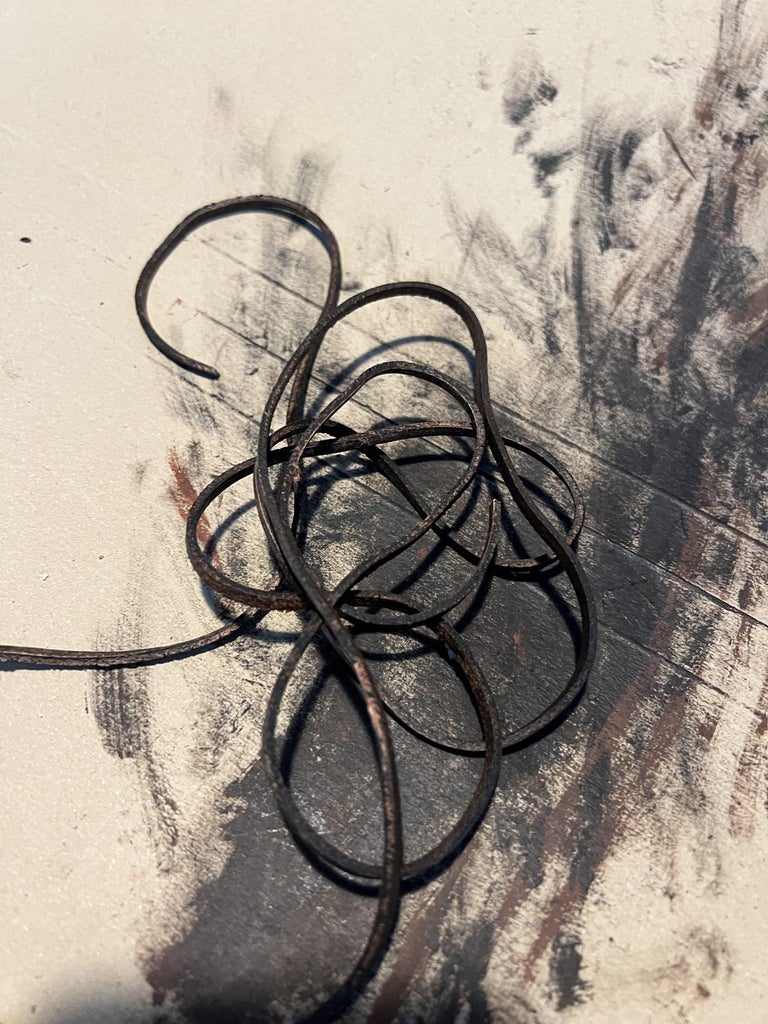
The leather cord that was used on some of the props was a round leather lace, and other it was a flat leather cord. I went with the leather core. I found I needed around 1.6/1.8m of it to wrap round the buttons and then around the book 2 or 3 times.
The cord I found came in two colours as a set. One dark brown/black and one natural.
I used the Natural one and weathered it down to match the one used on the props. I Used the same paint and boot polish to get it close to what I wanted.

The cord I found came in two colours as a set. One dark brown/black and one natural.
I used the Natural one and weathered it down to match the one used on the props. I Used the same paint and boot polish to get it close to what I wanted.
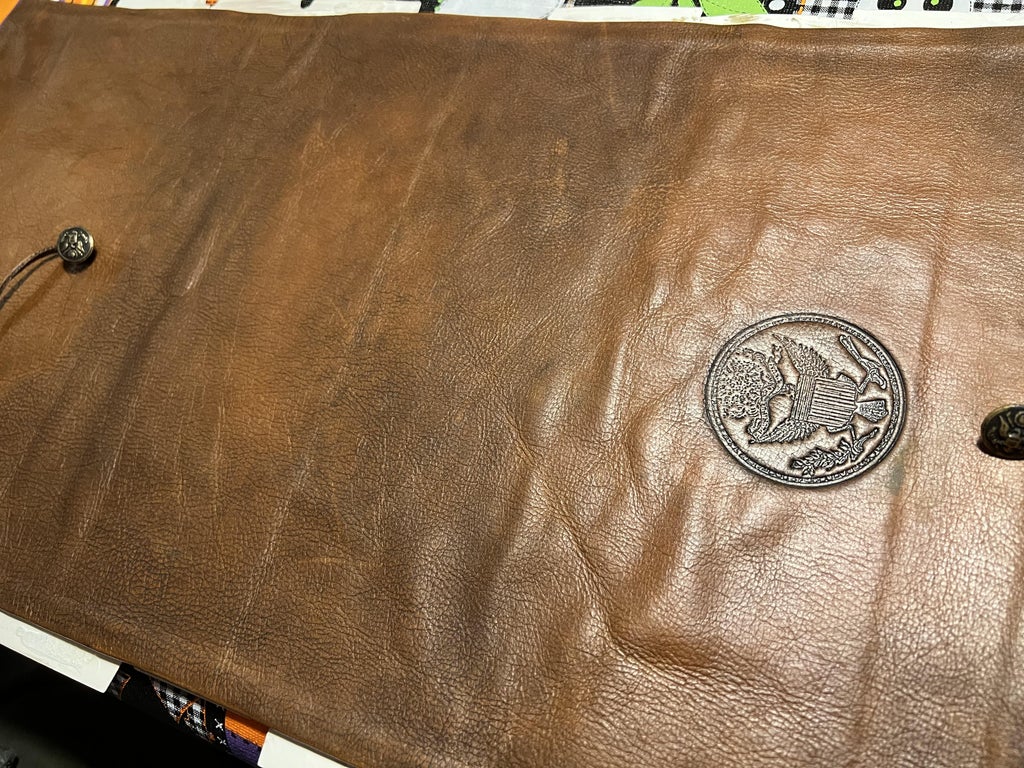
I measured the centre of the cover and on the back side of the cover I sewed on one of the buttons close to the edge. I put a bit of superglue on the thread to hold it in place. I cut a small circle of the inside leather and glued it over the reverse of where it was sewn on. This is as it was on the prop used in the film.

The second button was sewn where the back overlaps the front section of the cover. It was not sewn through the lining leather as that would make it impossible for the First page of the book to be slipped under the lining leather to hold it in place.
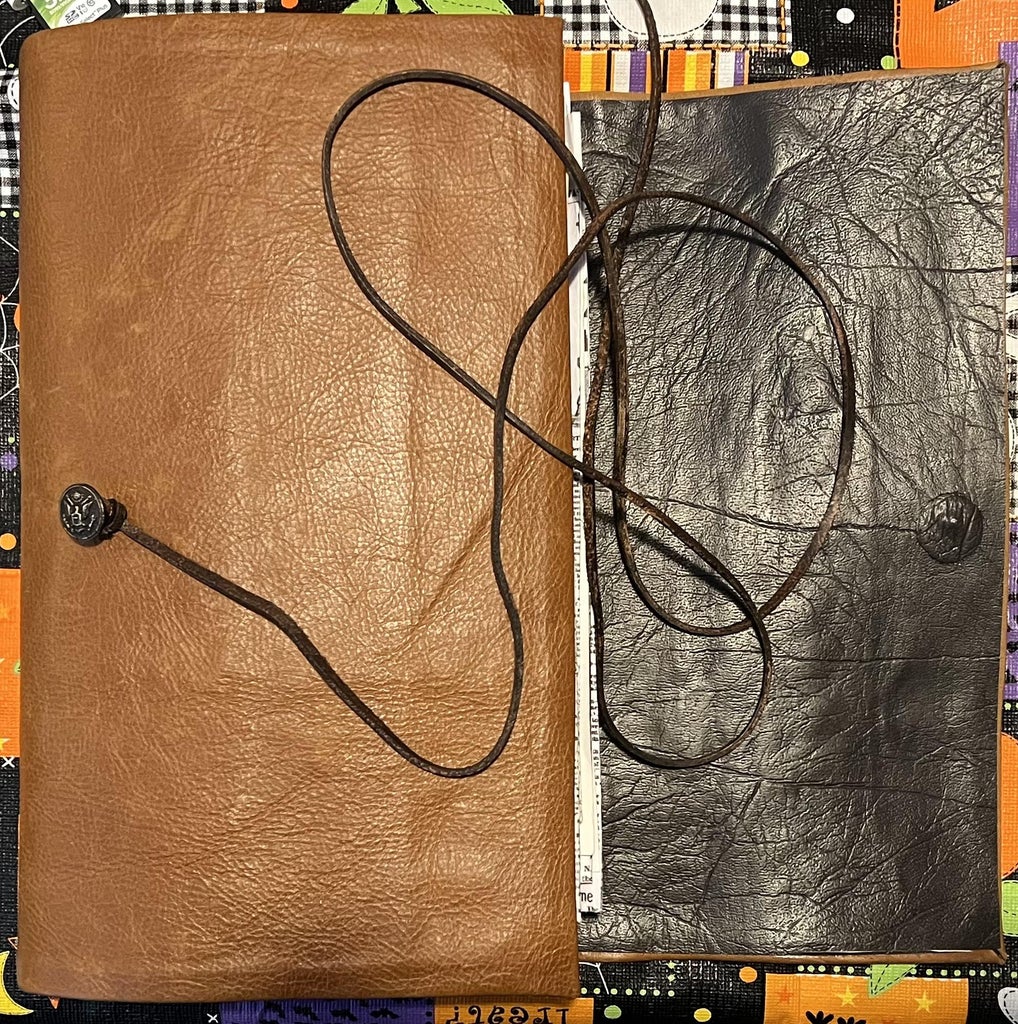

I tied the leather cord to the button on the front of the cover and added a dab of superglue to the knot to hold it in place.
Using some instant coffee, mixed with a small amount of water to make it dark, I painted and dabbed and rubbed the coffee onto the edges of the book while it was clamped shut.


Once the paper had soaked in the coffee I placed the clamped book on the radiator to dry out.
Now the edges were dry I used a rag and some paper towels to dab and rub each page randomly with the coffee to make the pages look old and distressed and stained through years of use.


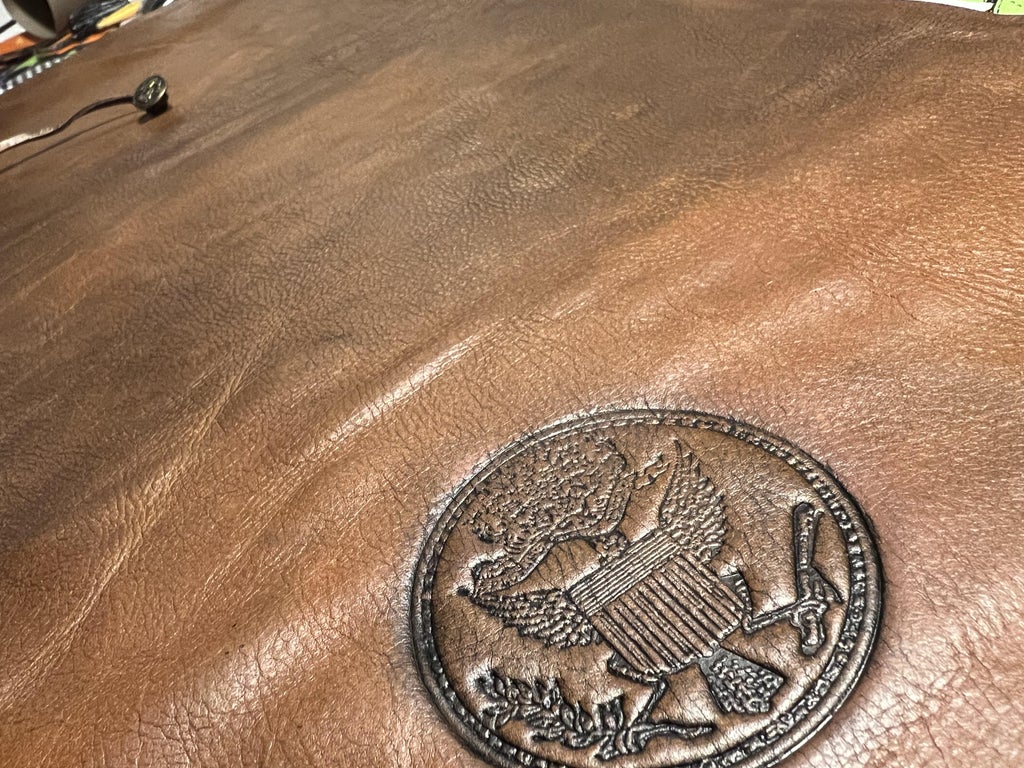
This step requires a metal leather stamp. I had a friend that has access to a router that can cut aluminium blocks and they carved out the stamp for the seal in the cover.

I did a test to see how well the leather would take a stamp, then a paint test to see how well the stamp marks would take the paint.
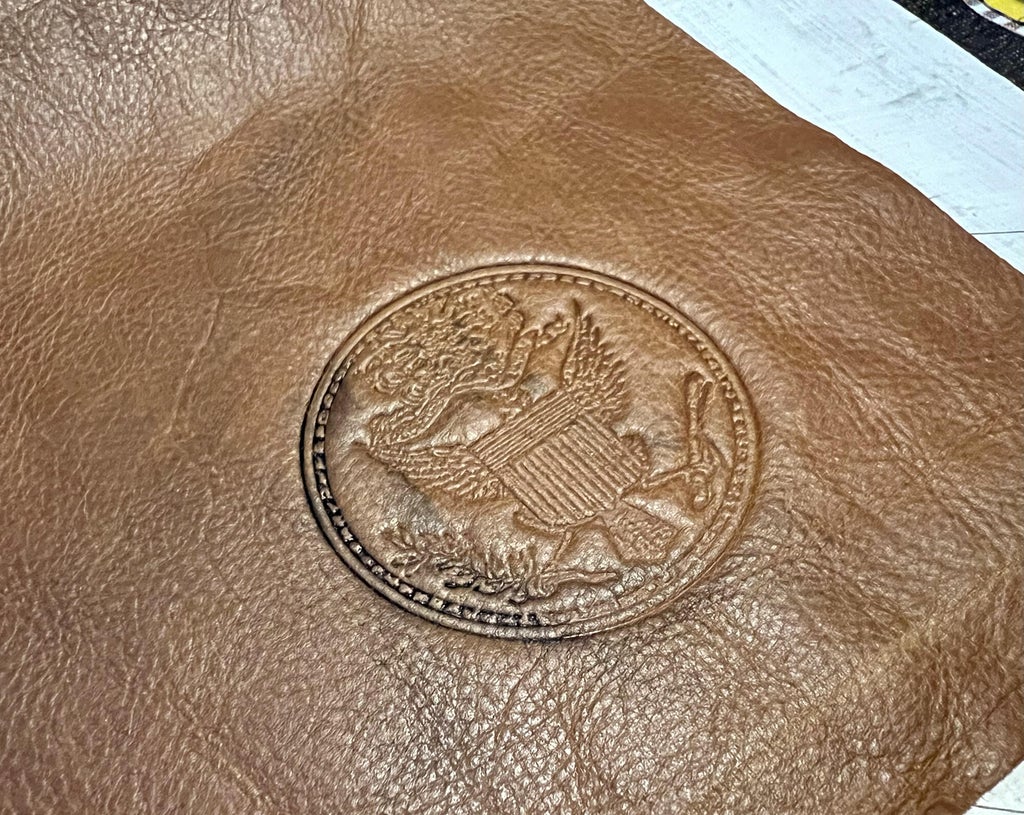
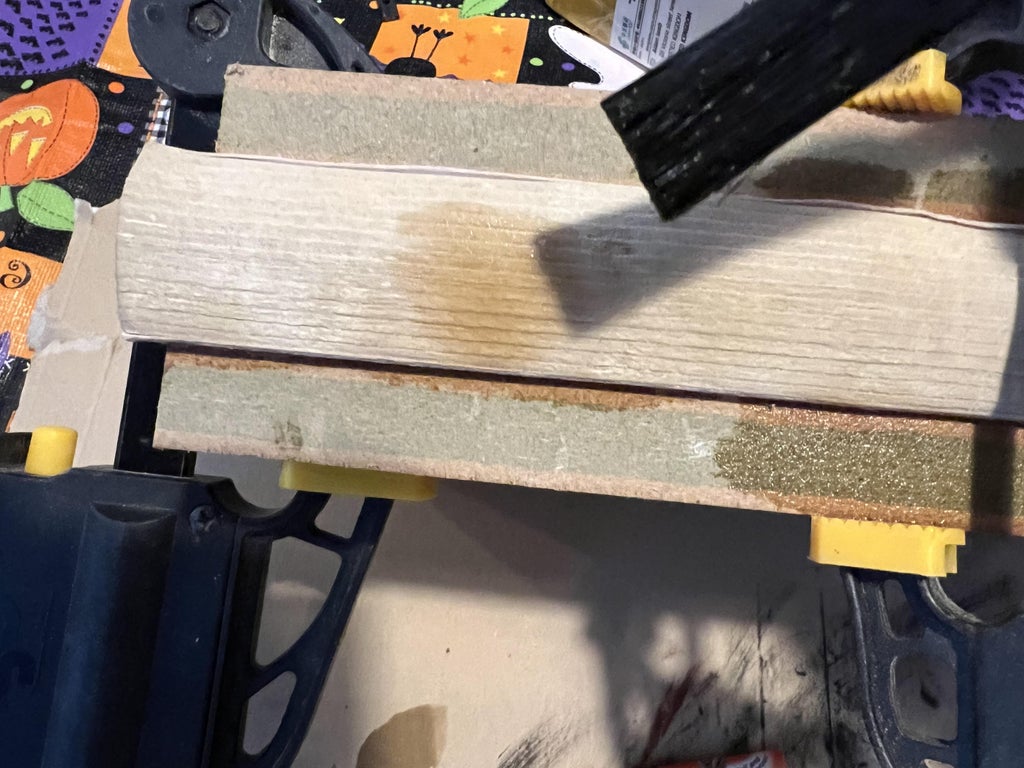
The stamping is a cold wet press. I soaked the area with water and then placed the stamp in position.
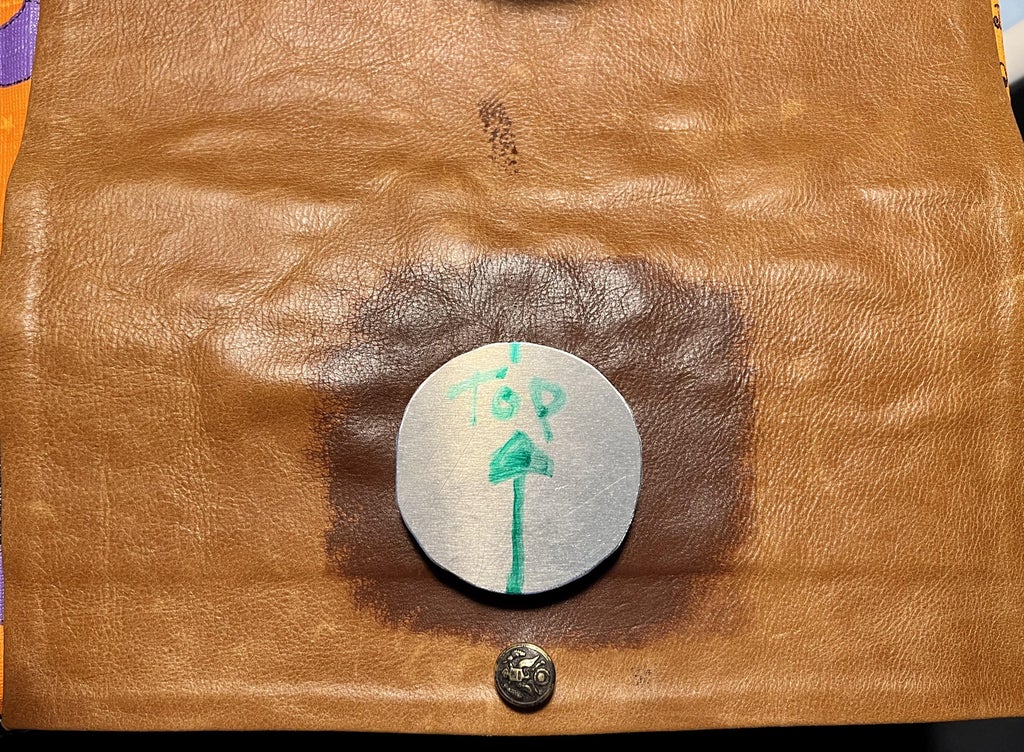
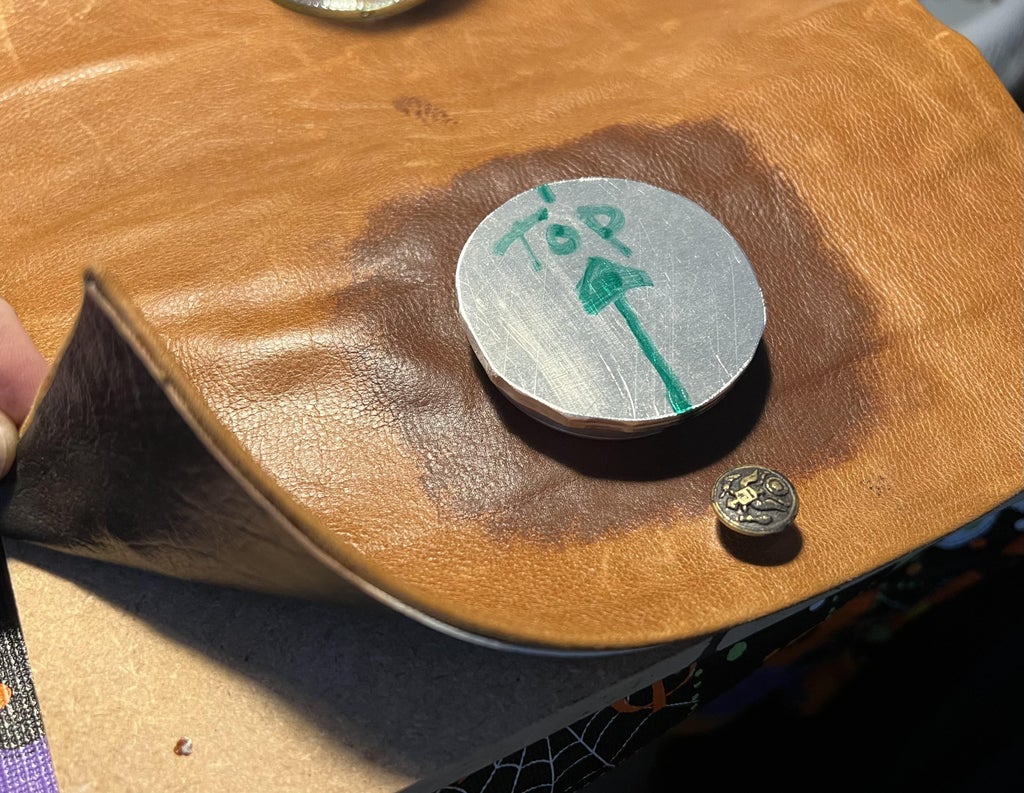
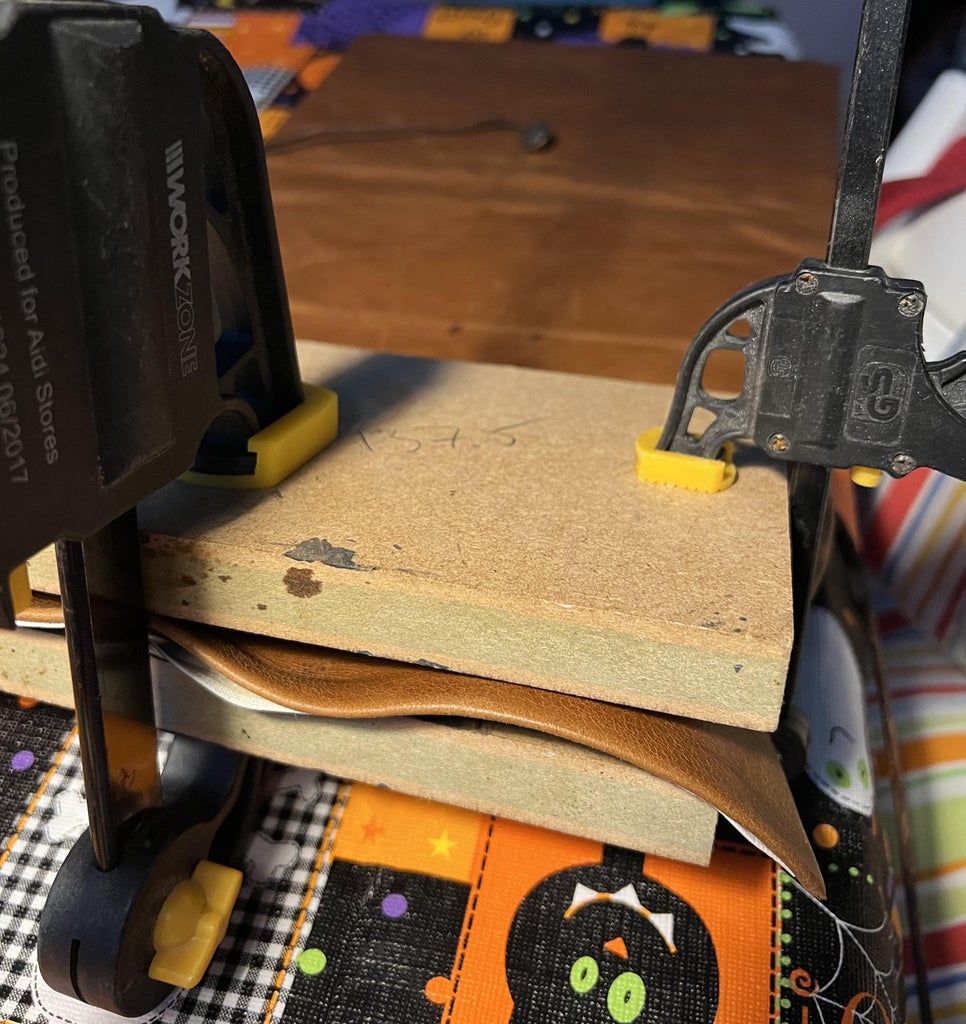
With a block of wood under the cover and one on top of the stamp I clamped the two blocks together, pretty much as tight as the cheap clamps would allow.
I then left the whole thing near a radiator over night around 10/11 hours.
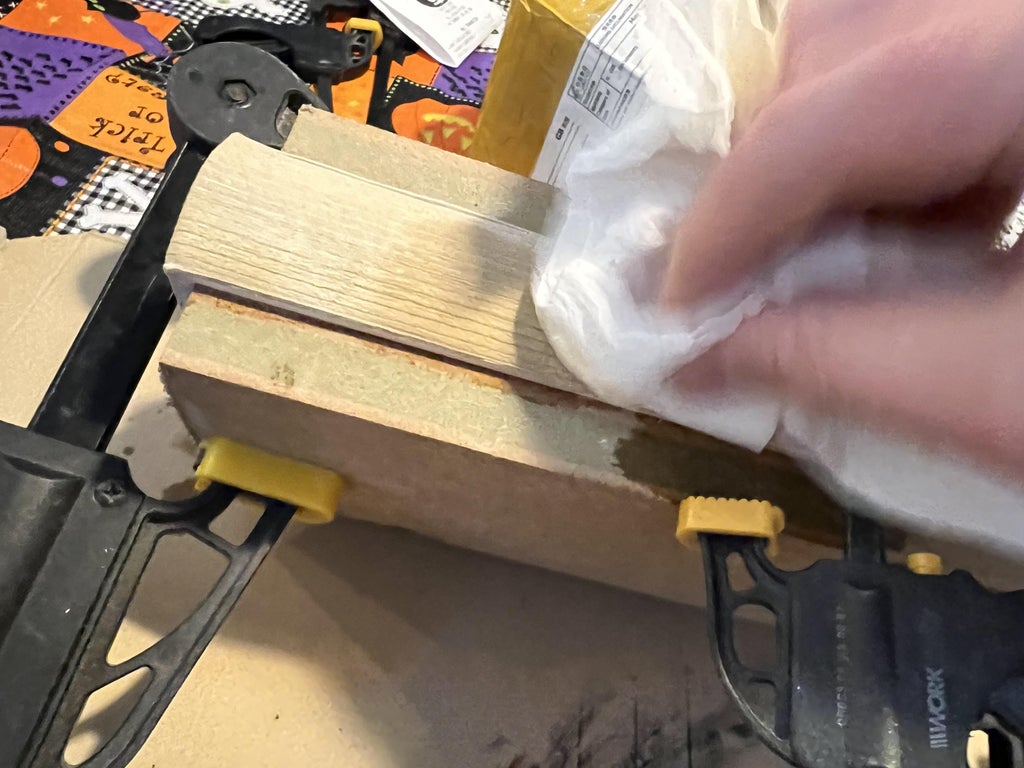
When the leather is dry I took the clamps, wood and stamp off the leather and was left with a crest impression in the leather.
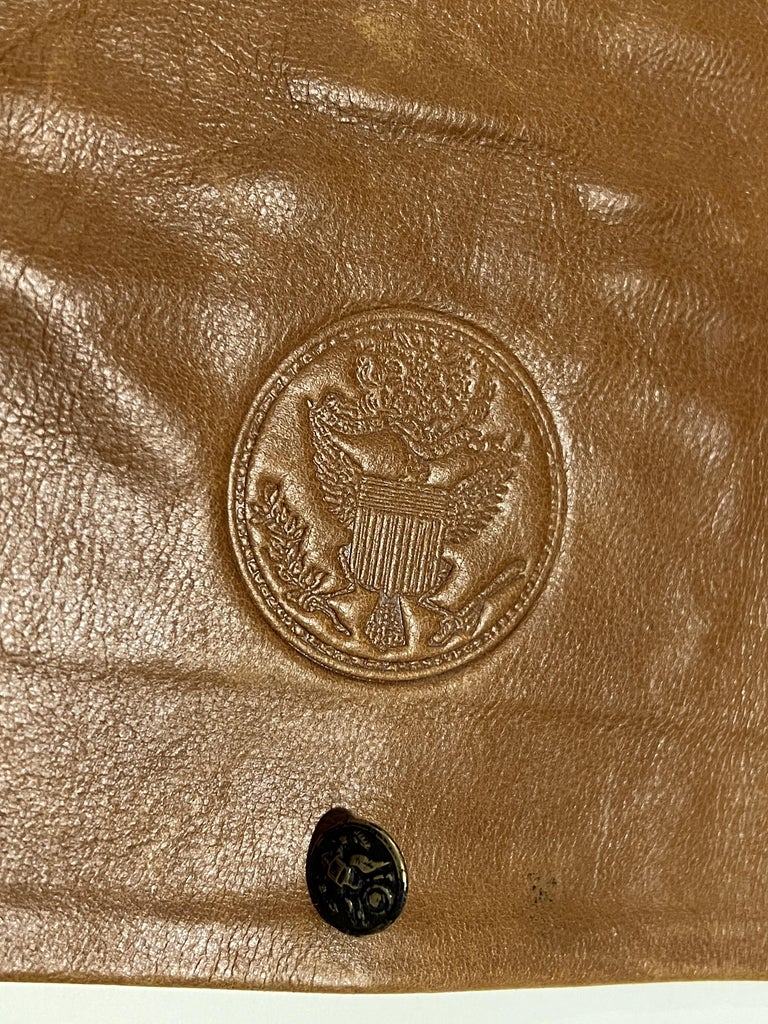
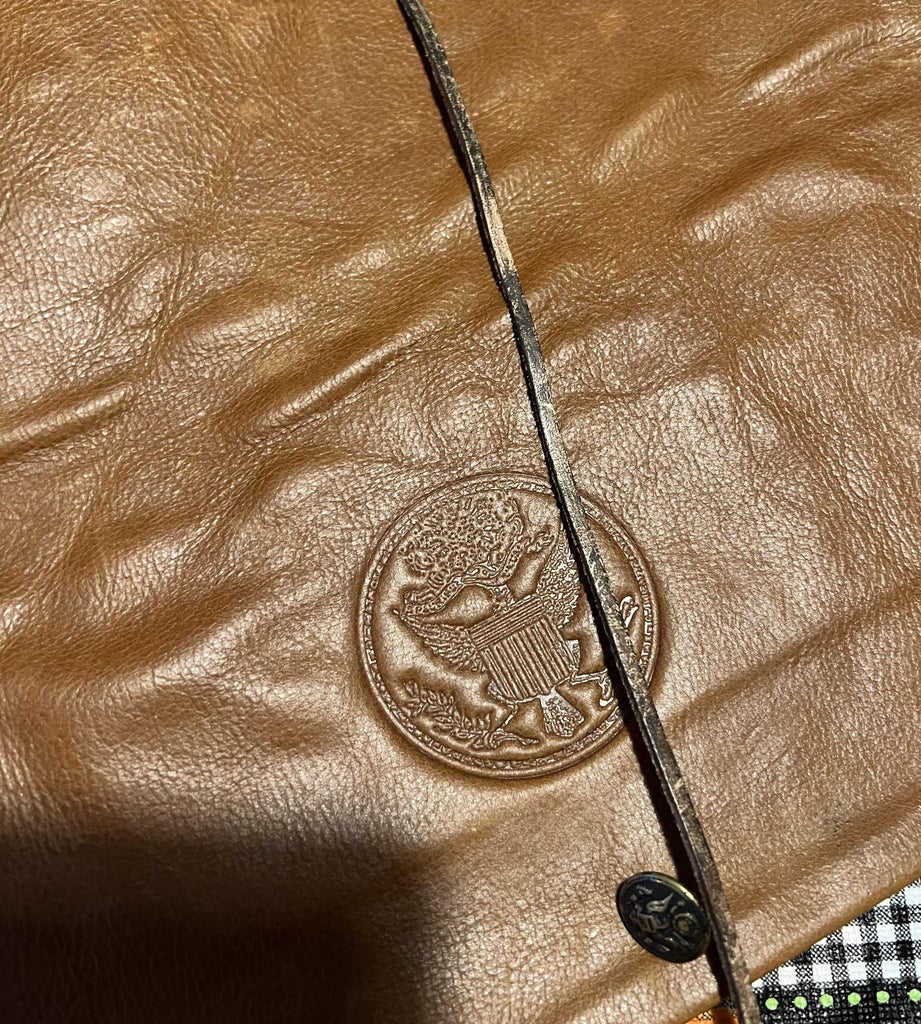
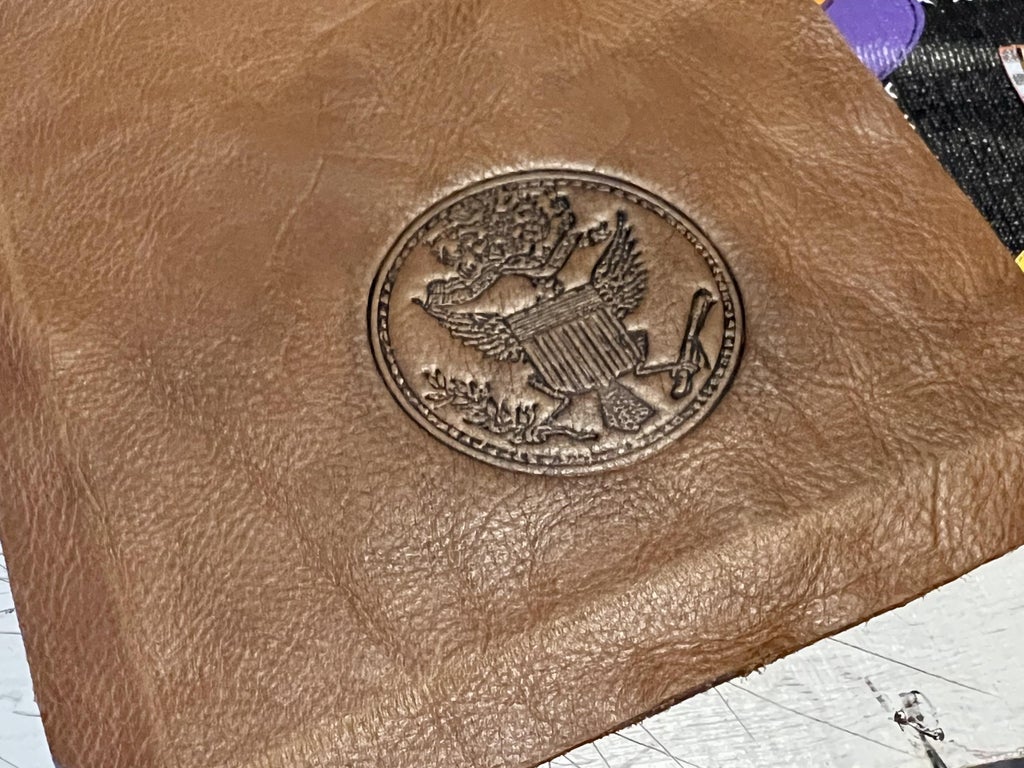
I painted black paint into the leather where the stamp impression is and then wiped it off and repeated this until the stamp was as visible as I wanted.

Using black, brown and yellow acrylic paint I weathered the leather. I watered the paint down slightly and painted it on the leather and then wiped it off with a cloth/rag, and repeated this with all the colours to get it to the desired dirtiness to make it look like a well used leather book cover.

Now it is time to assemble all the parts.
I put the last page into the rear pocket of the cover and then slid it in as far as I could get it, then gently bent the front page back and slid it into the front pocket of the cover, then centred the book so the spine is in the correct position.
You may need to trim the front and last page to get them to slide in perfectly but that is ok as you wont see them as they are inside the cover pockets.
Then I put all the inserts back in their respective pages and any leftover that I printed that didn't have a home I put them in the back of the book.
Some of the inserts I printed were used in the movie separately from the book so I just tucked them in the back of the book, I feel Benjamin Gates (Nicholas Cadge) would have liked to keep it all together.


Thank you for look at my build of the Book of Secrets.
If you have any questions please leave a comment, and i will try my best to answer them .
If you like the work I do, sharing them is a great way to support as the more people that see it, the more I know that it is liked.
No comments:
Post a Comment